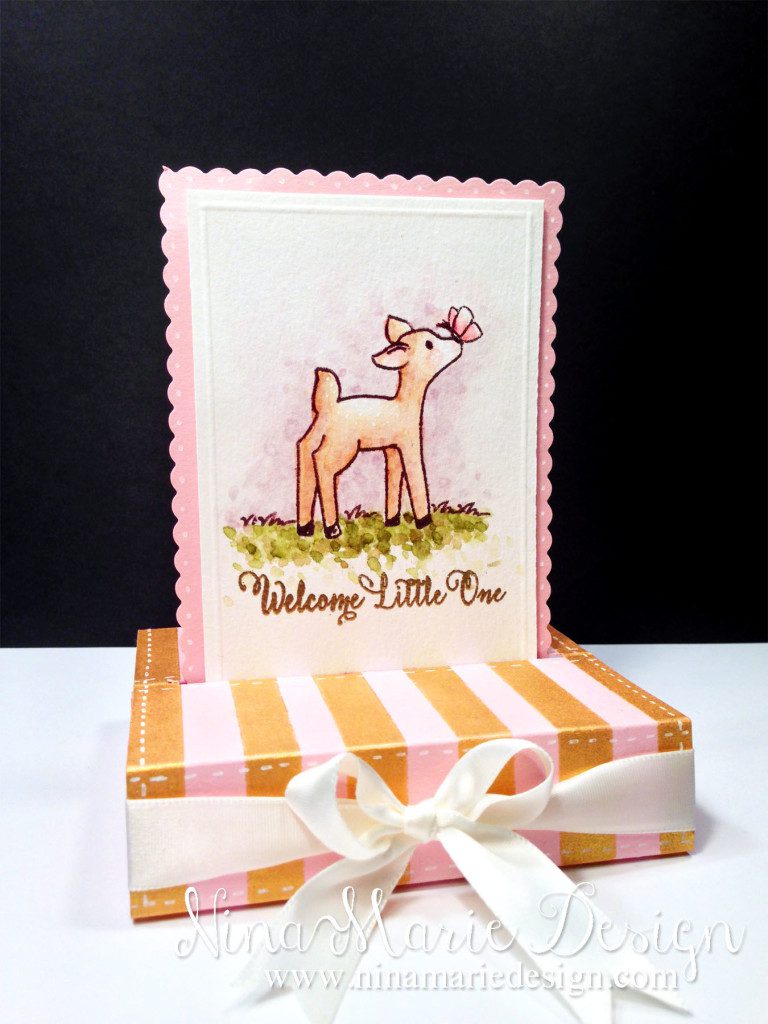
Welcome Little One
Hello, and happy Saturday!
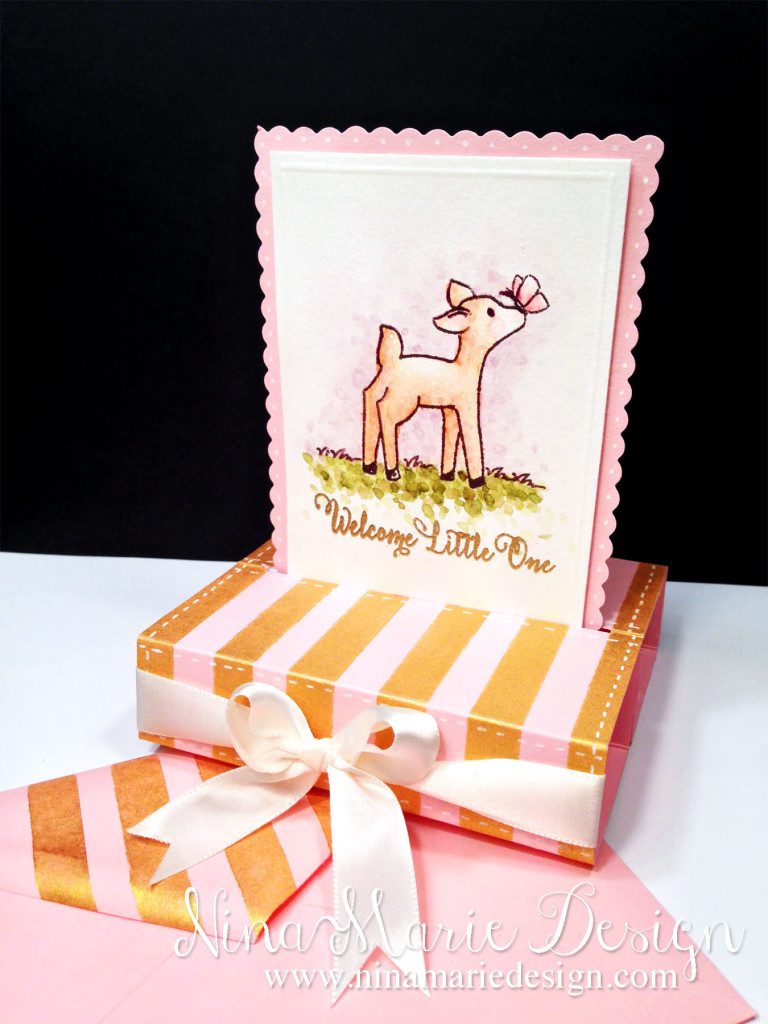
I don’t know about you, but I absolutely love the offbeat, the unique and the quirky, so when I saw this Free Standing pop-up card over at Splitcoast stampers, I just had to give it a try myself! :)
While this card may seem complicated, do not let the appearance fool you. It is simply a 4 1/4″ by 11″ piece of cardstock (just like you would use for a normal A2 sized card), scored at strategic intervals, with a slit cut in the middle. Really! It is that easy!
So once I had my Simon Says Stamp Cotton Candy card base all cut and scored, I did not yet fold it into shape, as I was going to be doing some inking first. I used masking tape (cut in 1/4″ strips) to create my mask, and covered the 1″ flaps on either end with Post It notes, as these are going to eventually be hidden and do not need inked.
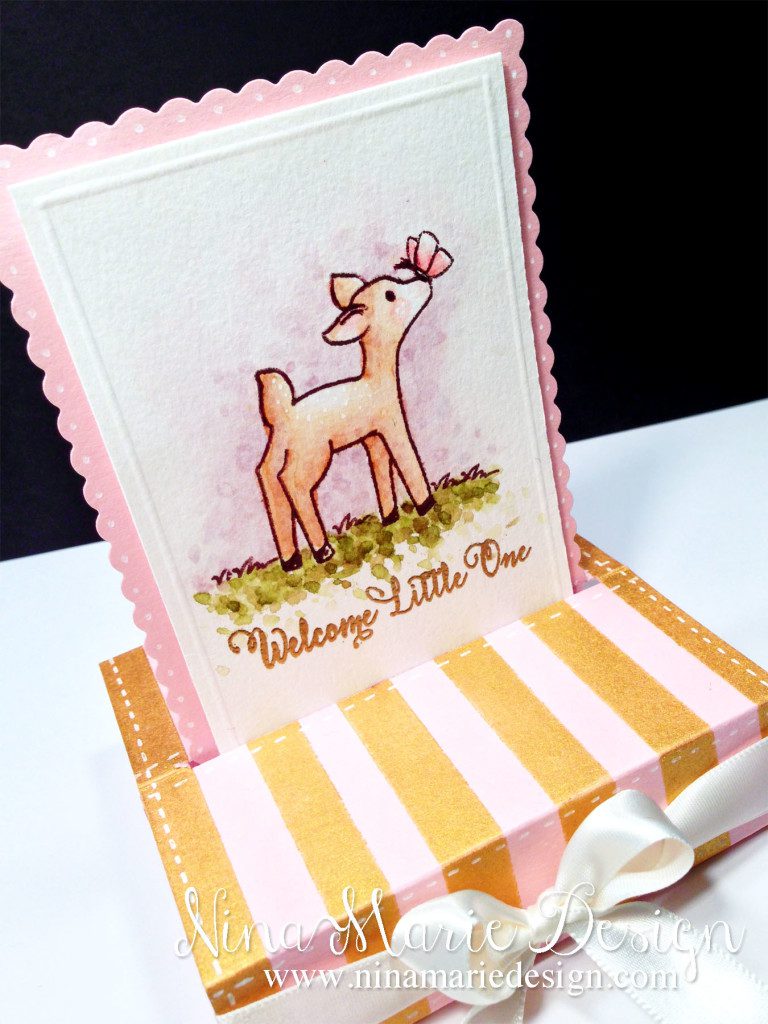
For the inking, I thought the Delicata Golden Glitz ink would be a perfect coordinating color for the stripes, and I really love how it turned out! This ink is by far THE BEST gold ink I’ve ever used. I also added some white faux stitching around the edges of the base, just to give it a more finished look.
With my base ready, I then went to work on the panel that gets inserted into the base…
I cut a piece of watercolor paper at 3″ by 5″, and a piece of Cotton Candy cardstock at 3 1/4″ by 5 1/4″ (scalloped edged). These will be layered together with foam tape before adhering them to my base. But before I do that, I had to do my stamping…
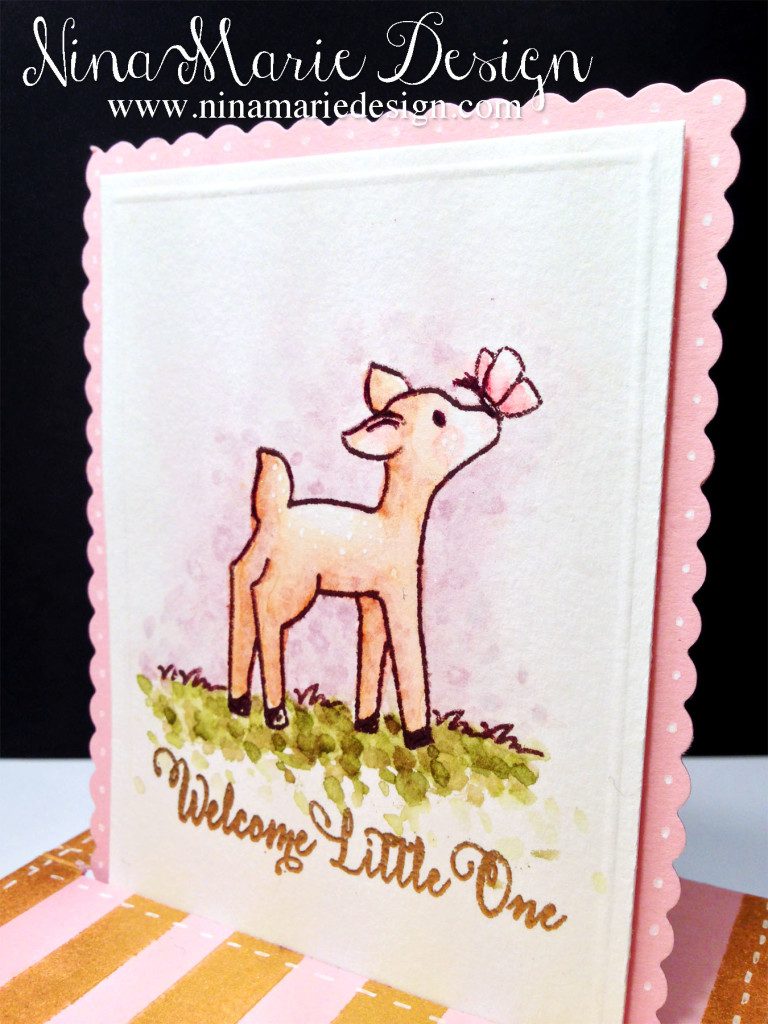
Taking the Avery Elle “Storybook” set, I stamped the little fawn, a butterfly and some grass in Timber Brown StazOn ink. I also stamped the sentiment in some Versamark ink before heat embossing it with Ranger Princess Gold powder.
To watercolor my image, I used Tim Holtz distress inks; the colors I chose are Tea Dye, Worn Lipstick, Tattered Rose, Milled Lavender, Peeled Paint and Forest Moss. My coloring for this card features a bit of an “impressionistic” style, as I incorporated a spotted look to add texture to the scene.
Once my coloring was dry, I dry embossed a frame with my scoring board and a stylus, and added Wink of Stella clear glitter to certain portions of all the images.
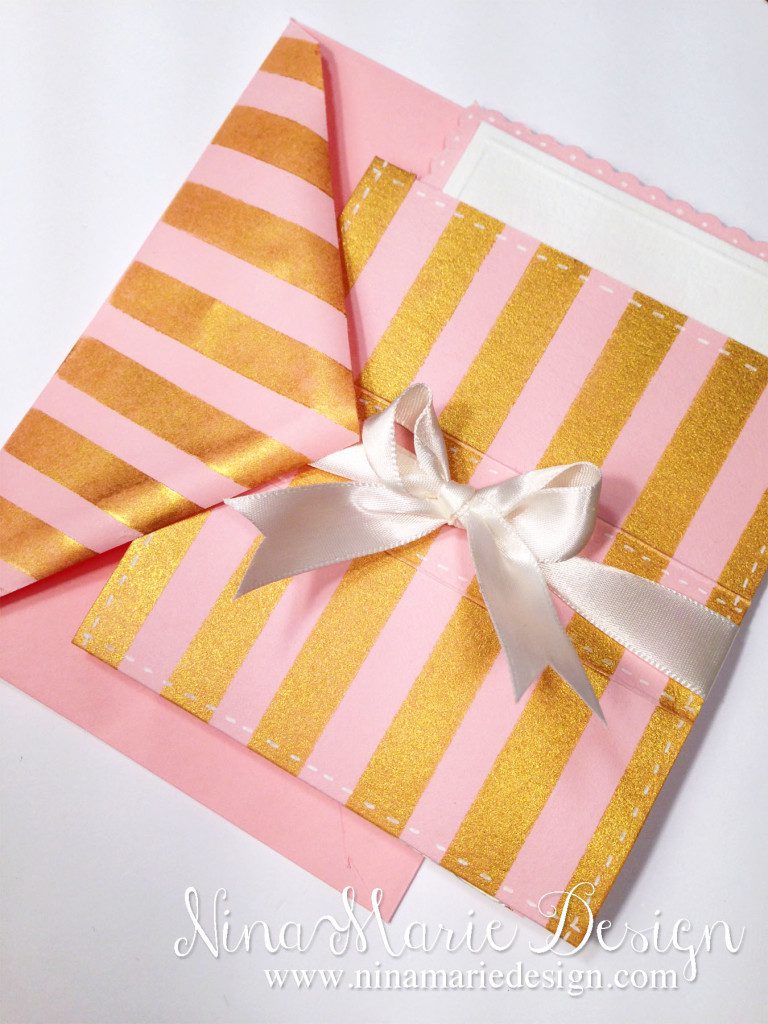
I adhered the watercolor panel to the scalloped panel, added some dots around the edges with a white pen, and then finished putting my card pieces together. I added an off white ribbon around the front of the card, and created a pink and gold striped envelope to coordinate with it.
I absolutely love how fun this card shape is, and how it folds up flat to fit perfectly into a regular A2 sized envelope! I hope you’ve enjoyed and thank you so very much for stopping by!
Challenges
This card is submitted into the Avery Elle AEI♥U challenge #22 “Stripes”, the Little Tangles challenge #54 “Anything Goes”, and the Simon Says Stamp “Special Lady/Girly” Wednesday challenge.
[one_third]



 LinkDeli Free 15 day trial
This project = card, gift, work of art to display all in one! I’m inspired. Thank you for playing along with us at the AEI♥U Challenge:)
Fabulous card! Love the stripes and the ribbon…I’ve never thought to add ribbon to the “base”. Great idea.
This is super cute! I really love the scalloped edges! Thank you so much for joining us over on the Simon Says Stamp Wednesday Challenge blog!
Stunning!!! It makes me wanna make a card like this too!!! LOVE IT
This is just so sweet, Nina Marie! I think your card is so so cute, and the packaging is perfect!
LOVE this! Great to see you linking up at Little Tangles!
How clever is this! Gorgeous card, love this idea. Thanks for joining us at Little Tangles :)