Happy 50th
Hello!
I don’t know about you, but I find I have a lot of large gems from the multipacks that I’ve purchased over time. The larger gems are not something I use a lot of, and hence pile up quickly.
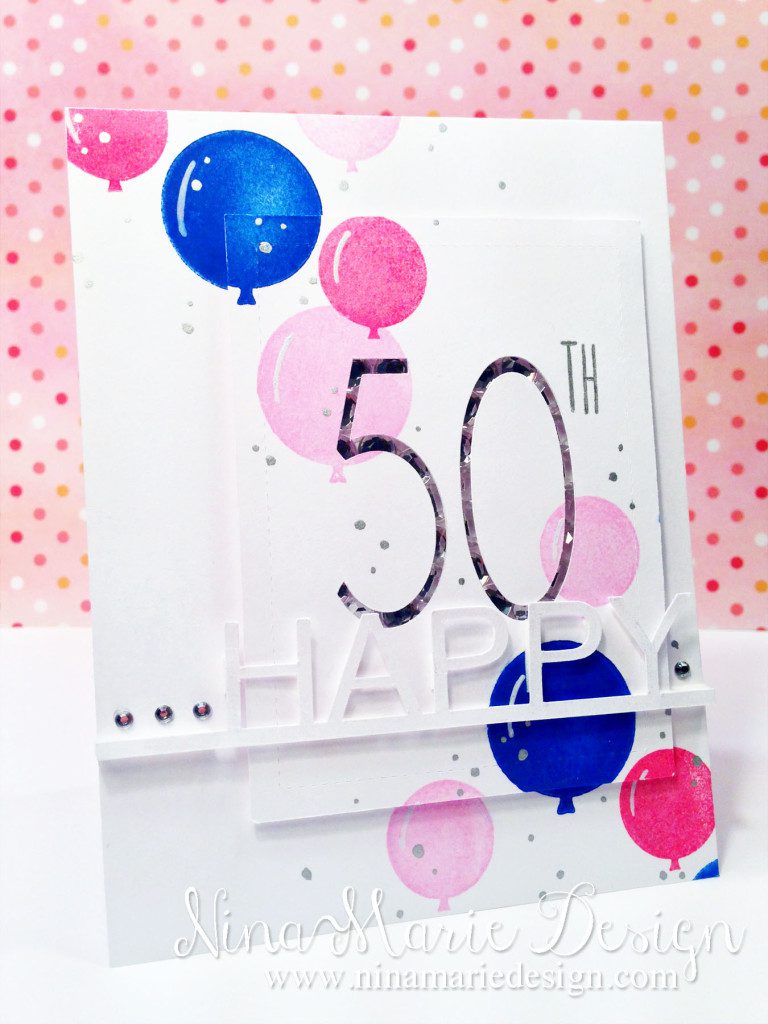
Today I was brainstorming about how I could use them on a card in a way that fits my style… and then I thought, wouldn’t it be neat to die cut something into a panel, and through the negative, be able to see the gems sparkling behind? With the idea in mind, I began creating…
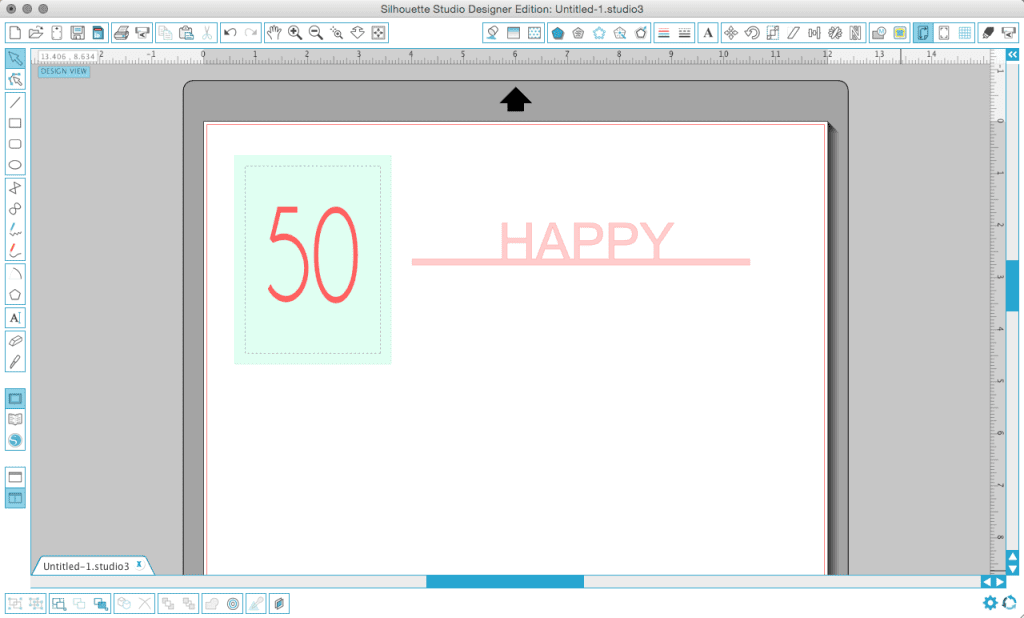
Inside my Silhouette Studio (Designer Edition), I created a 3″ by 4″ panel, with the number ’50’ in the center (using the font “Champagne & Limousines”). I also created my ‘happy’ sentiment strip by welding the letters (made from the font “Arial”) to a 0.12″ by 6″ rectangle. After all my pieces were created, I then die cut everything out from white cardstock using my Silhouette Cameo.
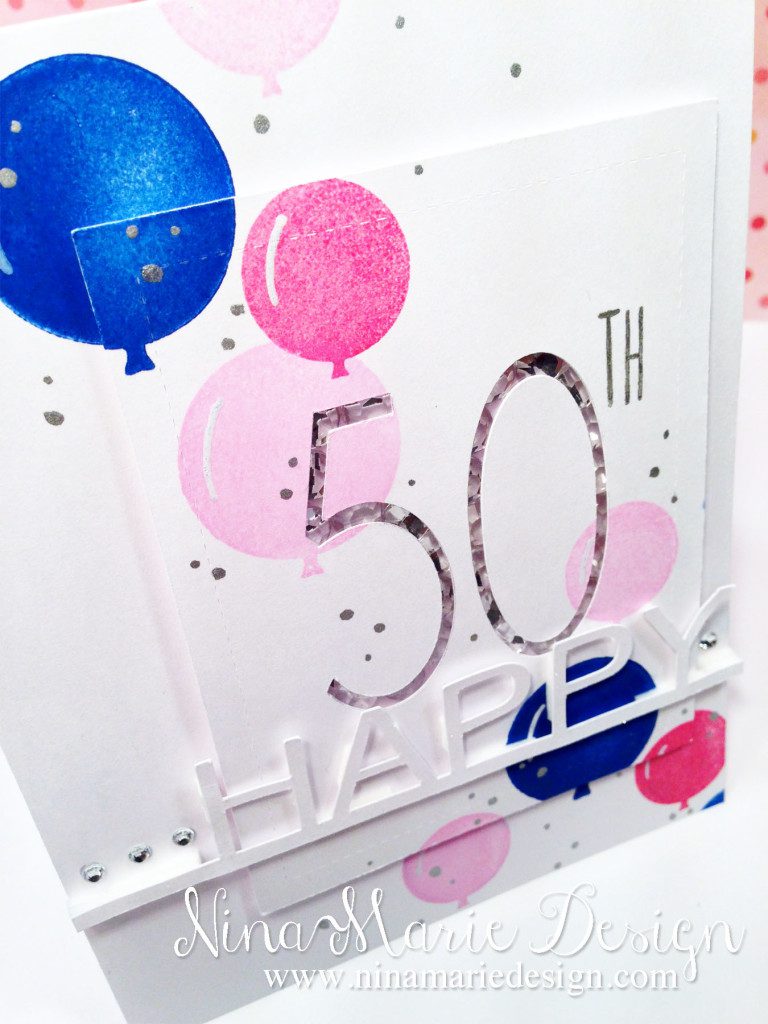
Once my pieces were cut out, I cut a second white cardstock panel to the same dimensions as the “50” panel, and covered the middle of the panel with the gems; this panel will then be adhered behind my ’50’ panel. I adhered a piece of acetate behind the negatives of the numbers on the ’50’ panel, so that it will create a window to see through to the gems.
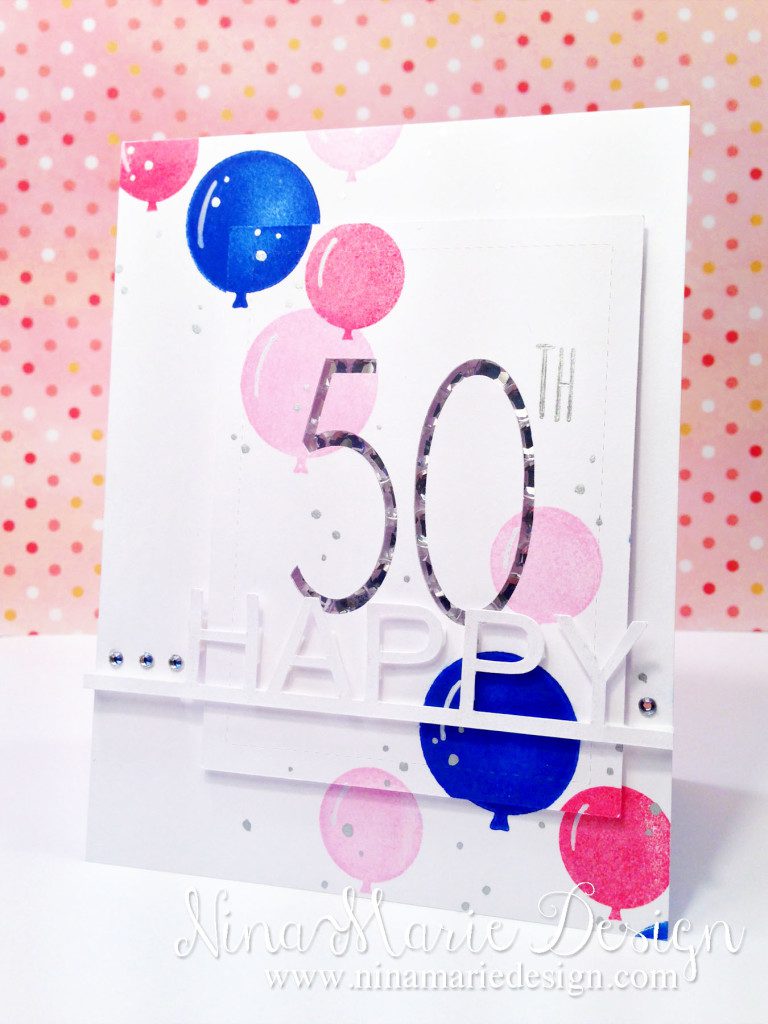
Before I attached everything though, I stamped a bunch of balloons from the Simon Says Stamp “Celebrate” stamp set, using royal blue, dark pink and light pink inks, onto my ’50’ panel and my white card base. I also stamped the letters ‘th’ using the Lawn Fawn “Milo’s ABCs” stamp set and some gray pigment ink. With a silver and white paint pen, I drew some ‘confetti’ and some highlights on the balloons, for a bit of extra detail.
Next, I covered my ‘happy’ die cut with some Wink of Stella clear glitter, and covered the back with foam tape. I adhered my ’50’ panel to my card base with some foam tape, and then adhered the ‘happy’ die cut overtop of both with some more foam tape.
For a final finishing touch, I took some small gems and adhered them parallel to my ‘happy’ die cut.
I hope you’ve enjoyed and that this has inspired you to create something fun with your extra supplies in your stash that are a bit ‘hard to use’! Happy Creating!
Inspiration & Challenges
The layout for this card was inspired by the Freshly Made Sketches challenge #179, and is submitted into the challenge.
This card has also been submitted into the Seize the Birthday “Anything Goes” challenge, and the Simon Says Stamp “Anything Goes” Wednesday challenge.
[one_third]


 LinkDeli Free 15 day trial
LOVE your card Nina!!! Thanks for linking up with us over at Seize the Birthday for our Anything Goes Birthday challenge!
This is sheer gorgeousness!! It’s so bright and festive! I just had to pop over here from the Seize the Birthday gallery to leave my compliments because your card was so stunning.
Gorgeous, beautiful card
Thank you for joining us at Simon says Stamp Wednesday Challenge.
Luv
Debby
Wow! So much to love about this card, it’s gorgeous! Great idea to have the gems peeking through from behind the die cut numbers! Thanks for joining us at Seize The Birthday :)
Great car! I love the balloons and love your idea of the jewels behind the 50! Love the extra sparkle! Thanks for joining us this week at Freshly Made Sketches!
I love your card too :-)
Greetings from Germany, Karo
Love the cascading balloons! Great birthday card! Thanks for sharing it at FMS!