Guy Themed Scene Card
Hi there and welcome back to my creative space on this first Friday of the month! Today I have a masculine themed card to share with you featuring new stamps from Newton’s Nook Designs!
I love the adorable Newton Dreams of London stamp set that came out last month; there are so many cute stamps in this set and I wanted to make sure and use the tea pot that is included, as I am a big tea fan and haven’t gotten to use that image yet! :)
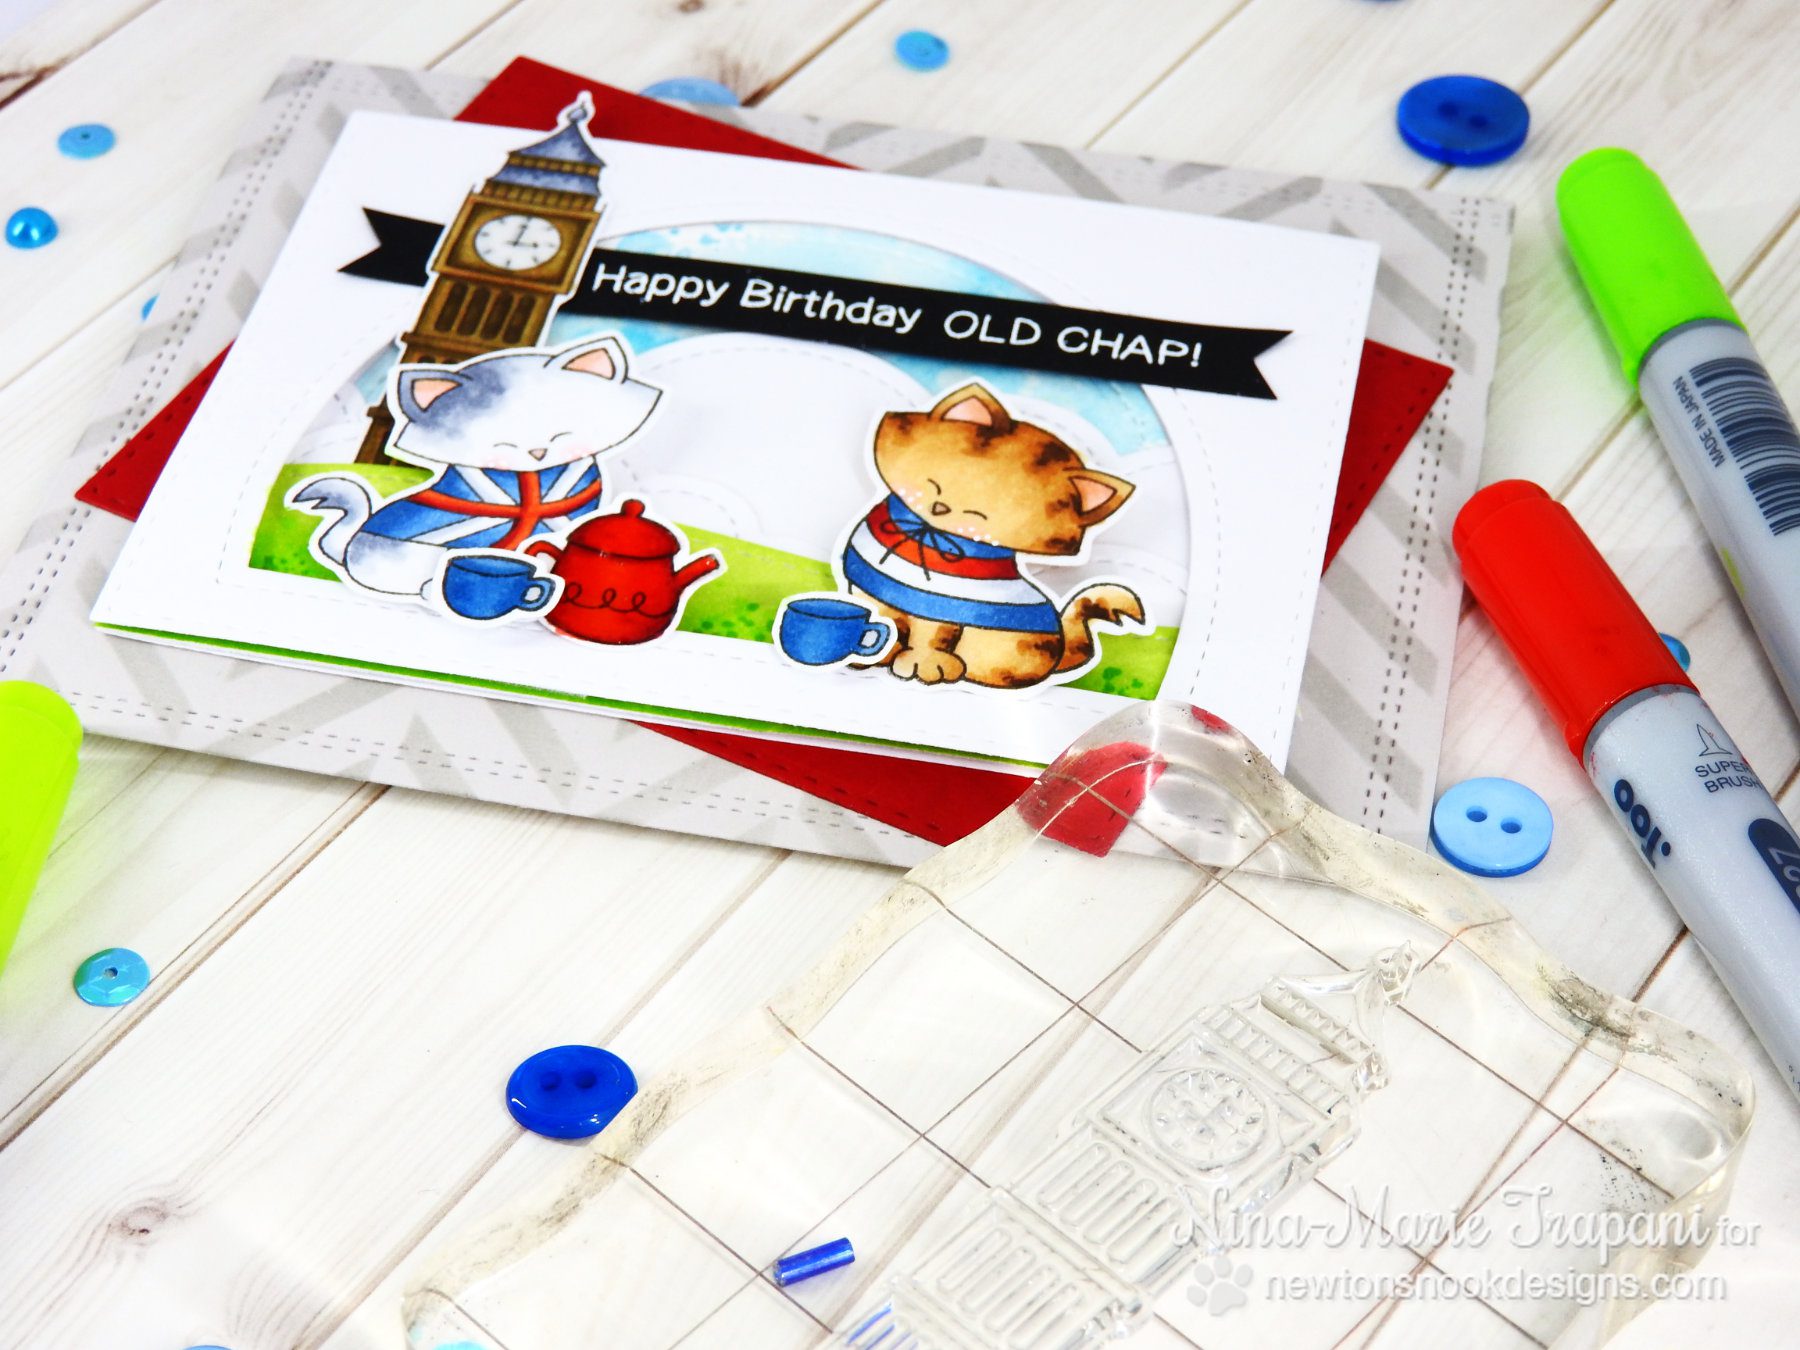
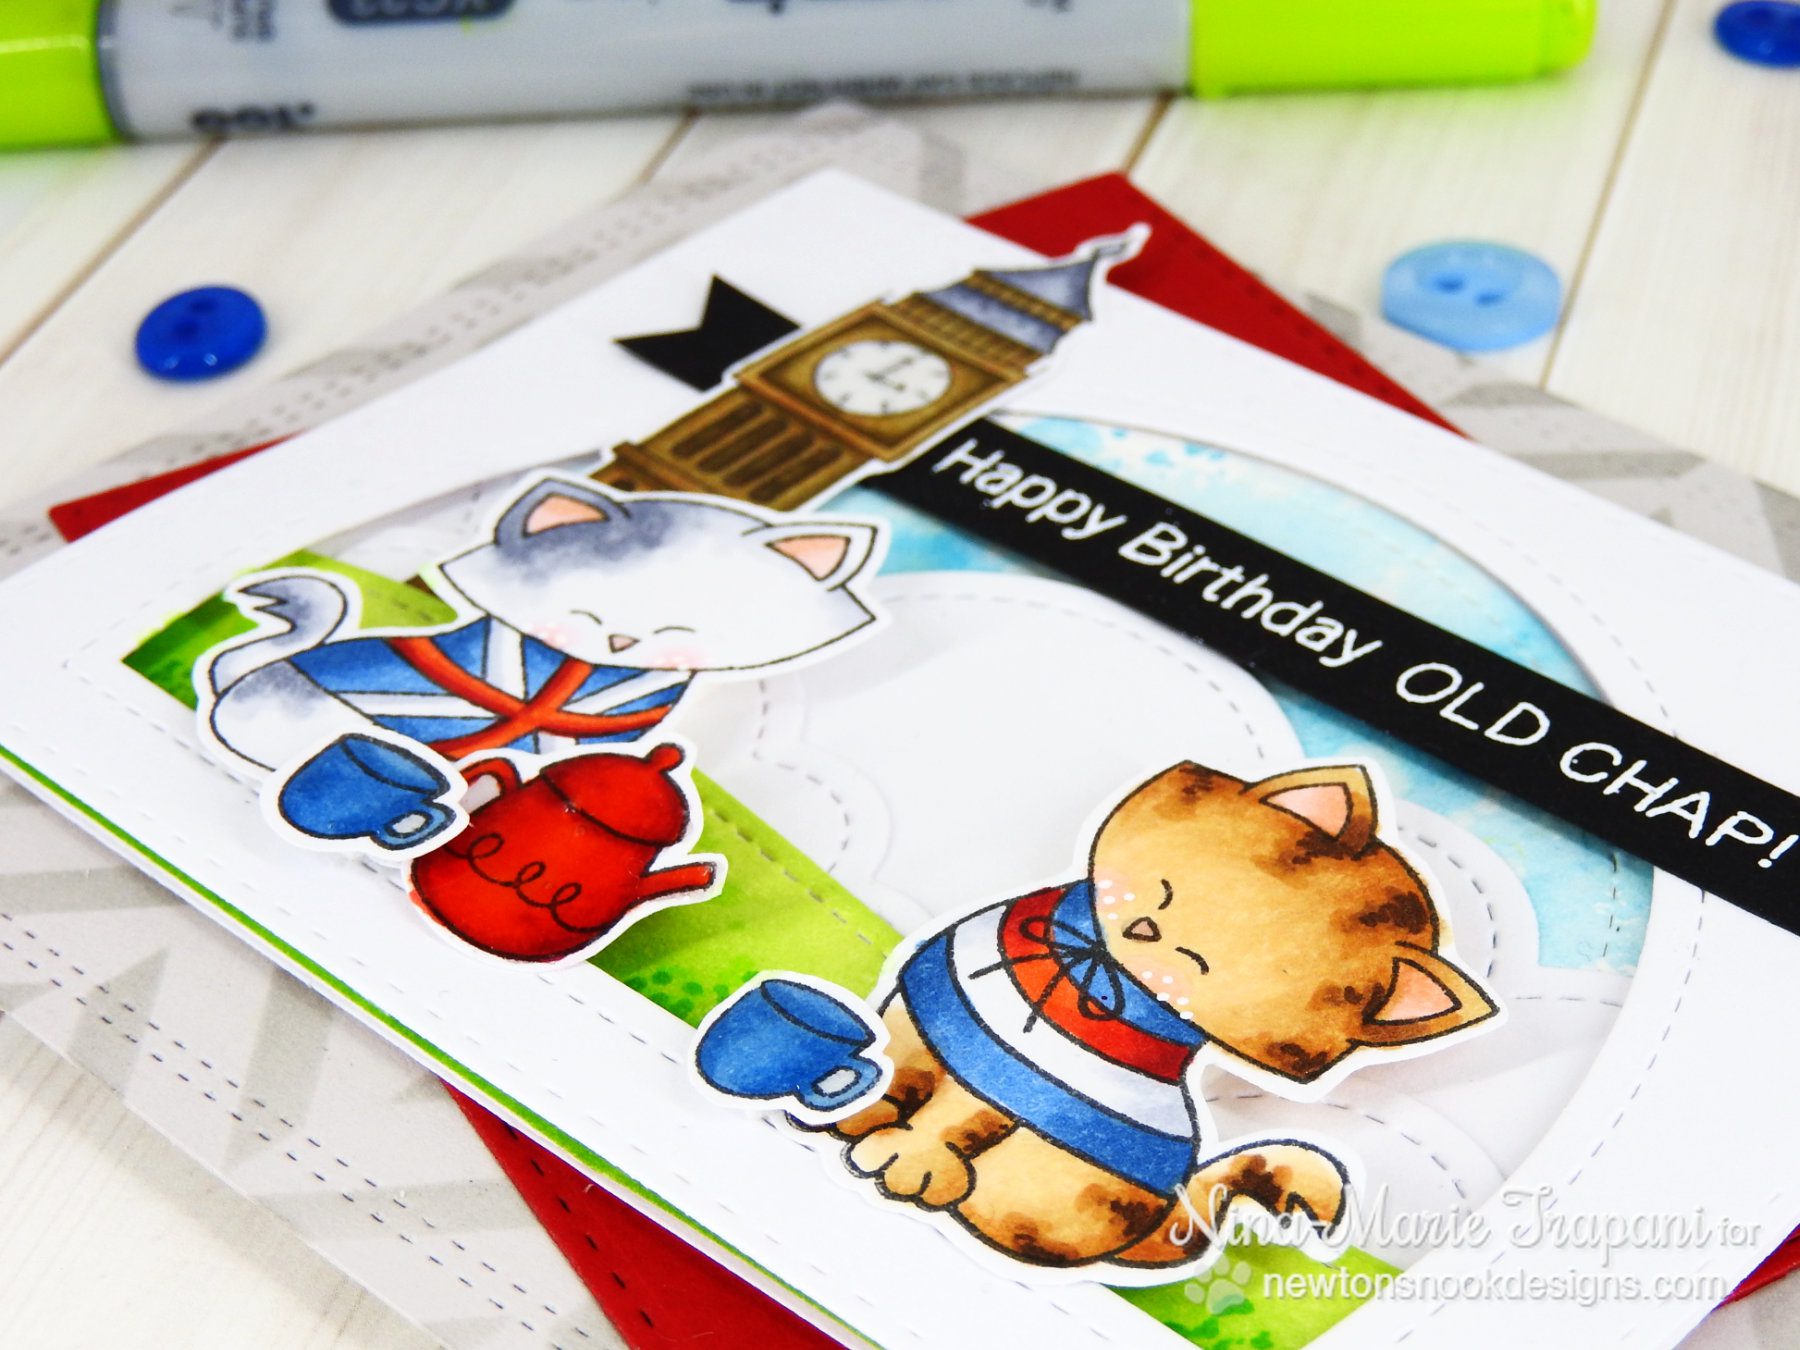
To create this card I stamped my critters, Big Ben, tea pot and cups all onto white cardstock. All the stamps other then the cat on the right hand side are from Newton Dreams of London; the cat on the right is from Newton Dreams of Paris. I colored everything in with Copics and I’ll break down the colors below for reference; I also link them all to Simon Says Stamp down at the end of the blog post in the products section.
- Big Ben: E35, E84, E87, E89, C1, C3, C5, C7
- white and grey cat: C00, C1, C3, C5, C7, Rv00, R21, B45, B95, B97, R05, R27, R59
- tabby cat: E50, E30, E31, E57, E47, E49, R21, R05, R27, R59, B45, B95, B97, C1, C3
- tea pot: R05, R27, R59
- cups: B45, B95, B97
For the scene behind the cats, I started by die cutting a window using the Window Frame die set from Pretty Pink Posh. I popped it up on foam tape and layered a green Stitched Hillside Border die cut and a couple Puffy Cloud Border die cuts (both from Lawn Fawn) underneath. I also used the negative from the Window Frame panel and created a distress ink sky to layer behind everything.

My card base is created from some Simon Says Stamp Fog cardstock and I ink blended a Tweed stencil pattern (from Hero Arts) on top using Hickory Smoke distress ink. I also layered some Schoolhouse Red Simon Says Stamp cardstock onto my card base, underneath the scene panel.

For a finishing touch, I took a sentiment from the Newton Dreams of London stamp set and cut it apart so that I could mount it onto my Mini MISTI in a straight line; this doesn’t harm your stamps and they can easily be fit back together the way they were intended! I white heat embossed the sentiment onto black cardstock and trimmed it down into a simple banner shape.
MORE INSPIRATION
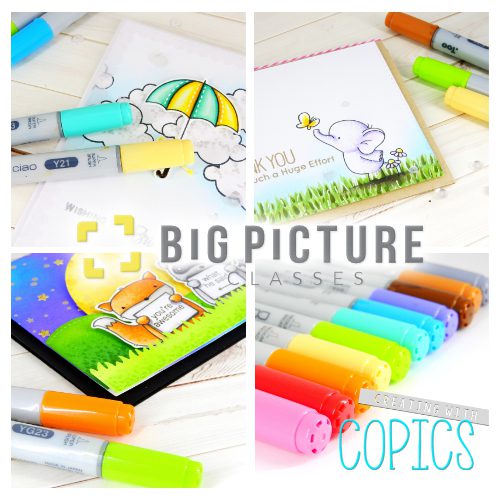
Looking for more inspiration on using Copic markers? Be sure to check out my online class Creating with Copics over on the Big Picture Classes website! In the class I will share easy-to-follow videos and lessons, showing how you can take your coloring to the next level… hope you’ll stop by Big Picture Classes to claim a free trial of their monthly subscription base and take the class!
PRODUCTS
If you are interested in any of the products used in this post, I have them all linked below to Simon Says Stamp. Affiliate links used when possible.
[su_expand more_text=”SHOW MORE” height=”400″ link_color=”#F27790″ more_icon=”icon: chevron-down” less_icon=”icon: chevron-up” class=”expand products”]
SIMON SAYS STAMP
 |
 |
 |
 |
 |
 |
 |
 |
 |
 |
 |
 |
 |
 |
 |
 |
 |
 |
 |
 |
 |
 |
 |
 |
 |
 |
 |
 |
 |
 |
 |
 |
 |
 |
 |
 |
 |
 |
 |
 |
 |
 |
 |
 |
 |
[/su_expand]

 LinkDeli Free 15 day trial
I LOVE how you color the stripes on the kitties – any chance of getting a tutorial?? :)
This card is so GORGEOUS!! I’m in LOVE! Such a cute idea to have a tea party with the two kitties – and your coloring is AMAZING as always!! Thanks for the lovely inspiration!!