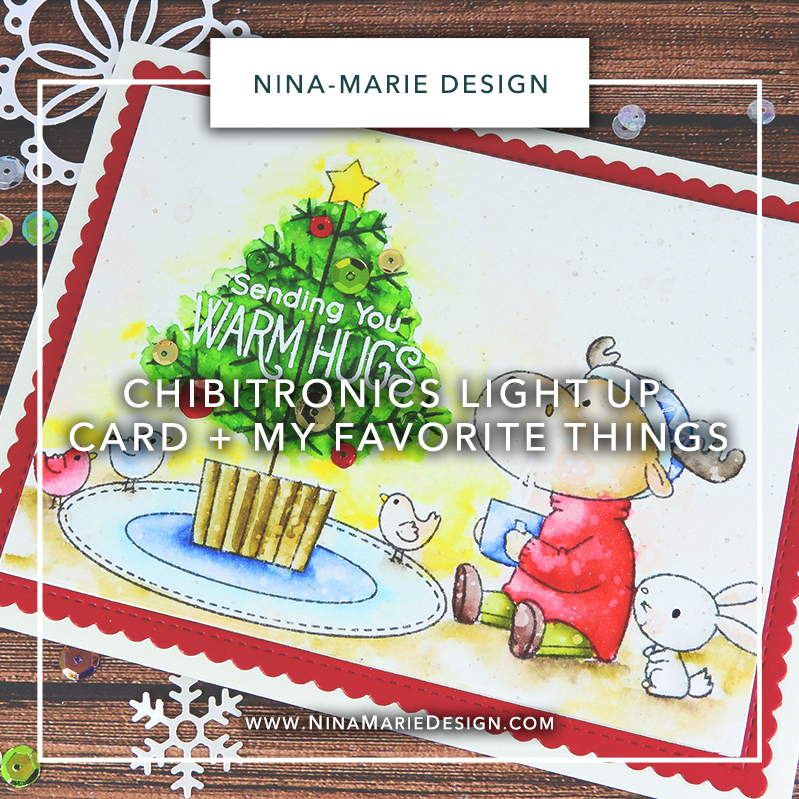
Chibitronics Light Up Card + My Favorite Things
[fusion_builder_container hundred_percent=”no” equal_height_columns=”no” hide_on_mobile=”small-visibility,medium-visibility,large-visibility” background_position=”center center” background_repeat=”no-repeat” fade=”no” background_parallax=”none” parallax_speed=”0.3″ video_aspect_ratio=”16:9″ video_loop=”yes” video_mute=”yes” overlay_opacity=”0.5″ border_style=”solid”][fusion_builder_row][fusion_builder_column type=”1_1″ layout=”1_1″ background_position=”left top” background_color=”” border_size=”” border_color=”” border_style=”solid” border_position=”all” spacing=”yes” background_image=”” background_repeat=”no-repeat” padding=”” margin_top=”0px” margin_bottom=”0px” class=”” id=”” animation_type=”” animation_speed=”0.3″ animation_direction=”left” hide_on_mobile=”small-visibility,medium-visibility,large-visibility” center_content=”no” last=”no” min_height=”” hover_type=”none” link=””][fusion_text]
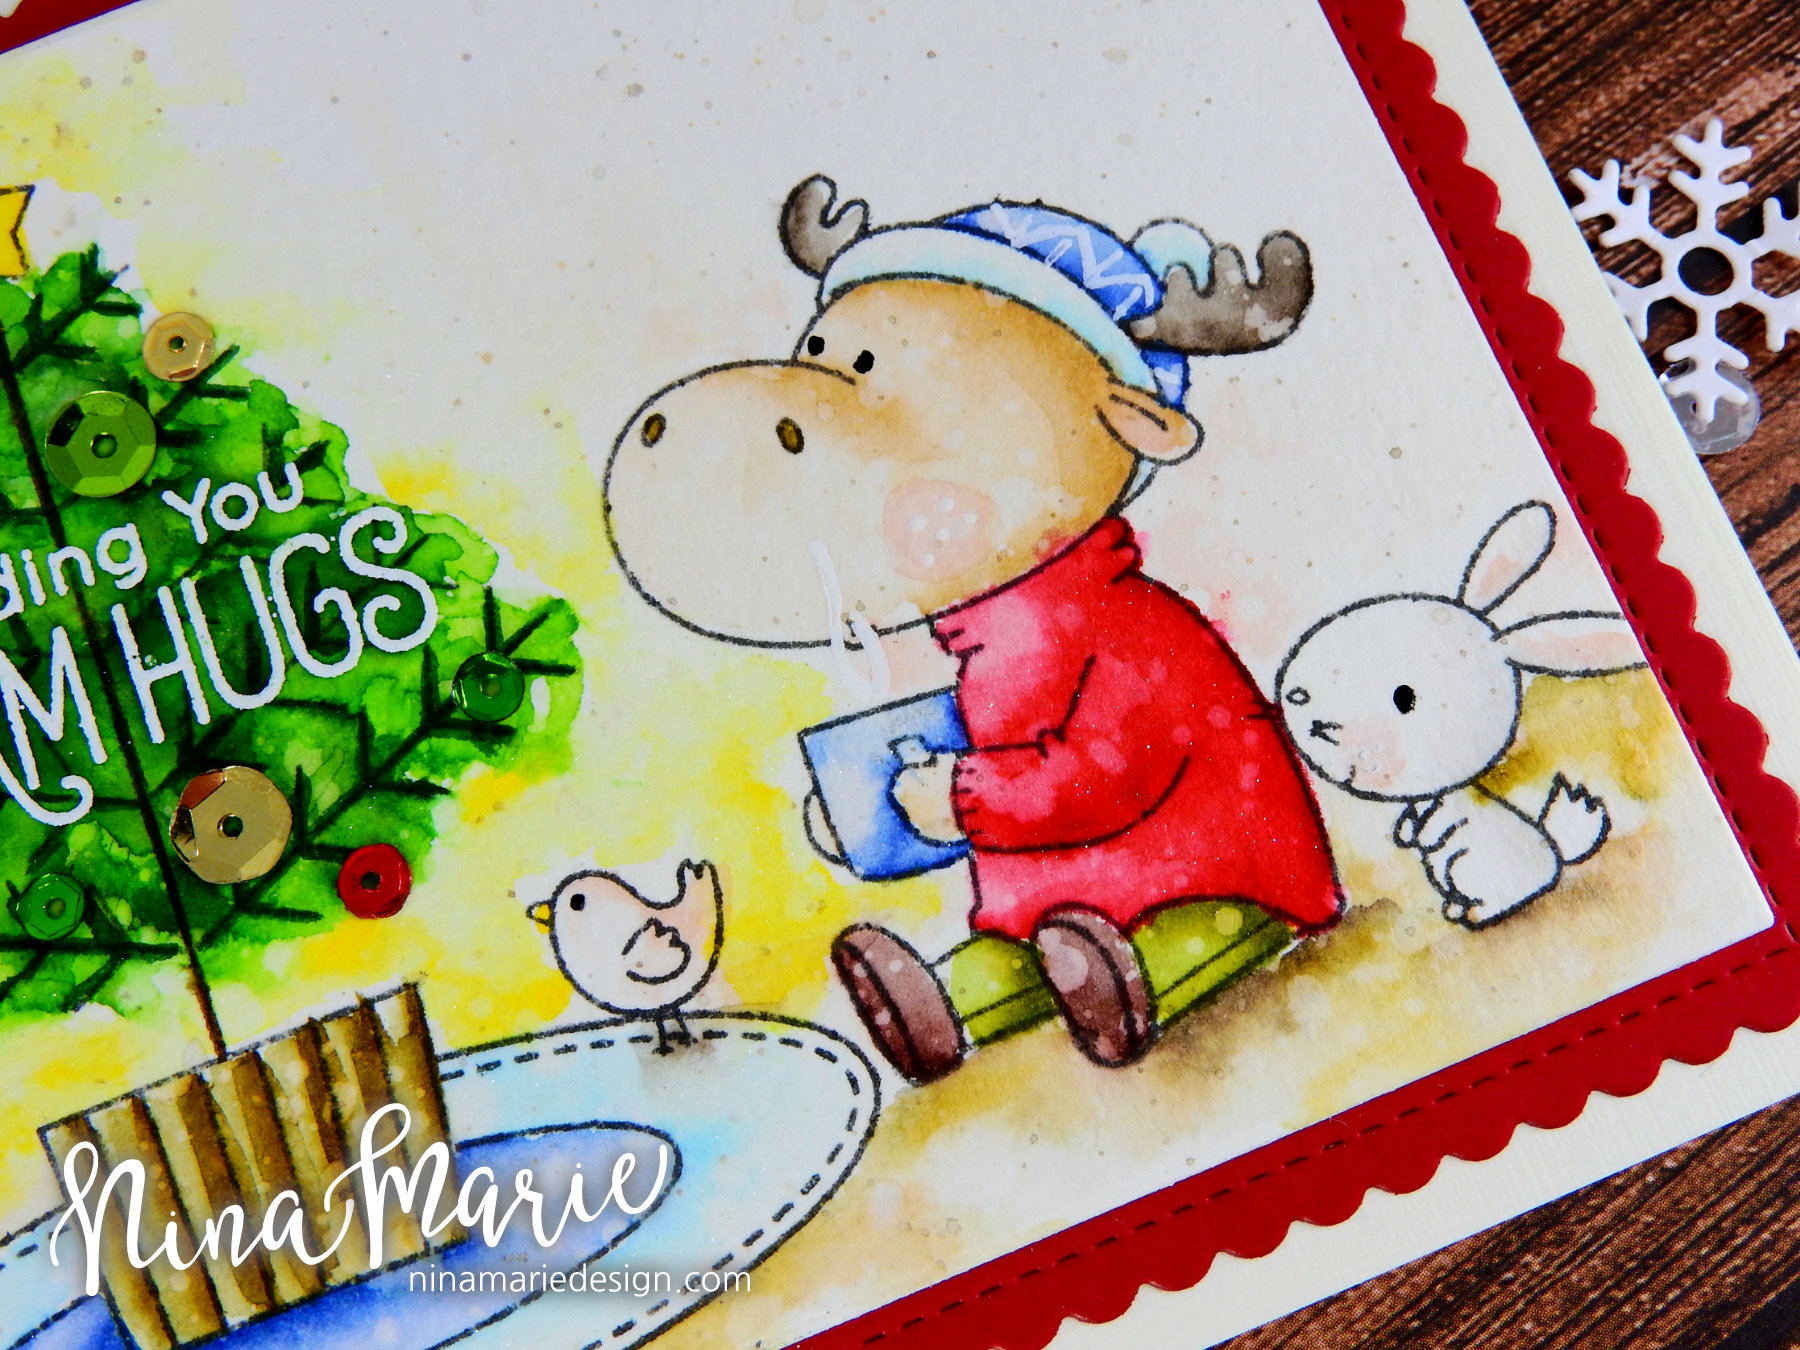
Hello crafty friends! With Christmas just around the corner, I wanted to share a fun light up card video with you that features Chibitronics lights and My Favorite Things stamps and dies.
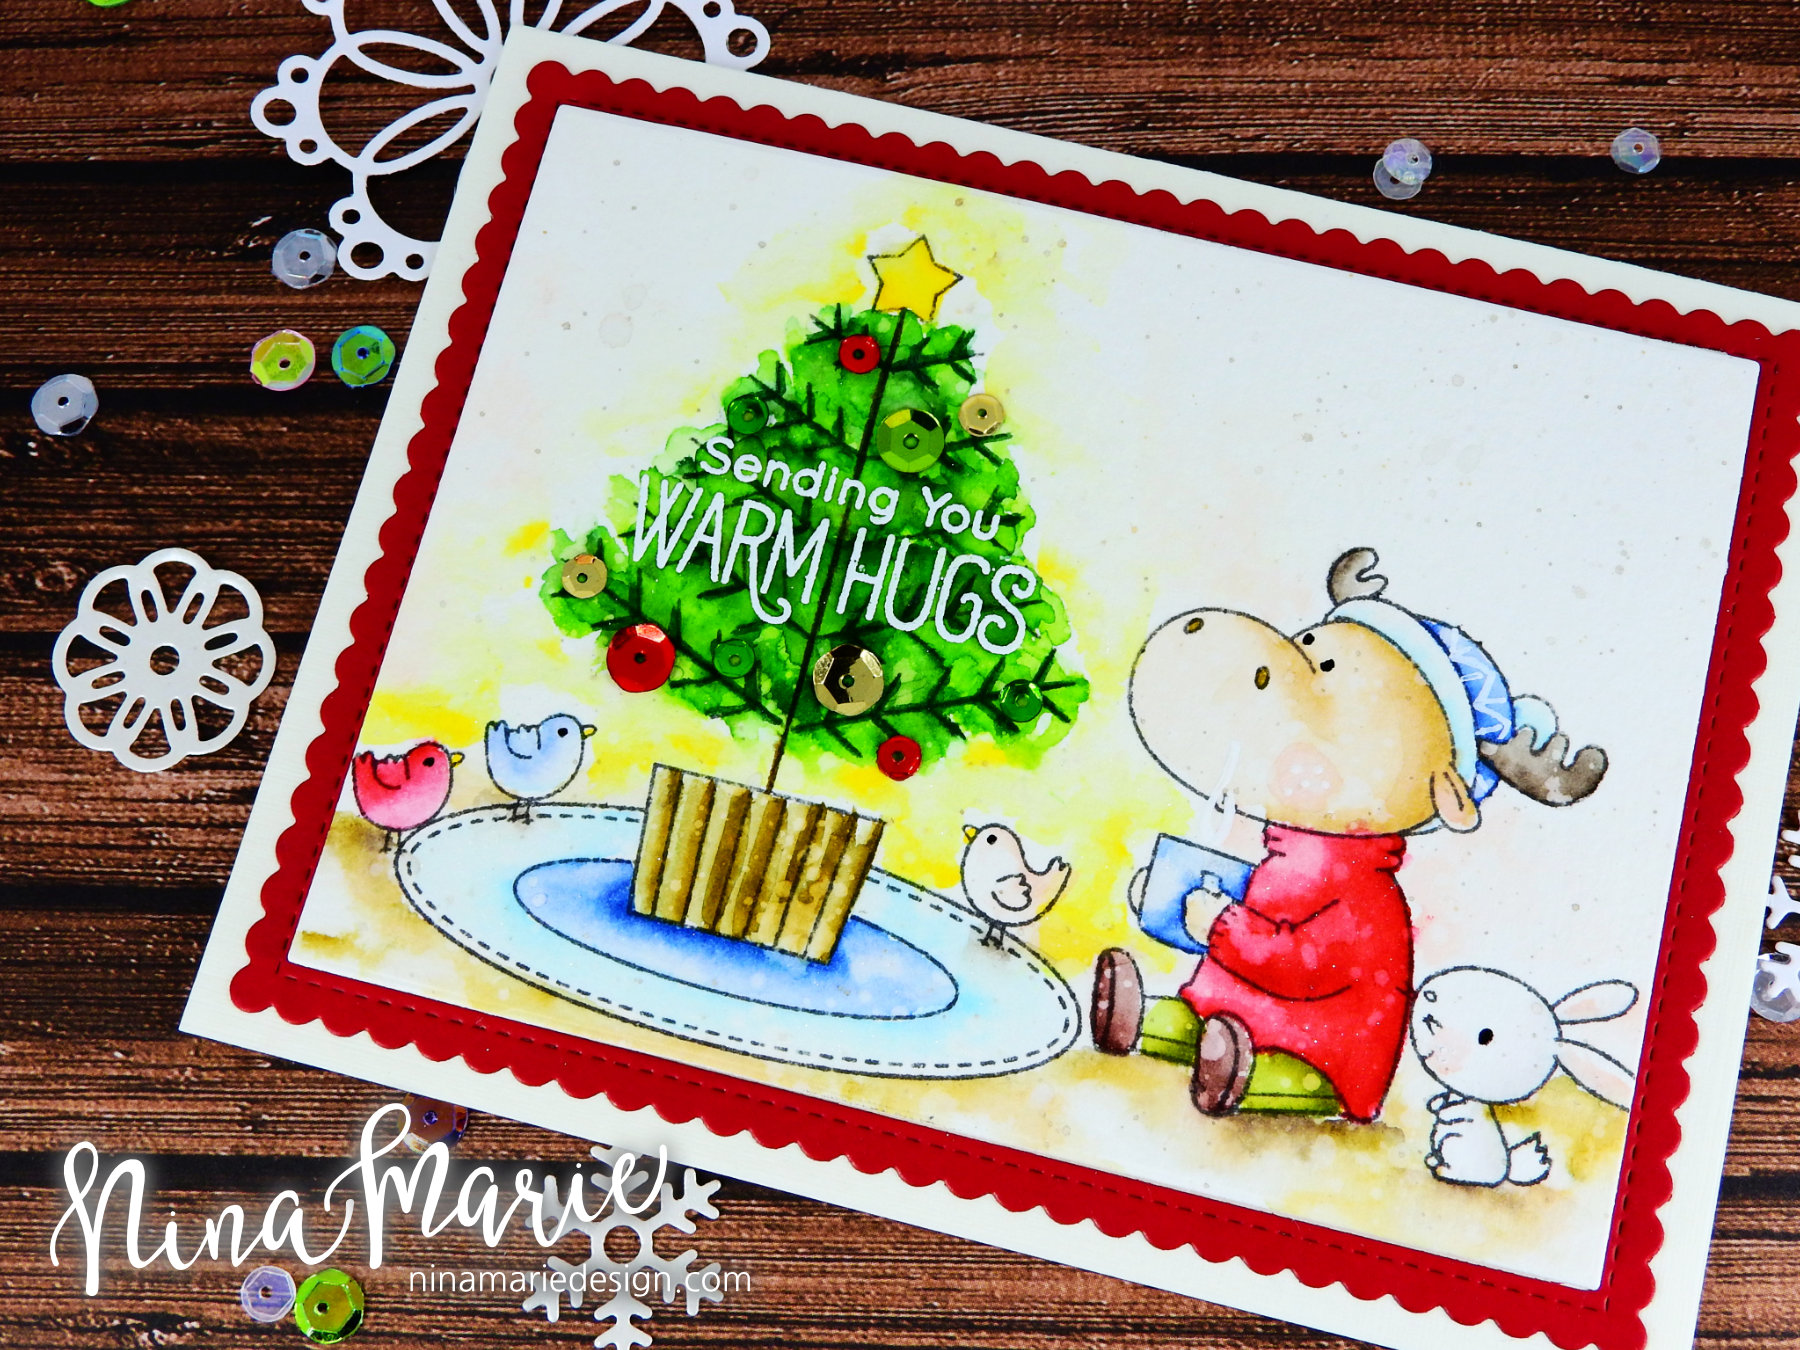
While this card may have a bit of a Christmas feel to it, I think this could be used for more than just Christmas; you could keep the holiday theme and use it as a thank you or thinking of you card for right after Christmas… just because the holiday is over, doesn’t mean you have to stop giving holiday cards out, right?? I purposely used a “sending warm hugs” sentiment so that I could do just that! The images and sentiment are from both the Merry Christmoose and Sweet Forest Friends stamp set by My Favorite Things.

Of course my favorite part about this whole card is the fact that it lights up! The Chibitronic light kits make it very easy to make these fun, interactive light up elements on your card and in today’s video, I will be sharing how I used the Beginner’s kit to create a glowing effect on my tree.
Because this video is more about building the light up element than the coloring, I sped up the coloring process in the video. For those of you that want to know what Zig marker colors I use for the card, I have them listed below for you to reference.
- Moose: Wine Red 024, Olive Green 043, Mid Brown 065, Oatmeal 064, Dull Blue 034, Shadow Mauve 303, Mid Gray 096, Pale Pink 028
- Bunny: Cool Gray 1 099, Pale Pink 028
- Birds: Wine Red 024, Pale Pink 028, Dull Blue 034, Yellow 050
- Tree: Deep Green 044, Light Green 041, Dark Oatmeal 066, Dark Brown 062, Shadow Mauve 303, Yellow 050
- Ground/Background: Oatmeal 064, Dark Oatmeal 066, Yellow 050

I hope you will check out the video to see how this card came together! I love making interactive cards… they are not only so much fun to make, but even more fun to give!
WATCH THE VIDEO
SHARE THIS POST ON SOCIAL MEDIA
Feel free to share this post on social media using this image!
PRODUCTS
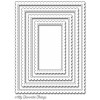
If you are interested in any of the products used in this post, I have them all linked below to Simon Says Stamp. Affiliate links used when possible.


[/fusion_text][/fusion_builder_column][/fusion_builder_row][/fusion_builder_container]

 LinkDeli Free 15 day trial
This card is totally amazing. Who wouldn’t want to play with this after receiving it?
Oh my gosh, that card is so cute! Love the moose and your whole scene. Thanks for the video on how to make the lights work. Merry Christmas and Happy New Year!!
This is such a cute card Nina!! I love the little moose 😊 Thanks for the great video showing the chibi lights.