Generation Texture Paste
Happy Monday!
As I mentioned in my Textured Dragonflies post, I am back to share with you a technique that I call “generation texture paste”, which is similar to the “generation stamping” technique.
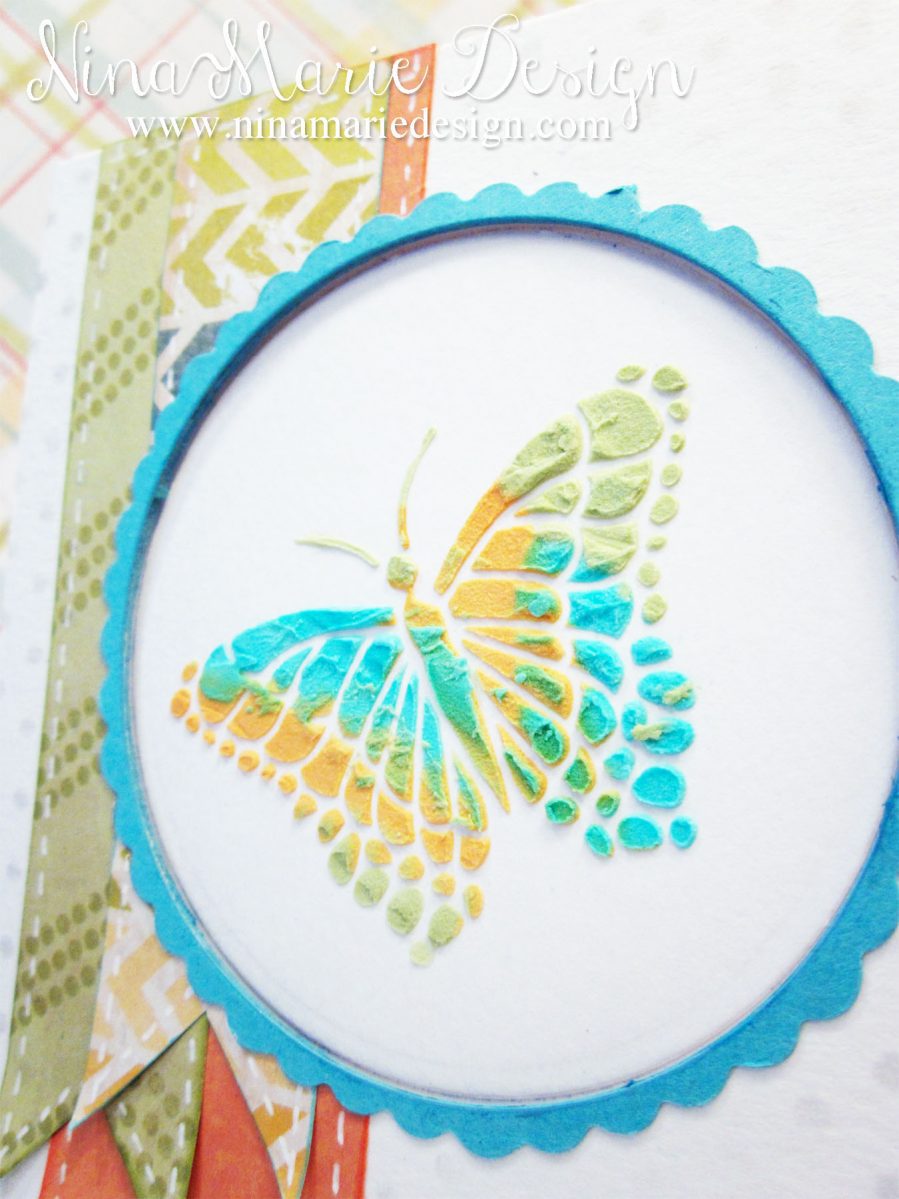
The other day I had mixed up some colored texture paste, and was using it on the butterfly thank you card you see here. After lifting my stencil off the paper, I was about to clean it, and I thought to myself that it was really a shame to get rid of all that excess paste…
So, with my creative gears spinning, I grabbed another piece of watercolor paper, laid my stencil onto the paper and swiped the paste across the stencil once more with my palette knife, creating a blended butterfly image. The image is slightly less raised than the first, and the colors are not as bold, creating a beautifully soft feel that I really like.

Of course, afterwards there was still a bit more texture paste left on my stencil, so I decided to try one more thing… taking a baby wipe, I carefully lifted paste off of the stencil and gently wiped/dabbed it across another portion of the stencil to apply the color. You want to be careful at how much you apply pressure when wiping the paste on. Putting too much pressure will result in the colors mixing so much that they are all one color. Lifting the stencil revealed another beautiful impression… While it is using the same paste as the previous two, yet the results are completely different!
This third generation is my favorite… I love how it is even softer than the second, and the coverage is a little less “perfect”.

All three of these butterflies are created using the Crafter’s Workshop “Mariposas” stencil, Ranger Texture Paste and Tim Holtz distress inks (Peacock Feathers, Peeled Paint and Wild Honey).
And to quickly cover the other supplies used in each card…
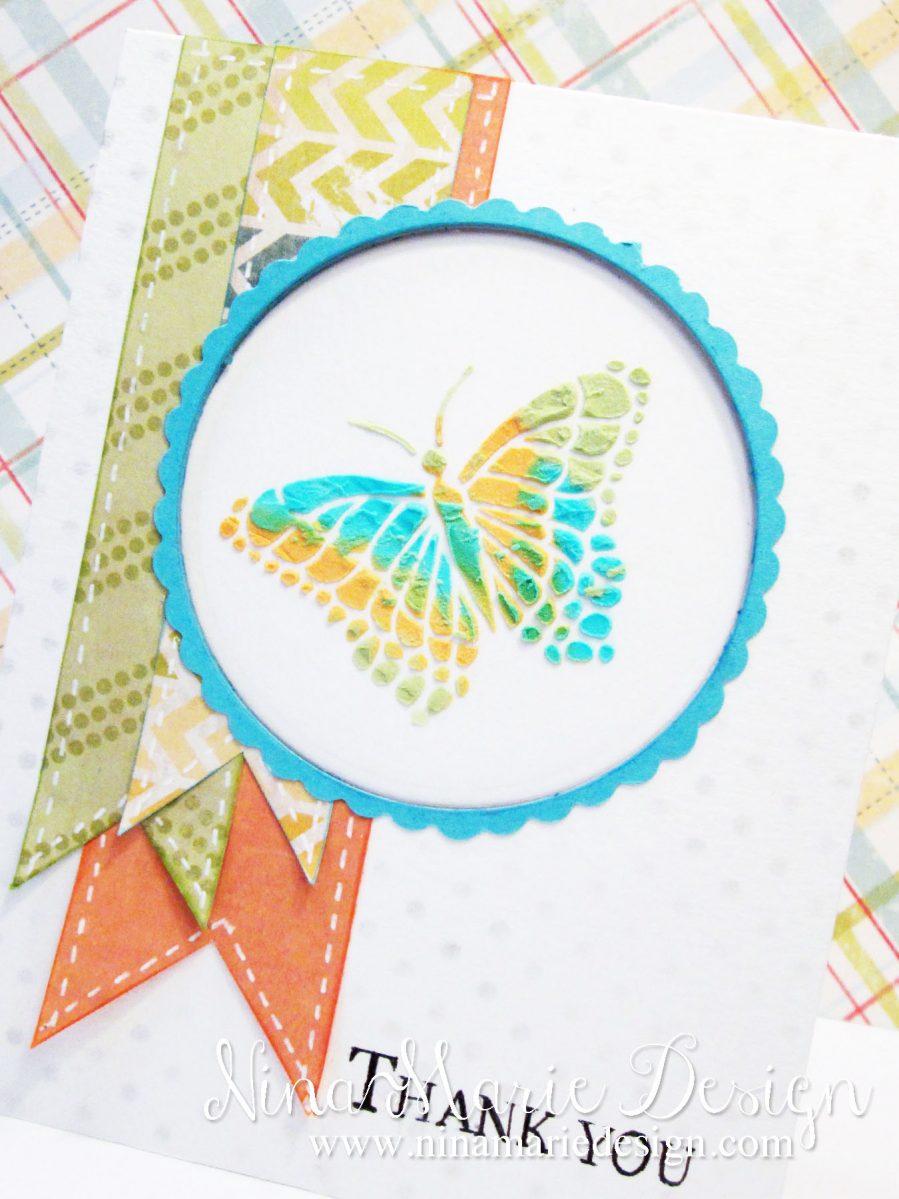
The thank you butterfly’s layout is inspired by the “Freshly Made Sketches” sketch challenge #171. The butterfly is applied onto a Spellbinder’s die cut circle and is inset from the card base. The card base is made from white cardstock while the background polka dots are created with the Simon Says Stamp “Tiny Dots” stencil and some Iced Spruce distress ink. Layered on the card base are patterned papers from the Colorbok “Beach House” paper pad and some Simon Says Stamp “Audrey Blue” cardstock. The sentiment is stamped in black dye ink using a stamp from the Technique Tuesday “Budding Poppies” stamp set.
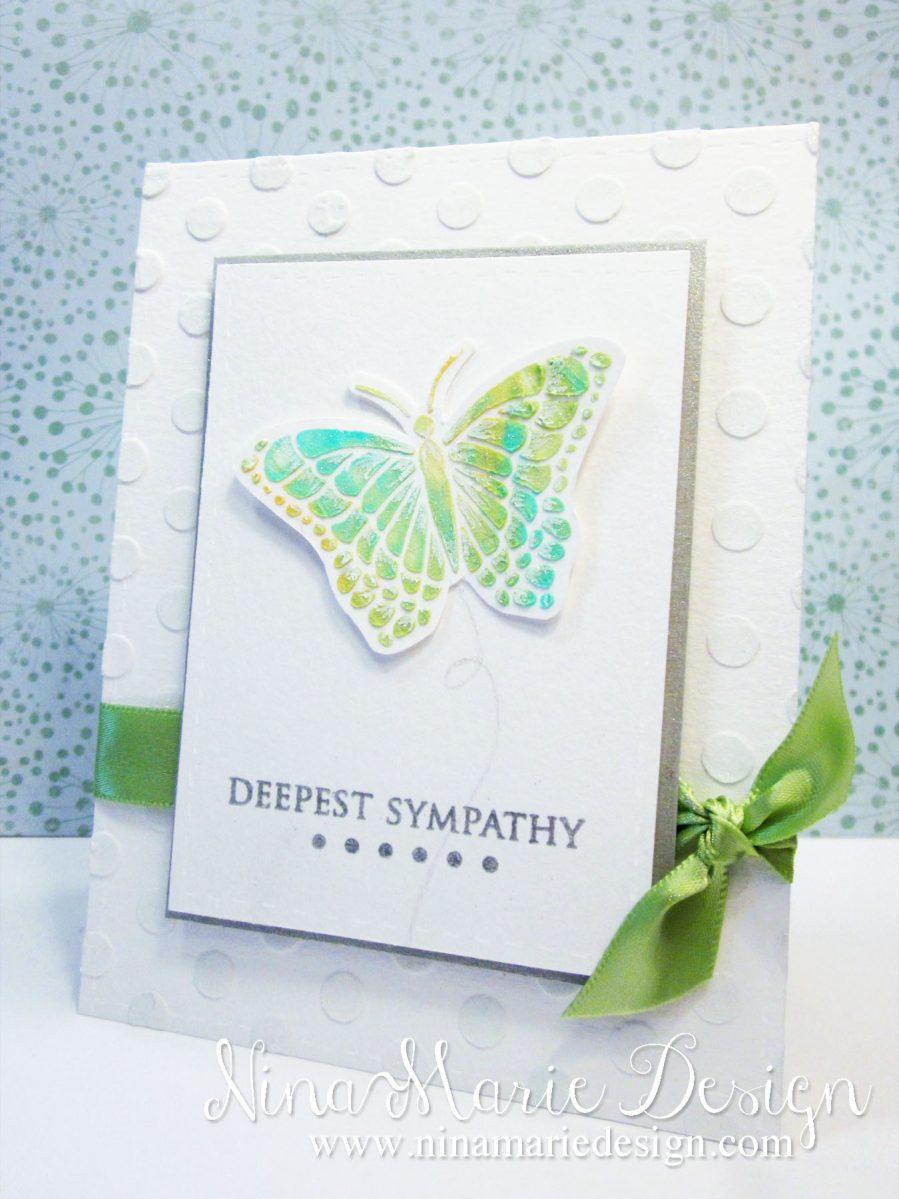
The sympathy card is a clean and simple card, using a lot of neutral tones paired with the pops of color coming from the butterfly and the satin ribbon. The sentiment is created using stamps from the Hero Arts “Everyday Sayings” stamp set, and heat embossed with some silver embossing powder. I layered a piece of grey cardstock behind the butterfly panel and adhered it to my card base with foam tape. The card base is covered in polka dots using the Heidi Swapp polka dot stencil and some texture paste. I also added some Wink of Stella clear glitter to the butterfly, the grey cardstock, and the polka dots of the card base.
Lastly, the congratulations card is created by first inking the left side of the paper with some Peacock Feathers, Peeled Paint and Wild Honey distress inks. I flicked on some clean water to create water spots, and also a bit of gold and mint color shine to add a bit of shimmer. I then stamped a leaf stamp in a green pigment ink before going over the image with colored pencils and a blender pen, to add shading and dimension. I die cut the “congrats” out of some white cardstock using a die from the Simon Says Stamp “Cake and Congrats” set, before embossing it with some pearl embossing powder. Wink of Stella clear glitter was applied to the butterfly, as well as on some of the leaves in the background.

While I am sure others have thought of this idea before, this something new that I tried and I love how it worked out! I hope you’ve enjoyed this little technique tutorial and that it has inspired you to try to get more out of your embossing pastes. Thank you so much for stopping by!
Happy Creating!
Challenges
The “Thank You Butterfly” card has been submitted into the Frseshly Made Sketches sketch challenge #171 and the “Congrats” card is submitted into the Simon Says Stamp January “Work It Wednesday: Something New” challenge and the Simon Says Stamp “Anything Goes” Wednesday Challenge.
[one_third]![]() [/one_third][one_third]
[/one_third][one_third] [/one_third][one_third_last]
![]() [/one_third_last]
[/one_third_last]

 LinkDeli Free 15 day trial
Absolutely stunning! All of them! I agree the third is my fave. I just stumbled across your blog and I will definitely be back!
Gorgeous cards Nina! They are all so pretty & I also especially love the softness of the third.
Thanks for joining us at Simon Says Stamp Wednesday Challenge
hugs
Mandy xx
Beautiful cards Nina, I love the techniques you’ve used to create the gorgeous butterflies and a wonderful colour scheme!!!
Thanks so much for joining along with Simon Says Stamp Wednesday Challenge
hugs
Heather xx
I am so inspired by your creativity! All of these cards are gorgeous! Keep up the fantastic work Nina!!!
Hi, Nina! I saw your card on Flickr and just had to come by and see how you created the pretty butterfly. What wonderful results you achieved with this texture paste – each card is just amazing. Thanks for sharing your process.
Thank you Joy! I am so glad you enjoyed it and stopped by!
Oh my gosh! All three are so lovely and it’s amazing that you made the excess paste work for two more stunning cards, and kept from blending the colors so much as to lose the beautiful effect. Wonderful tip. Thanks so much for sharing with us at FMS this week!