Sunday Spotlight: Coloring Texture Paste
Hello! I am so glad you’ve stopped by for toady’s Sunday Spotlight! Today I am showcasing how to add color to your texture pastes to create one-of-kind tones for all your cards… so let’s get started!
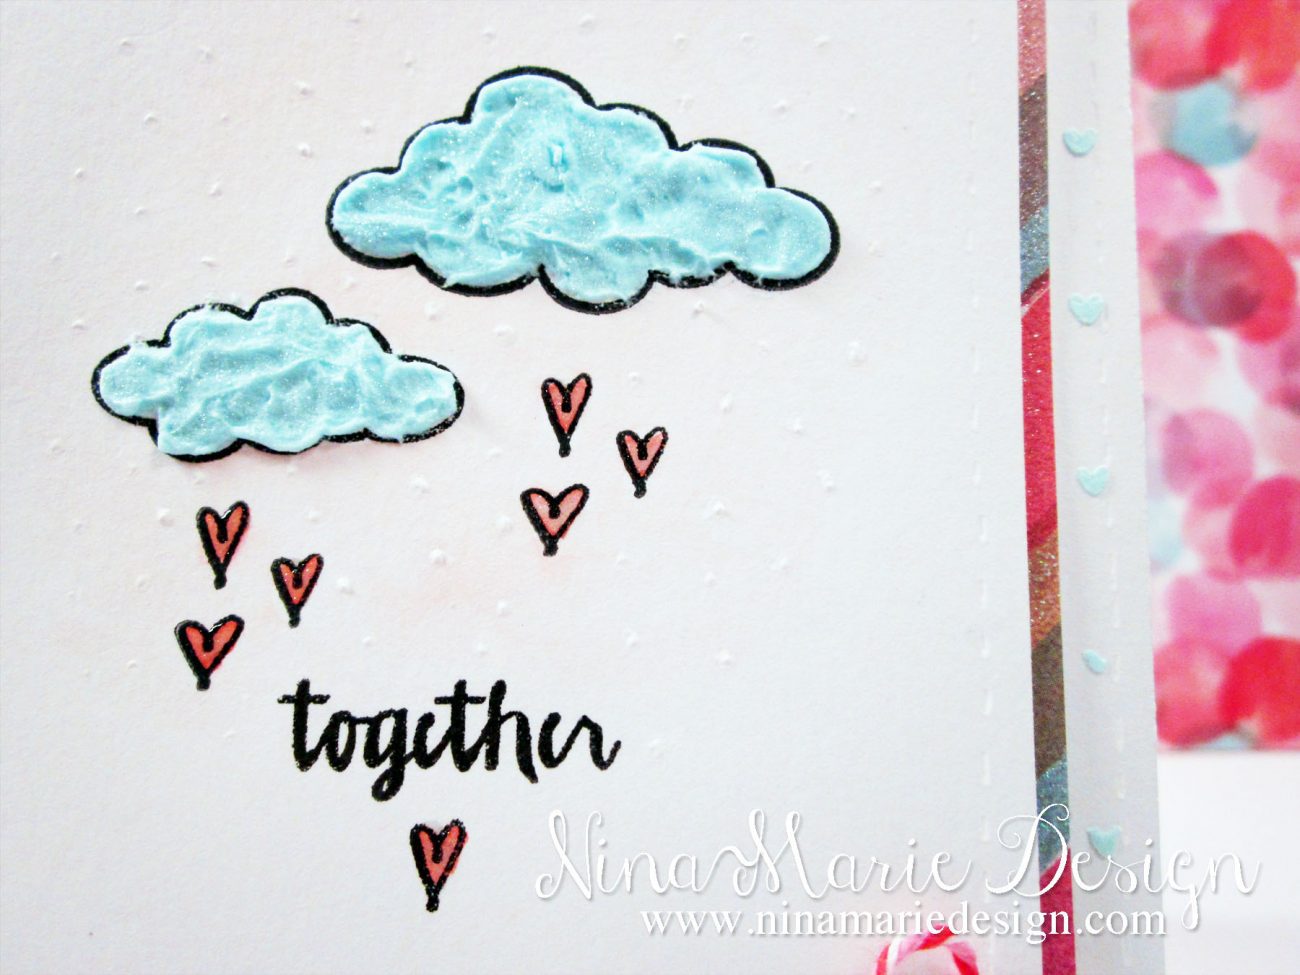
For my card today, I am using a pair of clouds from the Avery Elle “Weather It” stamp set… I love the sweet little images you can stamp underneath them! I chose to work with the hearts, as this is a love themed card. All of my stamping is done on watercolor paper with Jet Black StazOn ink.

Once my images were stamped, I began mixing my Ranger texture paste with some Broken China distress ink (love this color!). When working with inks to color your texture paste, always keep in mind that the less ink you use, the lighter your color will be… and the more ink you add, the more intense the color will end up.

This texture paste is perfect for clouds! I love the fluffy effect it has… when applying it to my paper with my paintbrush, I made sure not to smooth it out completely, leaving the peaks and valleys to create depth, and a bit of realism. With the leftover texture paste, I was able to create two backgrounds, including the card base for this card, which uses the Simon Says Stamp”Tiny Hearts” stencil.

The hearts are colored with Worn Lipstick distress ink and a water brush. With a bit of Spun Sugar, I created a pale pink sky wash behind the clouds. I also took some white acrylic paint and dropped dots of paint into the background to add a bit of interest. Both the clouds and hearts are covered in Wink Of Stella clear glitter; I could have used some loose glitter on the texture paste before it dried, but I was going for just a subtle shimmer and opted to use the Wink of Stella.

The panel is layered upon a piece of glitter paper from the Recollections “Painted Fancy” collection, and then adhered to my card base with dimensional foam tape.
I have a short video on the making of this card, set to music, which also includes the footage on how I mixed my texture paste and ink together. I also show how much use you can get out of your texture paste, as I was able to make both my clouds and two stenciled backgrounds with the colored paste I mixed up for this project.
Enjoy, and thank you so much for stopping by! If you enjoyed this video, be sure to give it a “thumbs up” and subscribe. Happy Creating!
Challenges
This card is submitted to the Simon Says Stamp “Have a Heart” Wednesday Challenge, the Color Throwdown #326 Color Challenge and the CASology “Friend” challenge.
[one_third]![]() [/one_third][one_third]
[/one_third][one_third]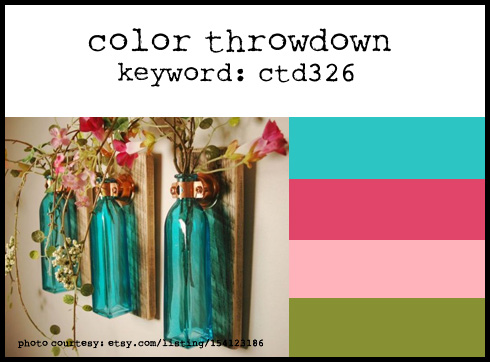 [/one_third][one_third_last]
 [/one_third_last]
Supplies
- Ranger Inkssentials watercolor paper
- Recollections “Painted Fancy” 12×12 paper pad
- Avery Elle “Weather It” stamp set
- Ranger Texture Paste
- Simon Says Stamp “Tiny Hearts” stencil
- Yasutomo pointed nib medium water brush
- an old paintbrush (for applying the texture paste)
- Wink of Stella clear glitter
- StazOn Jet Black ink
- Tim Holtz distress ink: Broken China, Spun Sugar and Worn Lipstick
- Glossy Accents
- pink and red baker’s twine
- Gelly Roll white gel pen
note: the polka dot stencil shown in the video was the Heidi Swapp “Polka Dots” stencil

 LinkDeli Free 15 day trial
oh my gosh! this card is ADORABLE :) love it!!! thank you for playing along with us at simon says wednesday challenge!
Lovely CAS design with the textured clouds! So glad you were able to play along with us at Color Throwdown!
I am so glad I found your blog Nina! You are incredibly talented and I have learned so much in such a shore time. Can’t wait to see what you do next! Thanks for inspiring me!
I am so glad you stopped by and enjoyed your time visiting Nancy! Thank you so much!
Nina-Marie :)
Such a sweet card, love those little heart rain drops. Thank you so much for joining us this week at CASology
Adorable!! Love those fluffy clouds!! So glad you played along at CTD!!
Love the texture on those clouds! So glad you joined us at CASology this week!
Love your blue clouds and the card…