Merry Little Christmas
And now the countdown begins! 24 days left until Christmas… hard to believe, isn’t it?
 For today’s card I decided to challenge myself in limiting my color palette down to three choices. It’s always fun to do this every once in a while… gets you thinking outside the box! The result was a modern-style in a mostly white and gray design, with some splashes of red to really make everything pop.
I sketched out the entire design from a variety of sketch designs, which I will have links to down below. I arranged them all in a layout that was appealing to me in a 4 1/4″ x 5 1/2″ rectangle, and then added the sentiment above the snowmen. The sentiment uses two fonts; “Adobe Ming Std” (available through the Adobe Cloud Creative Suite and on some Apple computers; a good substitute would be Times New Roman), and “Jenna Sue”(available for free on FontSquirrel.com).
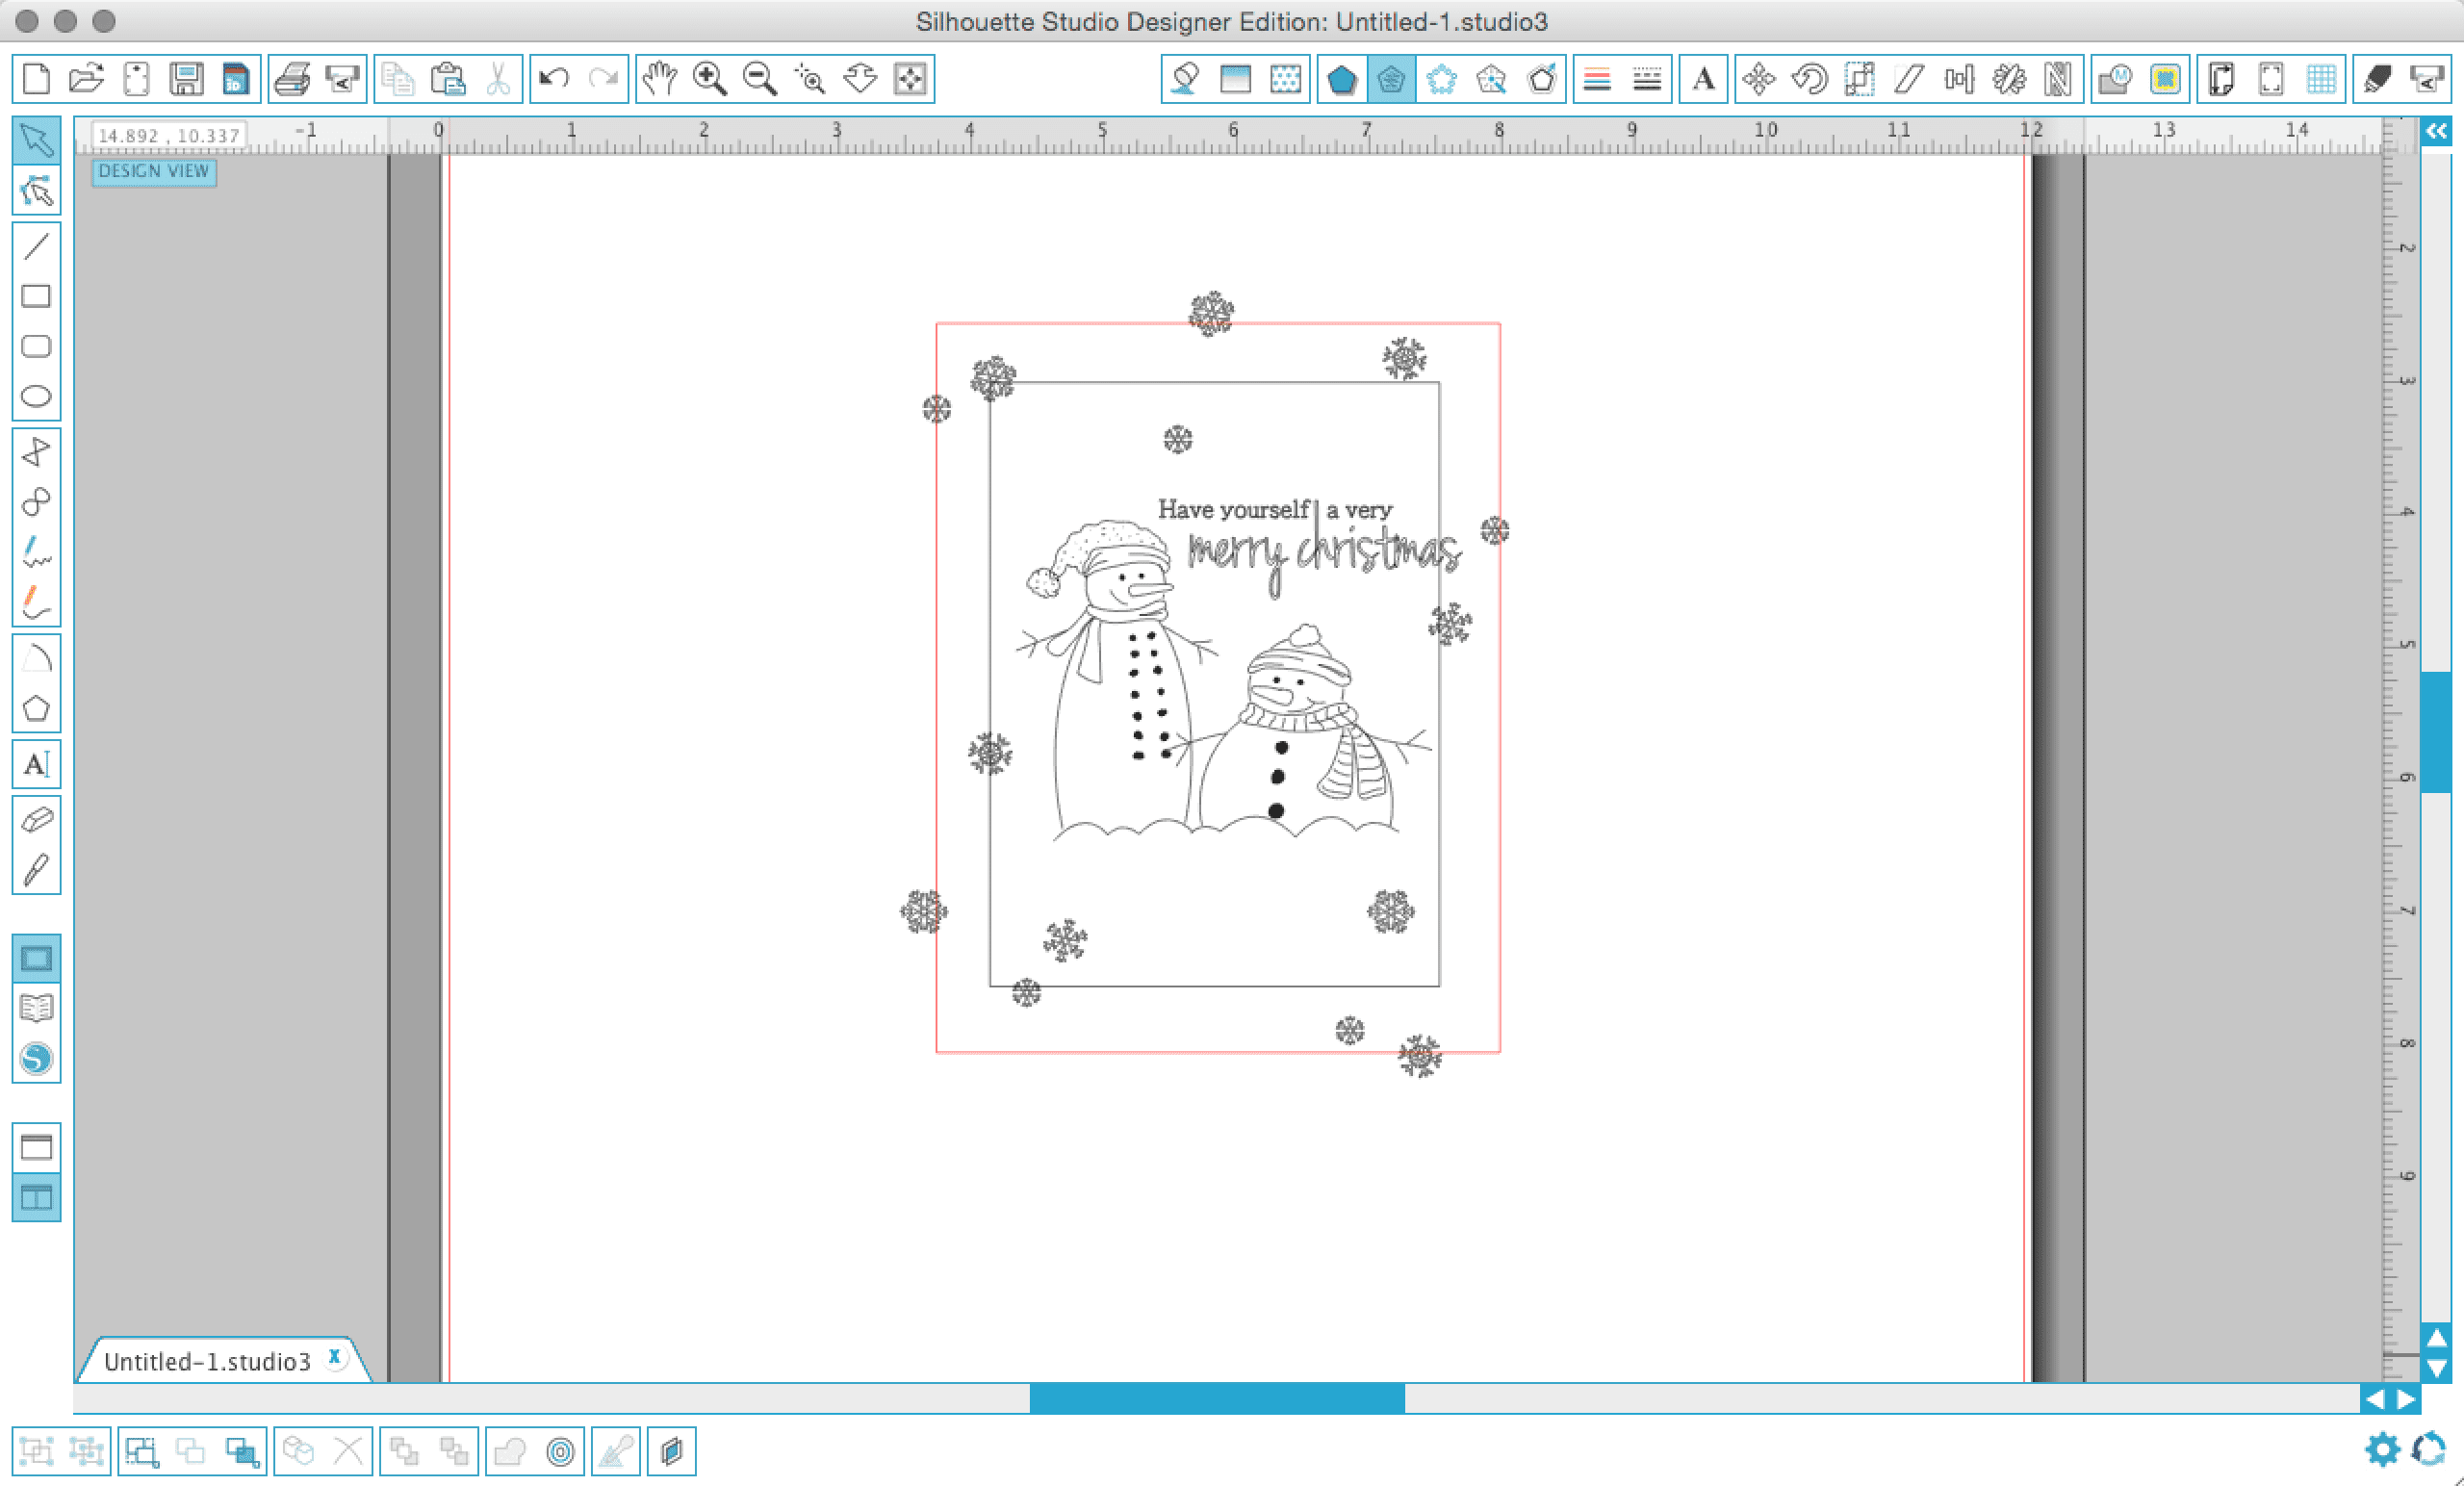
After creating all my pieces, I assigned all the lines but the outer rectangle as sketch lines. Using my Silhouette Cameo, a white gel pen and gray cardstock, I sketched out the entire design, minus the outer rectangle and the “Merry Christmas” portion of the sentiment. You’ll see why in a moment.
After the first sketching round was finished, I reloaded the mat back into the machine (make sure the mat is in the same position as it was the first time you loaded it), and sketched the “Merry Christmas” out in a red sketch pen. I then once more reloaded my mat (with the paper that was just sketched onto still adhered) back into the machine and cut the outer rectangle, using my ratchet blade.
 Now the design needs to pop! With that same red pen, I filled in portions of the snowmen’s hats and scarves. I also took the white gel pen that was used to draw everything, and added some additional details to the snowmen and the snow they are sitting in… and of course, some white faux stitching around the edges!
With some white spray ink, I unscrewed the bottle and flicked on droplets of ink onto the panel. For a little more dimension, I also used some white distress paint and a fine tip paint brush, and flicked on some paint as well (you’ll want to unscrew the entire dauber off the bottle and dip your brush into the paint). After everything dried, I tied on some red baker’s twine and adhered the entire panel onto a 4 1/2″ x 5 3/4″ card base, made from white cardstock.
And there we have it! I now challenge all of you to go ahead and try the “Three-Color-Challenge” yourself and create a unique Christmas or winter themed card of your own! Feel free to share a link to your blog featuring a finished card using this “Three-Color-Challenge” in the comments section below.
Supplies
- Recollections® Cardstock Paper Value Pack (8.5″ X 11″)
- Uni-Ball Signo Gel Pen -White
- Silhouette Sketch Pen Basics Pack
- Silhouette Cameo cutting mat, pen holder and ratchet blade
- “Snowman” (the shorter one) and “Snowman” (the taller one; both snowmen have the same file name), by Rivka Wilkins
- Tim Holtz Distress Spray Stain: Picket Fence
- Tim Holtz Distress Paint: Picket Fence
- We R Memory Keepers Red Baker’s Twine Spool
Note: the Snowflake sketch design is my own; I am currently not selling my designs, but there are many great snowflake files to choose from on the Silhouette Design Store!

 LinkDeli Free 15 day trial
Wow! Love the blog! And the holiday cards are very nicely done!