STAMPtember: Memory Box + Glimmer Night Sky with Distress Crayons
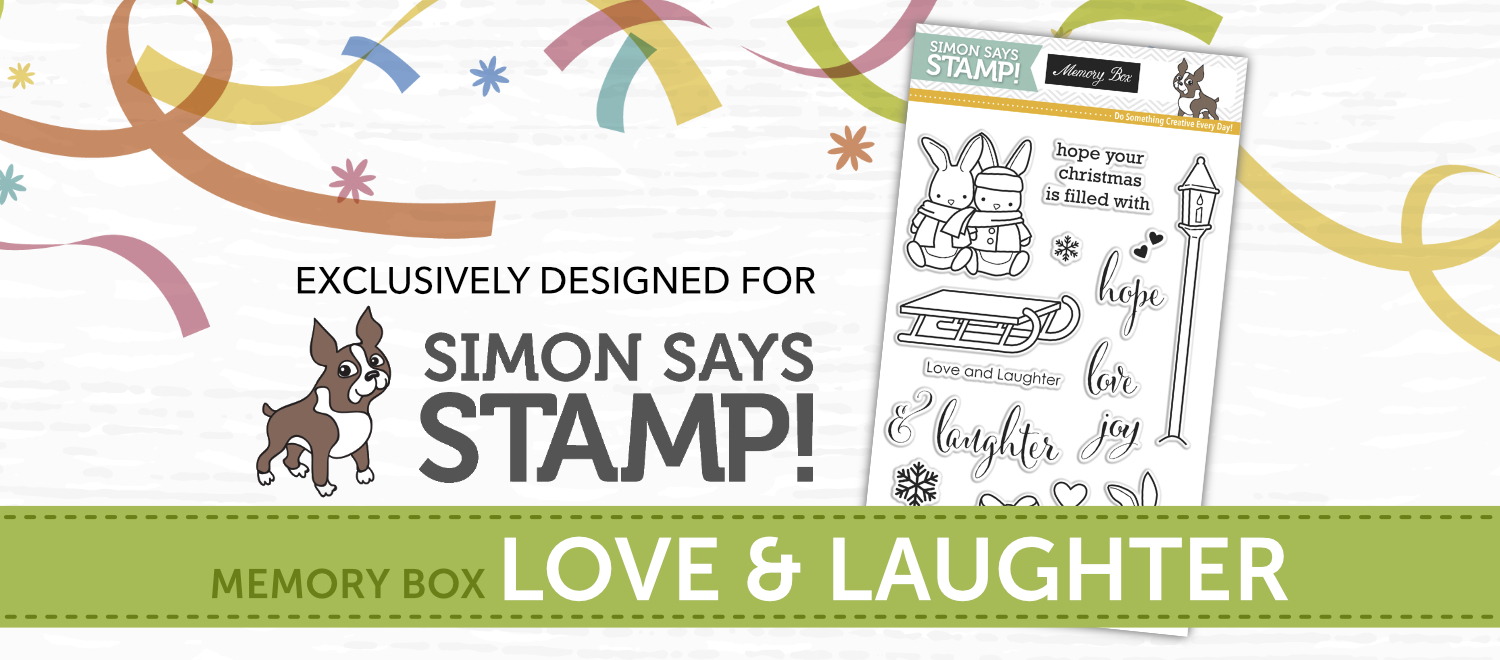
Hi friends! Today is the reveal of the newest STAMPtember exclusive from Simon Says Stamp called Love and Laughter! This set is in collaboration with Memory Box and I LOVE the sweet little bunnies that are included in this stamp set.
There are also coordinating dies for this stamp set. You can buy the stamp set and dies HERE at the Simon Says Stamp store. If you would like just the stamp set, it can be purchased separately HERE.
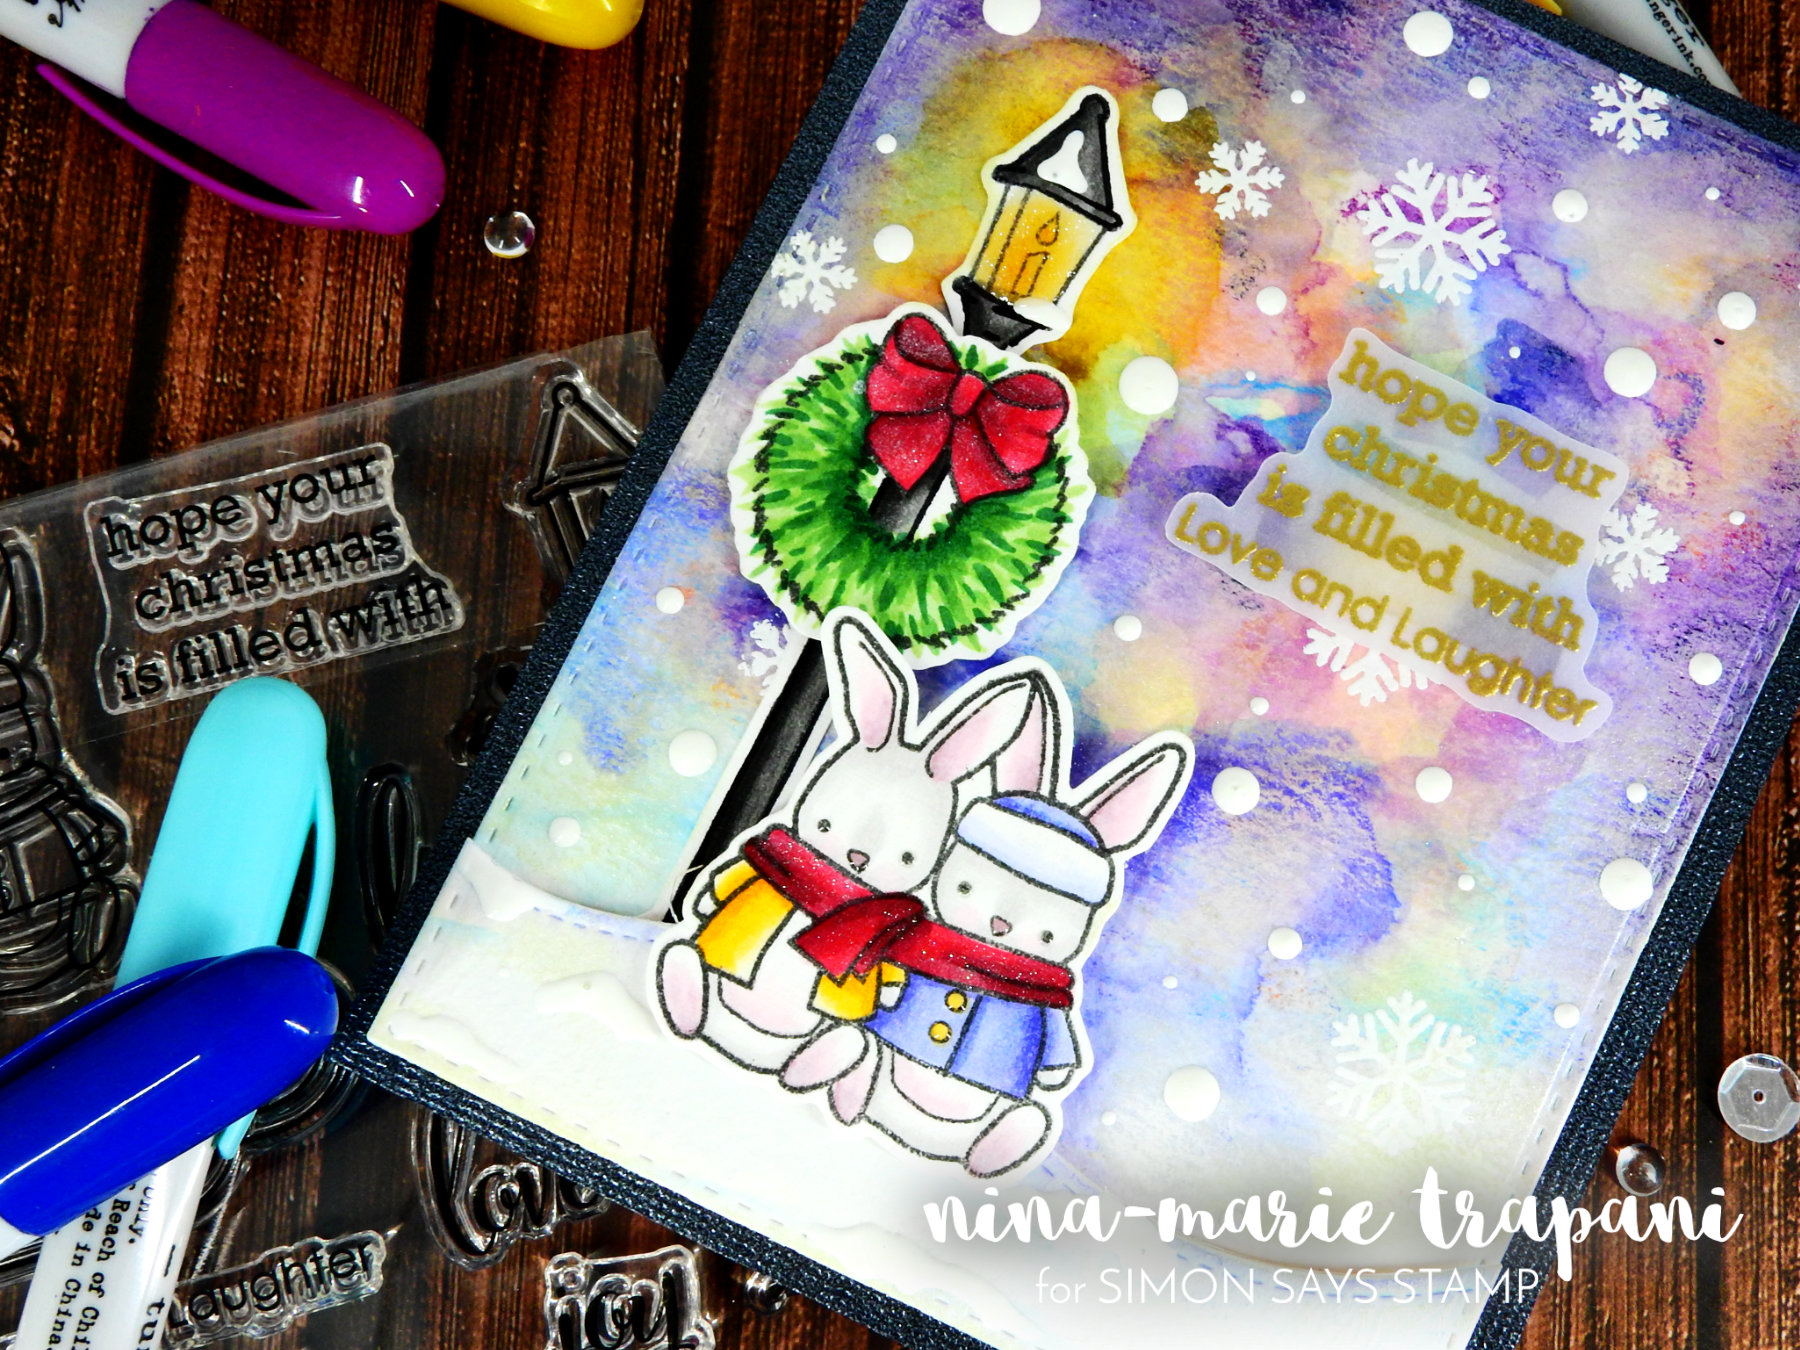
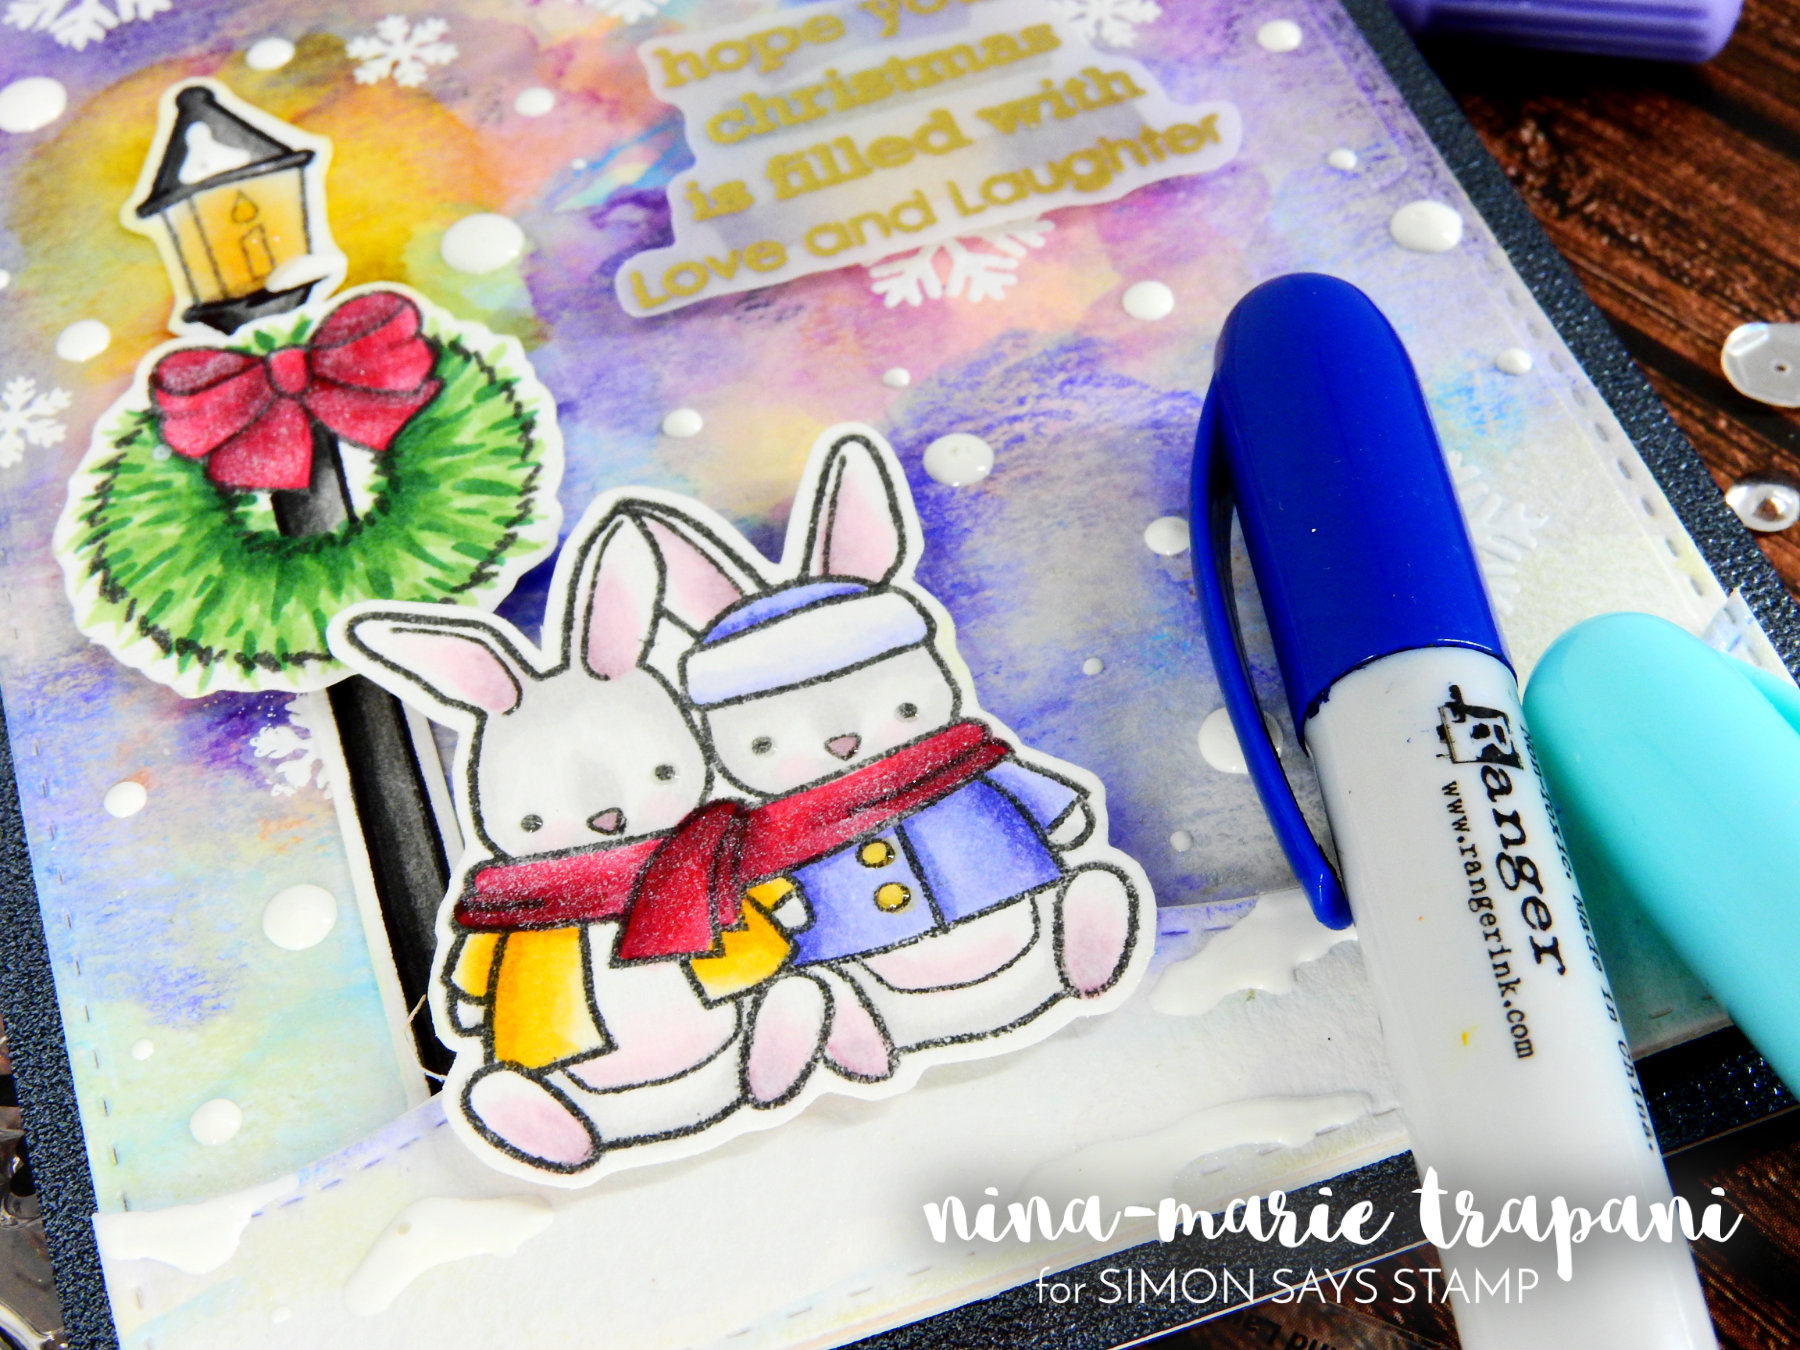
I created a snowy scene with this set, using Copics, Distress Crayons and LOTS of shimmer! Let me show you…
The bunnies, wreath and lamp post are all colored with Copics on linen paper. The shading on all of the images are pretty simple; the only part that might be considered a bit more “difficult” (although it really isn’t), is the coloring on the wreath. I wanted something that was a bit more realistic, so instead of coloring with flat color I used marker flicks to fill in the wreath, which adds a lot more interest.
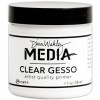
The background was made with Distress Crayons; this technique is SO much fun and really easy! The most important thing to have for this is clear gesso. Gesso allows the Distress Crayons to move more easily onto the paper and blend out evenly, yet still allows the tooth of the paper and the texture of the crayons to show through. I used Canson XL paper and covered it with a thin coating of Dina Wakely Clear Gesso. You could also try a clear paste if you don’t have gesso.
To apply my Distress Crayons and create this variegated, snowy backdrop, I started scribbling color onto the paper, one color at a time. My first color was Dried Marigold. I applied random scribbles over color in select areas around the paper (I did not cover the entire paper with any single color, but instead used a series of colors in certain areas to fill up the entire paper). Once the Dried Marigold was applied, I used some water and a paint brush to blend the color out. Once I had the color blended with the water, I dried it with my heat gun.
I repeated this process for all the Distress Crayon colors used in my card; applying the color, blending with water and then drying with my heat tool. The result was a stunning, layered effect! All the colors I used are listed in the order they were used, as follows: Dried Marigold, Tumbled Glass, Shaded Lilac, Seedless Preserves, Chipped Sapphire. I also used a bit of Fossilized Amber in the area of which the lamppost would be, creating a soft glow of light.
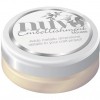
I heat embossed snowflakes from the Love and Laughter stamp set in white embossing powder and then moved on to adding in some shimmer. Looking at some of the pictures, you may notice the shimmery-looking sheen on the paper. This is very hard to capture in photos, but the results in real life are STUNNING. This was created with Tonic’s Nuvo Embellishment Mousse; I used Mother of Pearl. This mousse can be used just like embossing paste, but it also has a few special properties that allow you to do EVEN MORE with this stuff; one of which is creating a shimmery sheen to paper. I did this very easily by taking a soft, dry cloth and burnishing the mousse onto the paper. You need very little; in this case, less is more.
When you use just a thin coat as I did here, it allows the colors underneath to still shine through because the thin coat is transparent. The more you apply however, the more opaque the mousse will be over the paper you are apply it to, so don’t get too heavy with it in an instance like this. :)
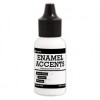
For a bit of final embellishing, I used Ranger’s white enamel accents to add snow drops in the background, as well as snow piles on the ground and lamp post. I also covered the wreath bow and the bunnies’ scarf with clear glitter from Spectrum Noir.
I hope this has been inspiring to you! Be sure to stop by Simon Says Stamp and pick up your copy of this limited edition STAMPtember Exclusive!!
MORE INSPIRATION
Looking for more Distress Crayon inspiration? Check out these two videos below for more ideas, tips and tricks!
[one_half padding=”0 5px 0 5px”]
PRODUCTS
If you are interested in any of the products used in this post, I have them all linked below to Simon Says Stamp. Affiliate links used when possible.
[su_expand more_text=”SHOW MORE” height=”400″ link_color=”#007474″ more_icon=”icon: chevron-down” less_icon=”icon: chevron-up” class=”expand products”]
SIMON SAYS STAMP
[/su_expand]












 LinkDeli Free 15 day trial
I love this adorable set and you made it popped up with your wonderful background ! Thanks for sharing.
Another adorable card Nina. Isn’t this just the sweetest set? Love the bunnies and toboggan. As always, this was a great tutorial!
So pretty, great
background coloring
and design.
Carla from Utah
Love the background! It looks awesome! Such a cute card using this new adorable stamp set!