One Layer Emboss Resist Scene
Happy Friday! I’m so happy you’ve stopped by today for a brand new card share featuring Newton’s Nook stamps!
This post is a bit of a bittersweet one for me, as it is my last one as a Design Team member for Newton’s Nook. Newton’s Nook has been one of my favorite stamp companies ever since I first discovered their stamps, and in June of 2015 I was asked to be part of their Design Team… of course I said yes! I have loved being part of the Newton’s Nook team and will forever be thankful to Jen and Jeff Jackson (the owners of Newton’s Nook), for giving me the chance to create and be a part of their Newton’s Nook family. If you are interested in exploring more of my Newton’s Nook creations, you can see them all here.
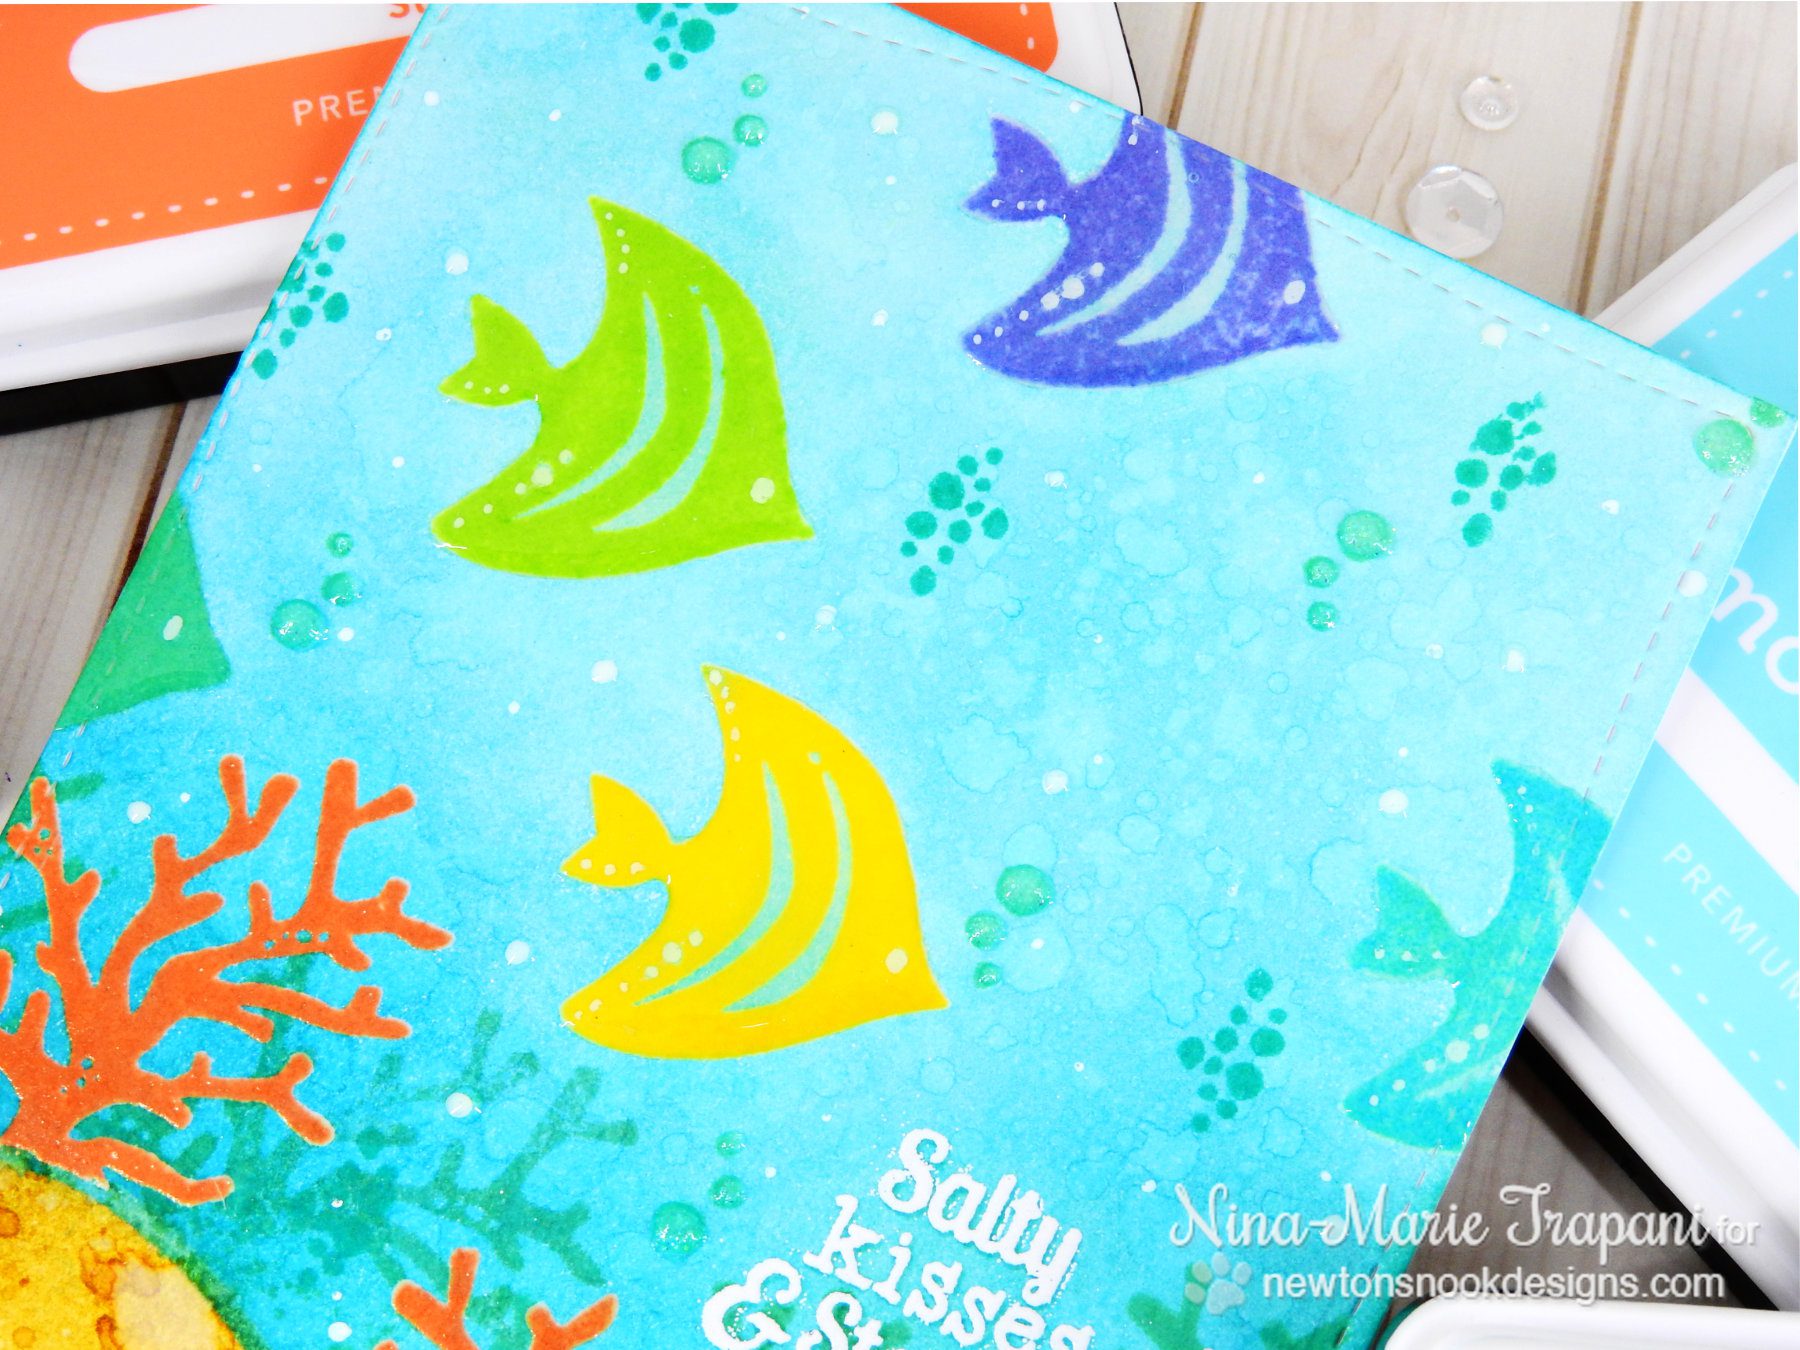
For today’s card I wanted to use this fun underwater stamp set called Tranquil Tides; this came out last year, but it’s a favorite of mine and I wanted to use this to show you how you can build one layer scenes using emboss resist and a bit of creative stamping!
I started off by stamping the fish and orange coral; the fish and coral are stamped with dye inks and these inks are not able to be heat embossed with. However, with the help of my MISTI, I was able to stamp back over top of each image with embossing ink after stamping the first impression with a colored dye ink. The embossed stamping is important because it allows me to have an area that is resisting the ink blending I did later on (I’ll explain that in a minute). I repeated the dye ink/embossing ink stamping until I had stamped all the fish and coral on my card.
For those of you interested in the ink colors I used they are as follow: Mango Smoothie, Lime Green, Tide Pool, Hydrangea and Scuba for the fish; Sunkist and Scuba for the coral; Scuba and Tide Pool for the bubbles. All ink colors are linked below in the product list.
Next, I ink blended a water background using Distress Inks; I used Salty Ocean and Peacock Feathers for this. I also added water droplets onto the background using a Distress Sprayer. For the sandy ocean floor, I used Antique Linen and Brushed Corduroy Distress Inks.
Finally, I white heat embossed a sentiment from the Tranquil Tides set, and added some Glossy Accents and Nuvo Glitter Droplets onto the bubbles. I ended up deciding to also add the Glossy Accents over the heat embossed fish, because I wanted a bit more glossy shine on them.
A big thank you again to Newton’s Nook and my fellow Design Team members for their friendship, support and fun times! And thank YOU readers for visiting and spending time with me; I always love reading your comments and responding to questions!
MORE INSPIRATION
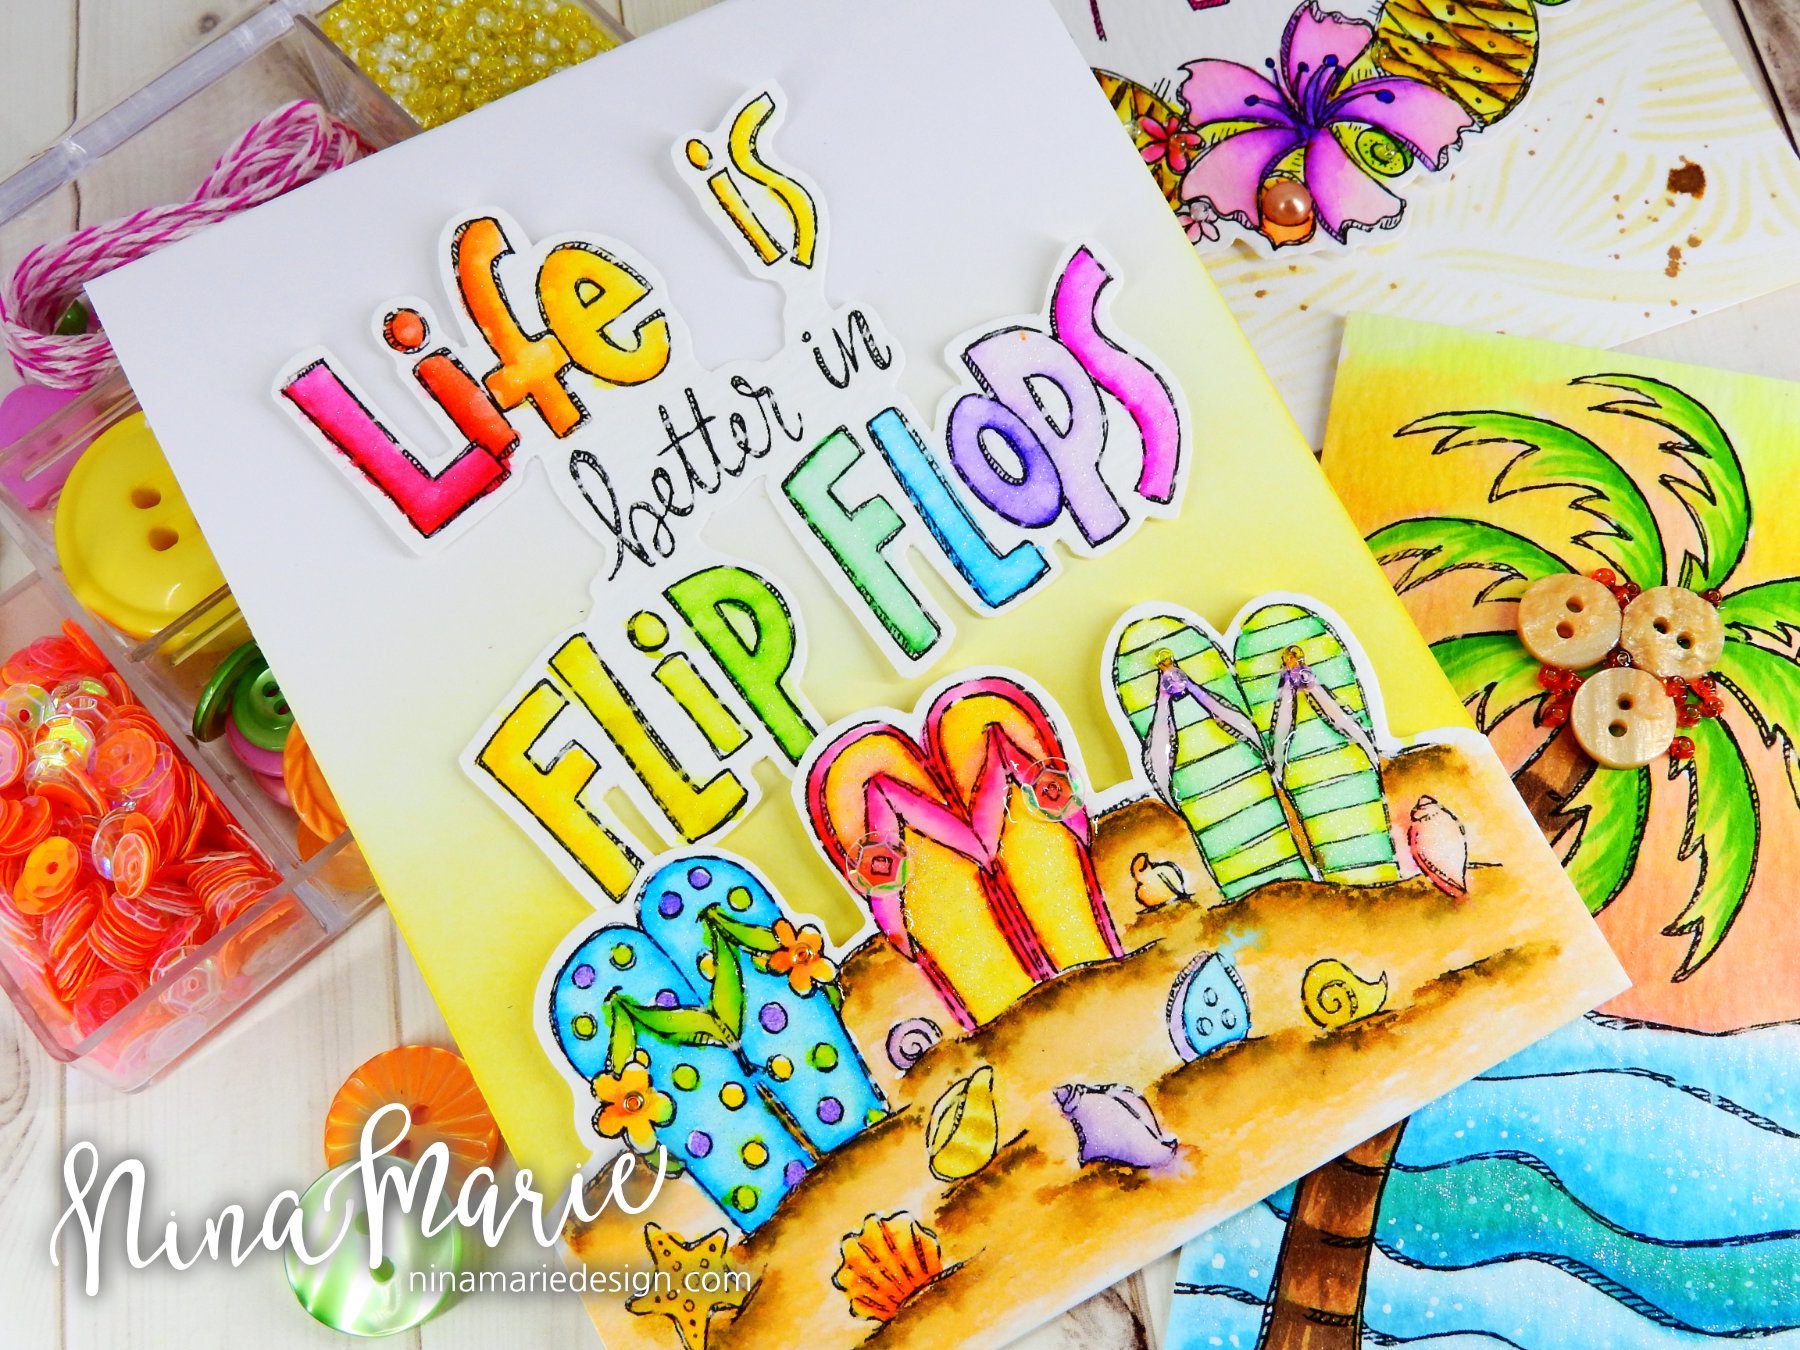
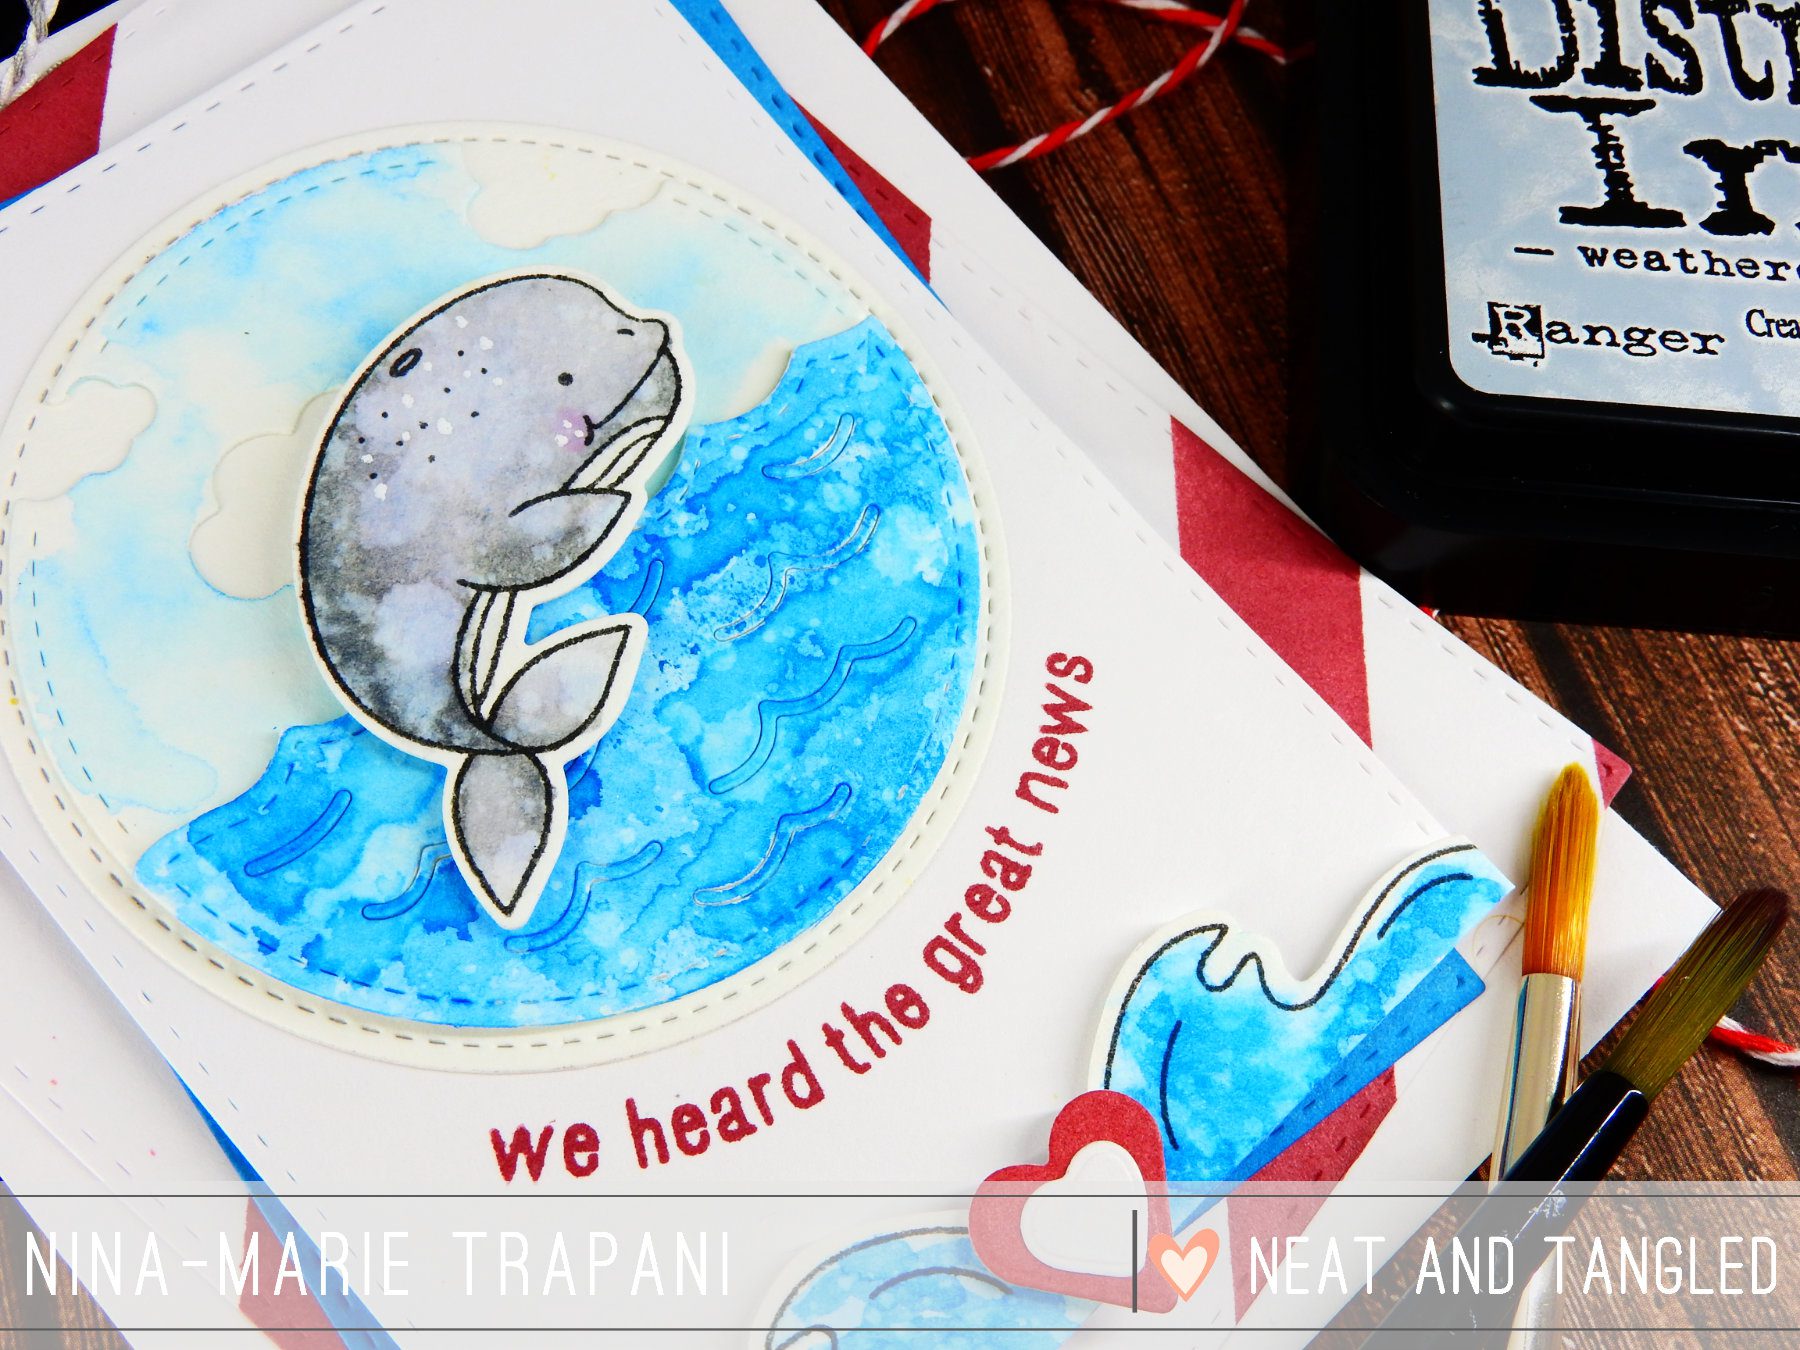
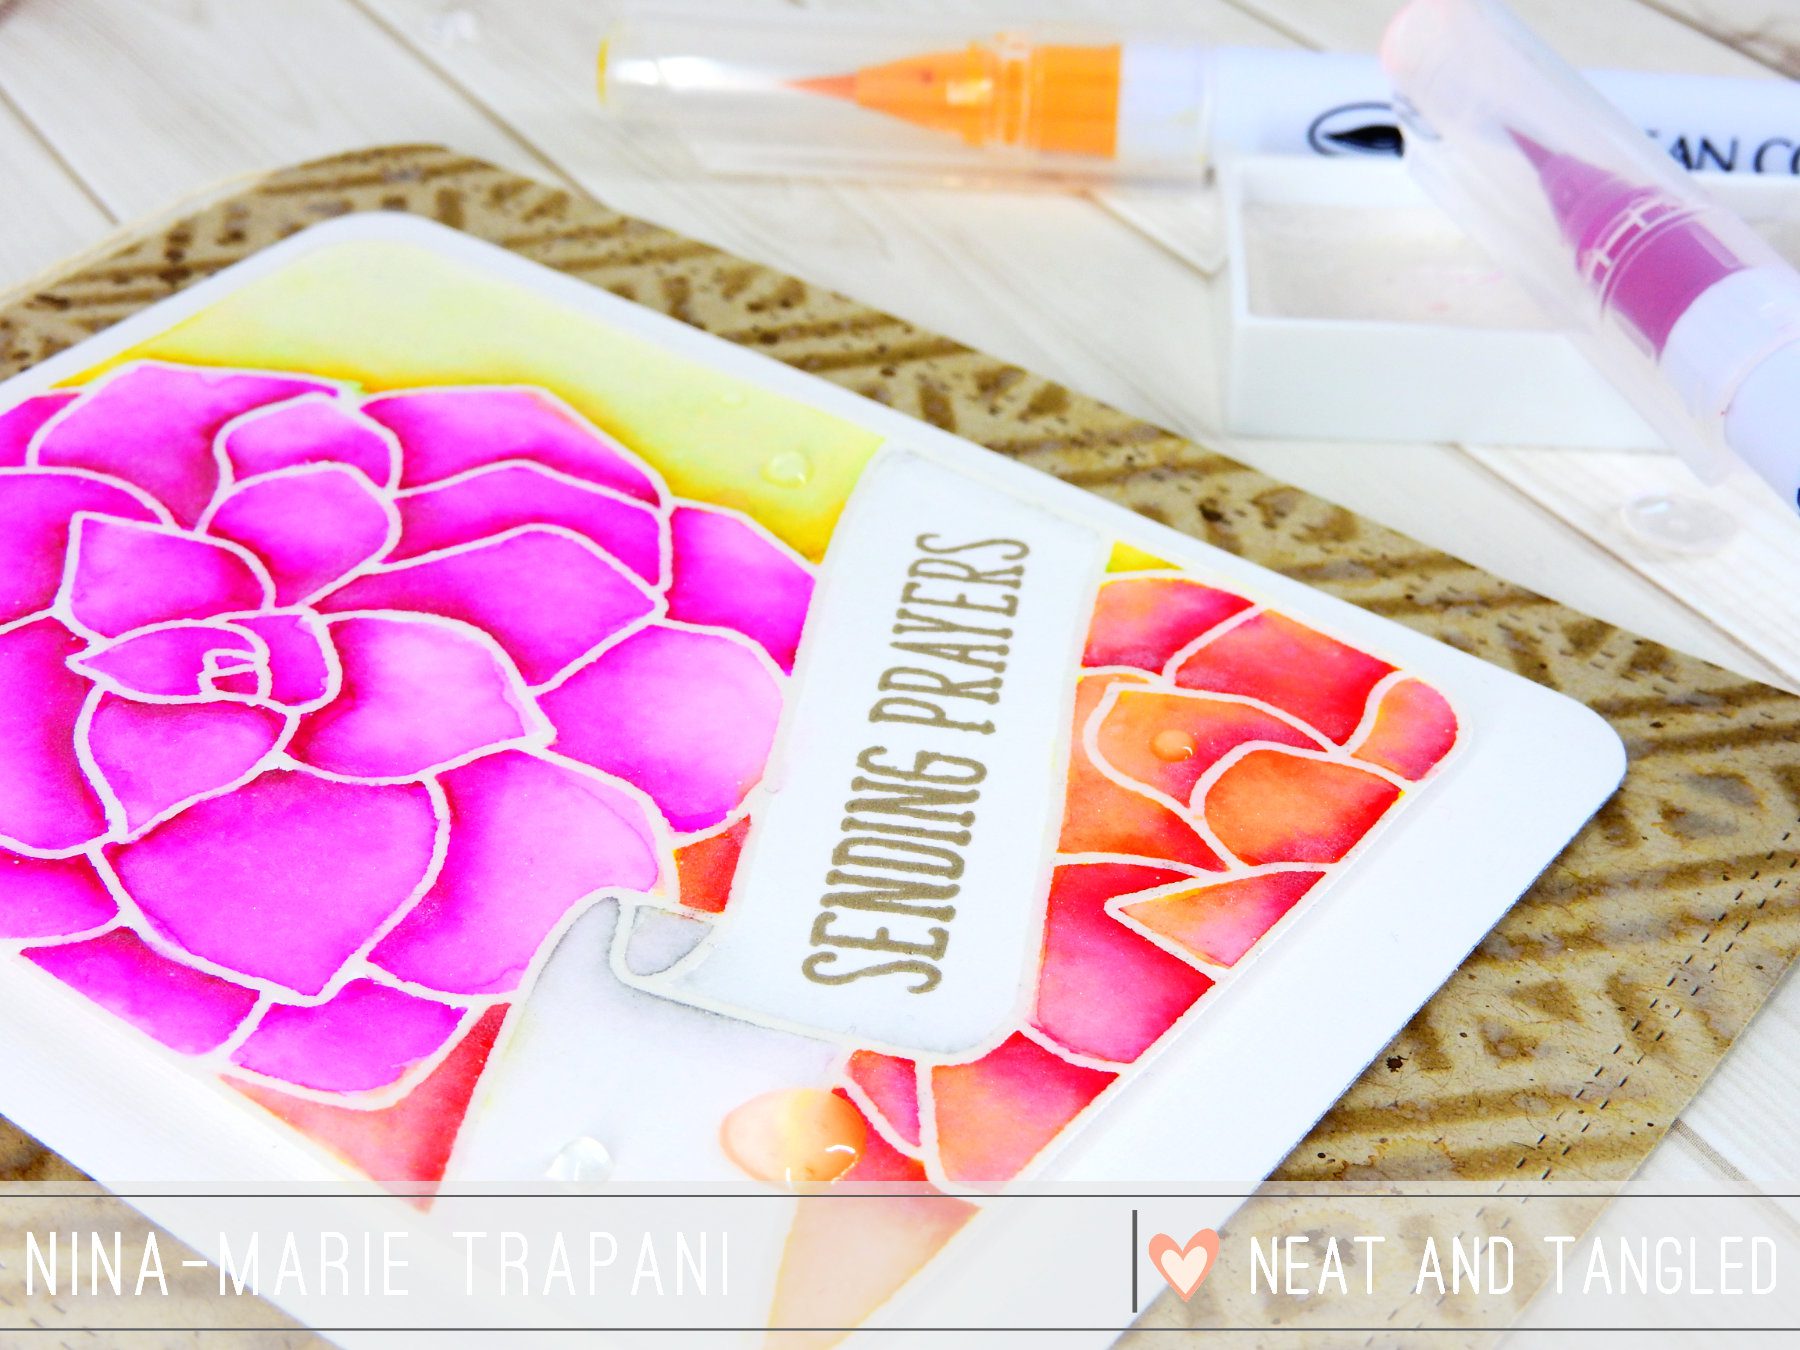
If you enjoyed this post, be sure to check out some of my other most recent cards! Click on the photos to be taken to the corresponding blog posts!
[one_third padding=”0 5px 0 5px”]
[/one_third][one_third padding=”0 5px 0 5px”]
[/one_third][one_third_last padding=”0 5px 0 5px”]
[/one_third_last]
PRODUCTS
If you are interested in any of the products used in this post, I have them all linked below to Simon Says Stamp. Affiliate links used when possible.
[su_expand more_text=”SHOW MORE” height=”400″ link_color=”#007474″ more_icon=”icon: chevron-down” less_icon=”icon: chevron-up” class=”expand products”]
SIMON SAYS STAMP
[/su_expand]






 LinkDeli Free 15 day trial
Such a great card and I am sure Newton’s Nook will miss having you on the DT too Nina! Your work is so amazing (as are their products) and the combo has been wonderful!