Sunday Spotlight: Candy Cane Heart Ornament
Hello all!

Ornaments are one of my personal favorite Christmas gifts to both create and give each year. Using the “Heart Candy Cane” digi stamp from Paper Smooches, I created this unique and delicate ornament out out of paper using my Silhouette Cameo! To do this, you will first need to download the Heart Candy Cane digital stamp from Paper Smooches site, and import the jpg image into your Silhouette Studio.
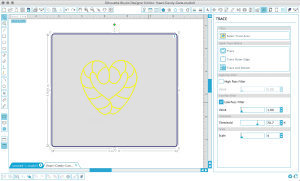
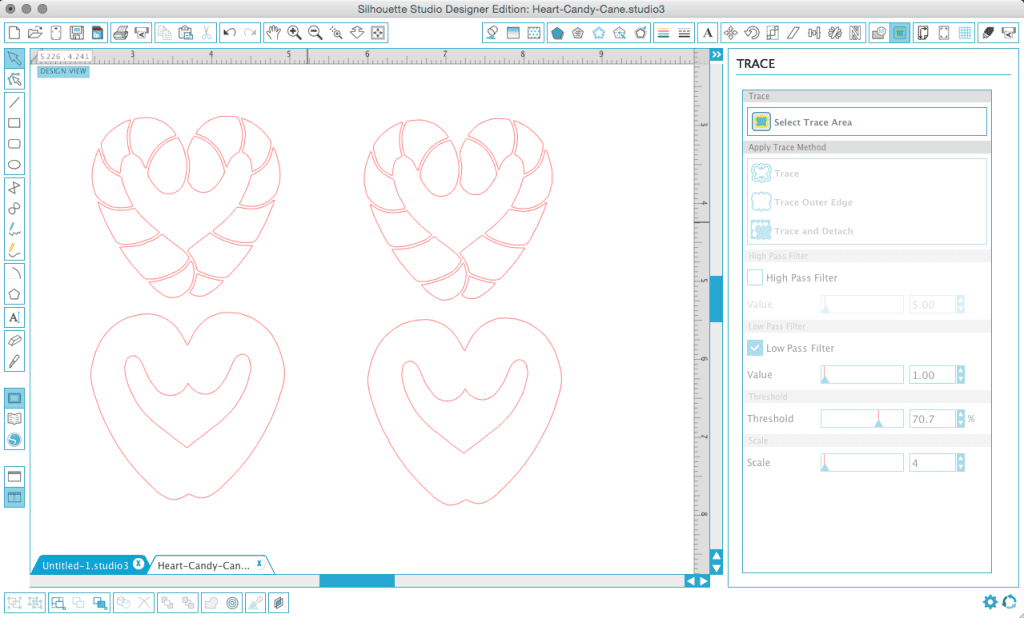
After you’ve imported your jpg file into your Drawing Area in your Silhouette Studio program, you’re going to want to trace the image using the trace tool in the upper right toolbar and follow the settings I have outlined below:
Draw your trace box around the image.
- Deselect your “high pass filter” option.
- Select your “low pass filter” option and set the value at 1.00.
- Bump the threshold up to 70.7% and set the scale to 4.
- Now hit the “trace” option and move the image off of your new cut file.
To make my ornament, I ungrouped the outlines from the candy cane stripes and duplicated both pieces so that I ended up with two candy cane stripes and two outlines. One of the candy cane stripes I used as a sketch design only and sketched out onto one of the outline shapes so that I had a guide for my paper piecing. After the cutting was complete, I had two of the outline shapes (cut from white cardstock) and one set of candy cane stripes (cut from red patterned paper).
After paper piecing the candy cane to the outline shape with the guidelines, I adhered the entire piece to another piece of white cardstock and using some scalloped edged scissors, I cut a “heart” border around the entire piece.
- I wanted a hole in the center of mine so that you could see through it; you don’t have to do this, as it looks just as nice with a solid backing. I created the hole with my X-acto knife and just followed the shape of the scalloped border I created as a guide. It doesn’t have to be perfect, as this will be hidden with the second outline shape we created. You would simply adhere that piece to the backside, hiding any imperfections you might have from cutting.
- If you were going to do the solid “heart” behind the candy canes, you would not need the second outline shape and only have to cut out one outline instead.
- To attach the twine hanger, I adhered two ends of a 6 inch length of green/white twine to the backside of my paper pieced candy canes (creating a loop) before I adhered it to the scalloped “heart”. I then tied another length of that same twine into a little bow around the loop.
- Using Glossy Accents and white glitter, I added some sparkle to the white “stripes” of the candy canes (the areas in between each piece of red paper).
And for extra fun, Paper Smooches is having another SPARKS challenge and this week’s theme is “Anything Goes”! Definitely head on over there to participate in the challenge by creating something special with some of their products!
Supplies
- Teresa Collins “Santa’s List” designer paper pad
- Recollections® Cardstock Paper Value Pack
- Silhouette Cameo cutting mat, pen holder and ratchet blade
- Recollections Signature Extra Fine Glitter
- Glossy Accents
- green/white baker’s twine


 LinkDeli Free 15 day trial
how fun is this! fabulous tag! thanks so much for joining us at Paper Smooches SPARKS!
Thanks, Alice! I am so glad you enjoyed it!
Merry Christmas!
This is such a fun project! I really loved how you combined the traditional candy cane image with the new twist of “going digital”! I think it turned out great and I really liked how the Baker’s Twine you hung it with was green and white. It was the perfect color combo! Thanks for sharing your talents with us for this week’s Simon Says Stamp Monday Challenge!