Shimmering Watercolor Valentines
Happy Snowy Tuesday!
Today I am back to share some watercolor techniques to create background papers and embellishments for your cards. The cards I will be showing you today are clean and simple, easy to replicate, and take very few supplies. And for those of you who are new to watercoloring, even the newest of beginners can do this technique! So let’s get started…
I began by planning out the panels that would be going onto my cards, and to do this, I created some cut files within my Silhouette Studio. You can easily do this same step by die cutting your shapes (in this case a heart), with any die cutting machine if you do not have the Silhouette Cameo. After my panels were cut, I began creating each card.
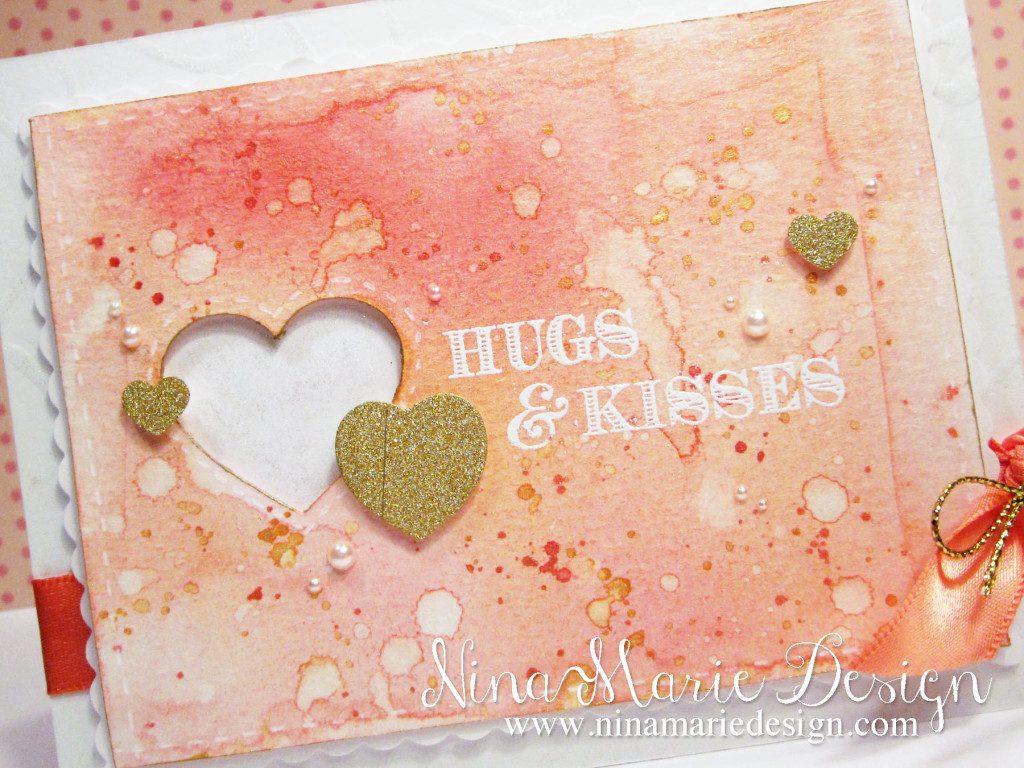
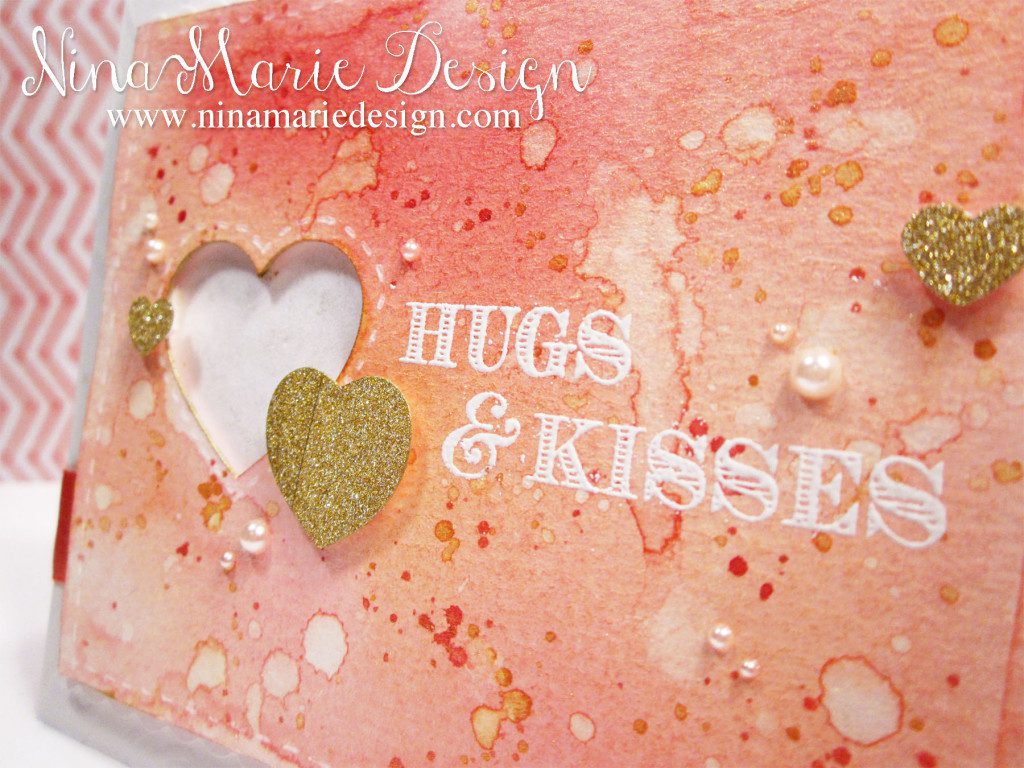
My first card is created using the Echo Park “Heart” file, cut along the left side of the panel. Using Tattered Rose, Worn Lipstick, Spun Sugar and Festive Berries distress inks, each mixed with some Heidi Swapp Gold color shine, I watercolored my panel.
Once my watercoloring was complete, I took the Hero Arts “XO” clear stamp set, and stamped the “hugs and kisses” sentiment in Versamark ink before embossing it in white powder. The hearts are created from some gold glitter paper using a tiny heart punch from Studio G, and a heart balloon die from the Simon Says Stamp “Celebration Time” die set, which I simply trimmed into a simple heart shape.
The panel is layered upon a scalloped edge piece of white cardstock and adhered to a card base that is embossed with a Sizzix texture plate.
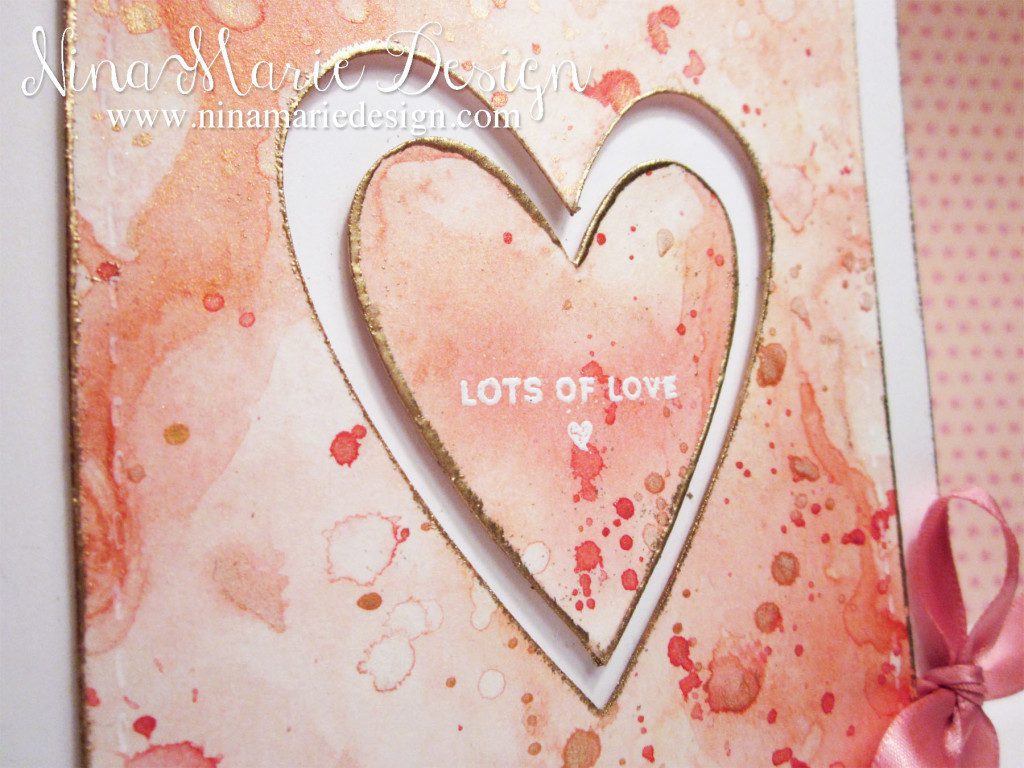
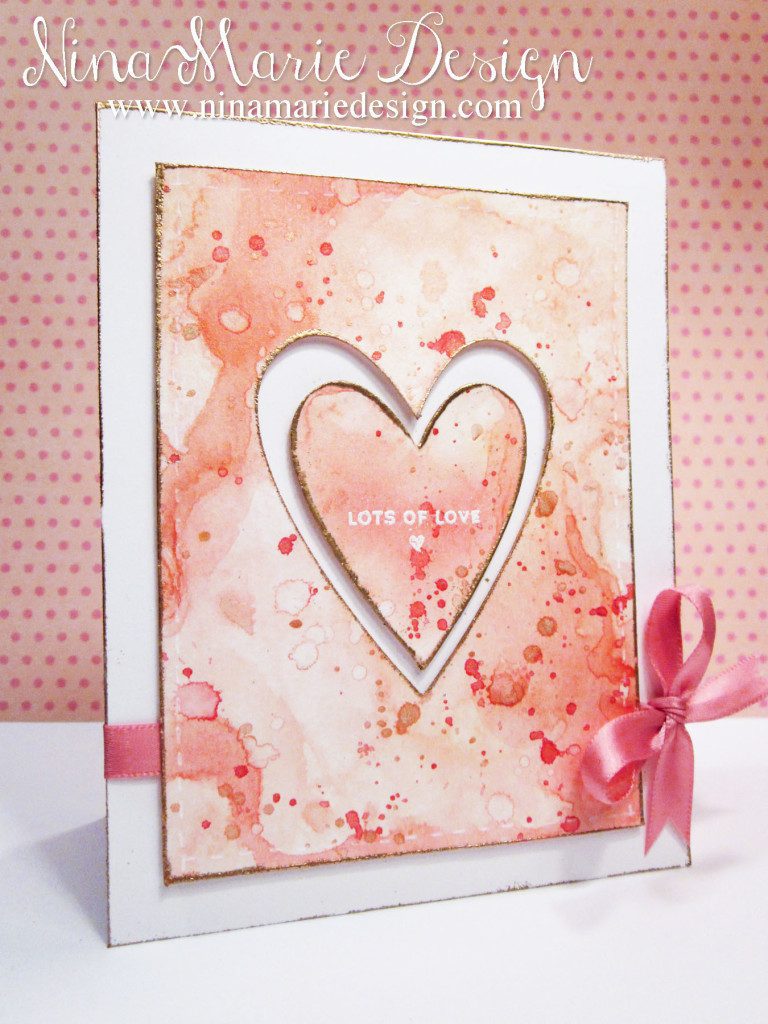
For this next card, I used Wild Honey, Worn Lipstick and Tattered Rose as my main colors, with just a hint of Festive Berries here and there for some accenting. This card’s texture reminds me of a marbled look… very pretty how the colors mix together differently every time you do a new panel. None can ever be replicated to the same exact look!
I embossed all of the edges of my card base, panel and heart with Ranger Princess Gold embossing powder for a very elegant feel. The sentiment is from the Simon Says Stamp “Sending Happy Thoughts” stamp set, and is embossed with white embossing powder.
Keeping with the clean and simple look, I simply adhered this panel and the inset heart to the card base with dimensional foam tape before tying a pink ribbon around the bottom portion of the card.
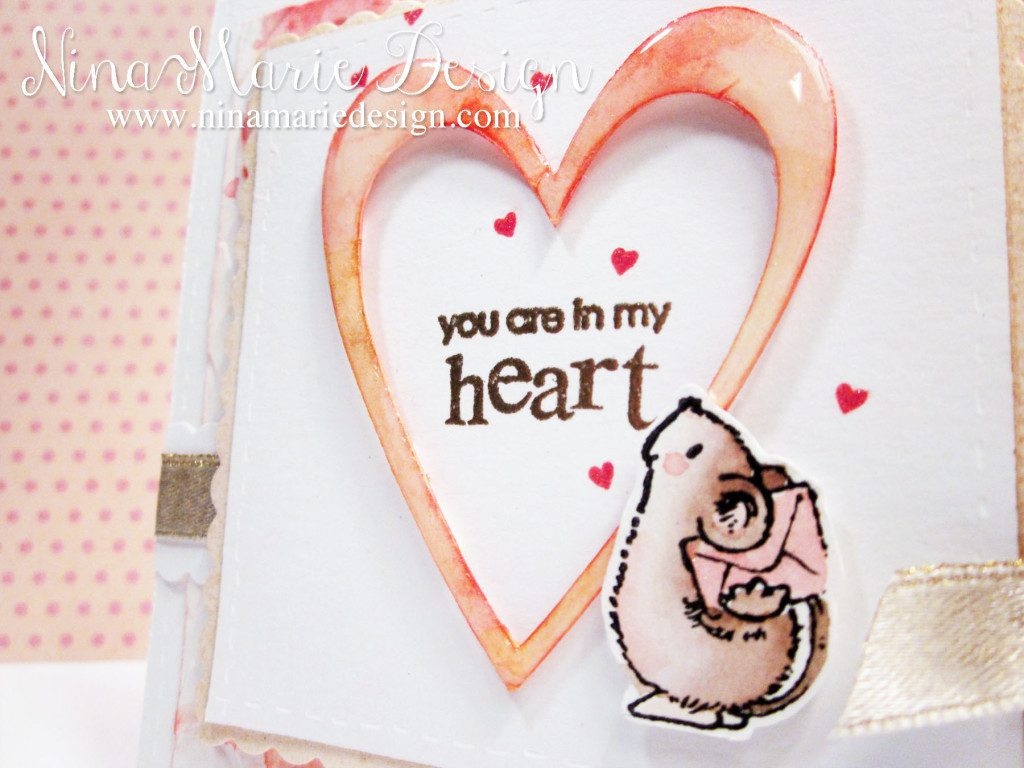
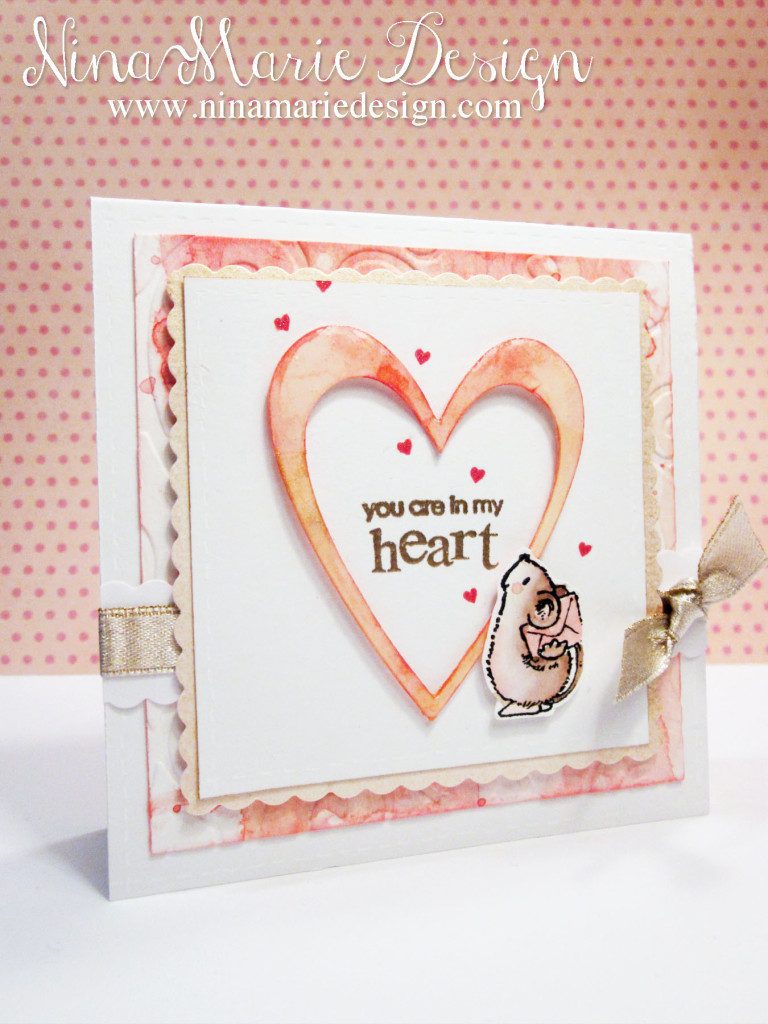
Finally, I have this very cute mouse card, using the negative from the “Lots of Love” card shown above. I love using the leftover pieces of die cuts to create new cards! It is such a great way to really stretch your supplies.
The watercolor panel I created for this card is run through my Big Shot machine with the Cuttlebug “D’vine Swirls” embossing folder before adhering it to my square card base.
I adhered my heart die cut to a white cardstock panel with dimensional foam tape along with the mouse that is from the Penny Black “Its Your Day” stamp set; I watercolored the mouse with distress inks before fussy cutting it out. I also stamped the sentiment from the Penny Black “Hugs” set, and the hearts from the Simon Says Stamp “Soaring for You” stamp set.
a quick tip…
When I was planning these cards, I wanted to create a shimmering effect. Nothing overpowering, just subtle enough to accent the card and give a hint of sparkle. To do this, I mixed some Heidi Swapp gold color shine with each of my ink colors before painting, which worked perfectly! I have a video below that shows the coloring process for each of these three cards. Enjoy, and thanks so much for stopping by!
Challenges
These use of die cut hearts for these three cards were inspired by the sweet little Muse card for this week by Julie Beech. The “In My Heart” card has been entered into the Muse challenge #102.
The layout for the “Hugs and Kisses” card was inspired by the My Favorite Things Sketch challenge #212, and is entered into the challenge.
The “Lots of Love” card is entered into the Simon Says Stamp Flickr challenge #11.
And finally, the “In My Heart” card is also entered into the Simon Says Stamp “Have a Heart” Wednesday Challenge.
[one_third]




 LinkDeli Free 15 day trial
Wonderful cards! So pretty and cute, love it.
I love all of your lovely soft cards. The “In your heart ” one is especially sweet. :)
I think I could use the word gorgeous a million times and still not come close to telling you how much I admire these creations! That glittery, splattery background on all of your cards is absolutely divine! These will definitely be gracing my Pinterest boards so that I can admire them for a long time in the future. Great work!
I love the background a lot!! Well done :D
SO adventurous you are! And I just want to hug & kiss that hugs & kisses card!
I love the positive and negative cards – simply stunning. So soft and striking at the same time. Great projects. :)
This is so beautiful – love the soft colours and the sweet image. So glad you joined us at Muse this week!
Three gorgeous cards, I love the w/c effect on them.
So pleased that you joined us and were inspired by my Muse card this week. :)
Such a parade of amazing cards – they are all just gorgeous!
So pretty, I love the artsy watercolor look. Thank you so much for playing along with us over at the Simon Says Stamp Wednesday Challenge Blog this week :)
so cute! I love all your cards and the smart way of using the negatives of cuts :) Awesome