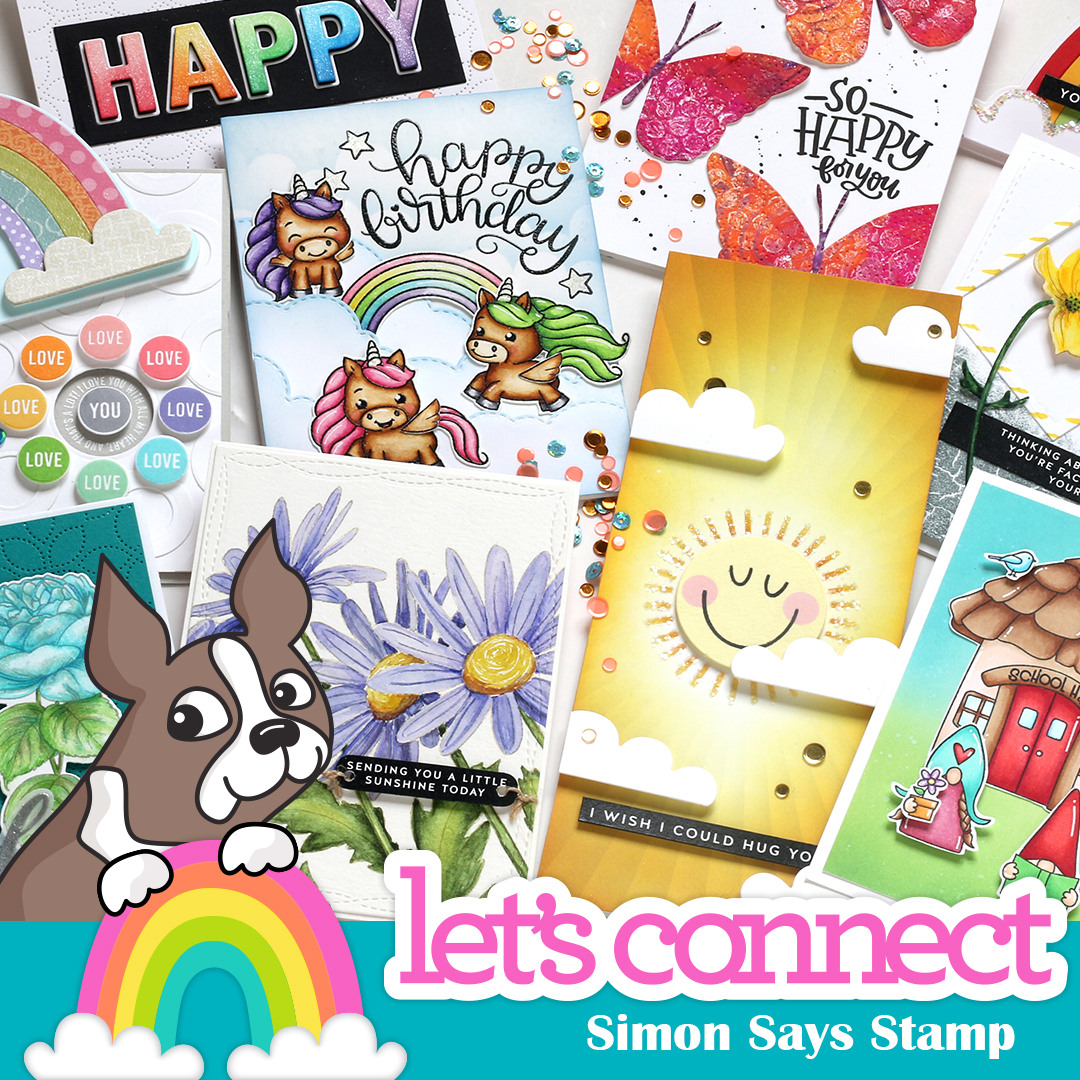
Layered Stenciling with Ink and Glitter + Simon’s NEW Let’s Connect Release
If the video does not display, please click here to watch on my YouTube channel.
I love a good rainbow, and I’m really excited to share this colorful, layered rainbow card that I made with my latest stencil design called Layering Rainbow. I illustrated this quirky rainbow set with the idea that you could create lots of custom rainbows with inks, pastes and more.

My layered rainbow is blended with Altenew dye inks and then over the blending I added a layer of translucent paste. The paste allowed me to sprinkle lots of Lawn Fawn Prisma and Chunky glitters, giving my rainbow a super sparkly finish. I used Texture Paste on the cloud for a puffy look.

There is a cloud layer in the stencil set too, which I blended with Oxide Ink. On the rainbow are some Rainbow Party sequins and I added a sentiment strip along the bottom of the card. You’ll notice my rainbow is dimensional; that’s because I fussy cut it out after all the paste dried. I like dimension, but you don’t have to do this if you do not like to fussy cut.

Be sure to watch the video at the top of the post to see exactly how I made this sparkly rainbow card!
SUPPLIES
|
MY NEWEST PRODUCT DESIGNS
If you would like to see all the products I’ve designed for the Let’s Connect release, you can find them all below:
|


 LinkDeli Free 15 day trial
Nina… You had me at glitter! If it sparkles, I’m there. This is gorgeous, and I will definitely purchase this stencil and try out your awesome technique. Gorgeous card! Have a lovely day!