7 Mini Slimline Cards with Simon’s Spring Gnome Kit
If the video does not display, please click here to watch on my YouTube channel, or refresh the page.
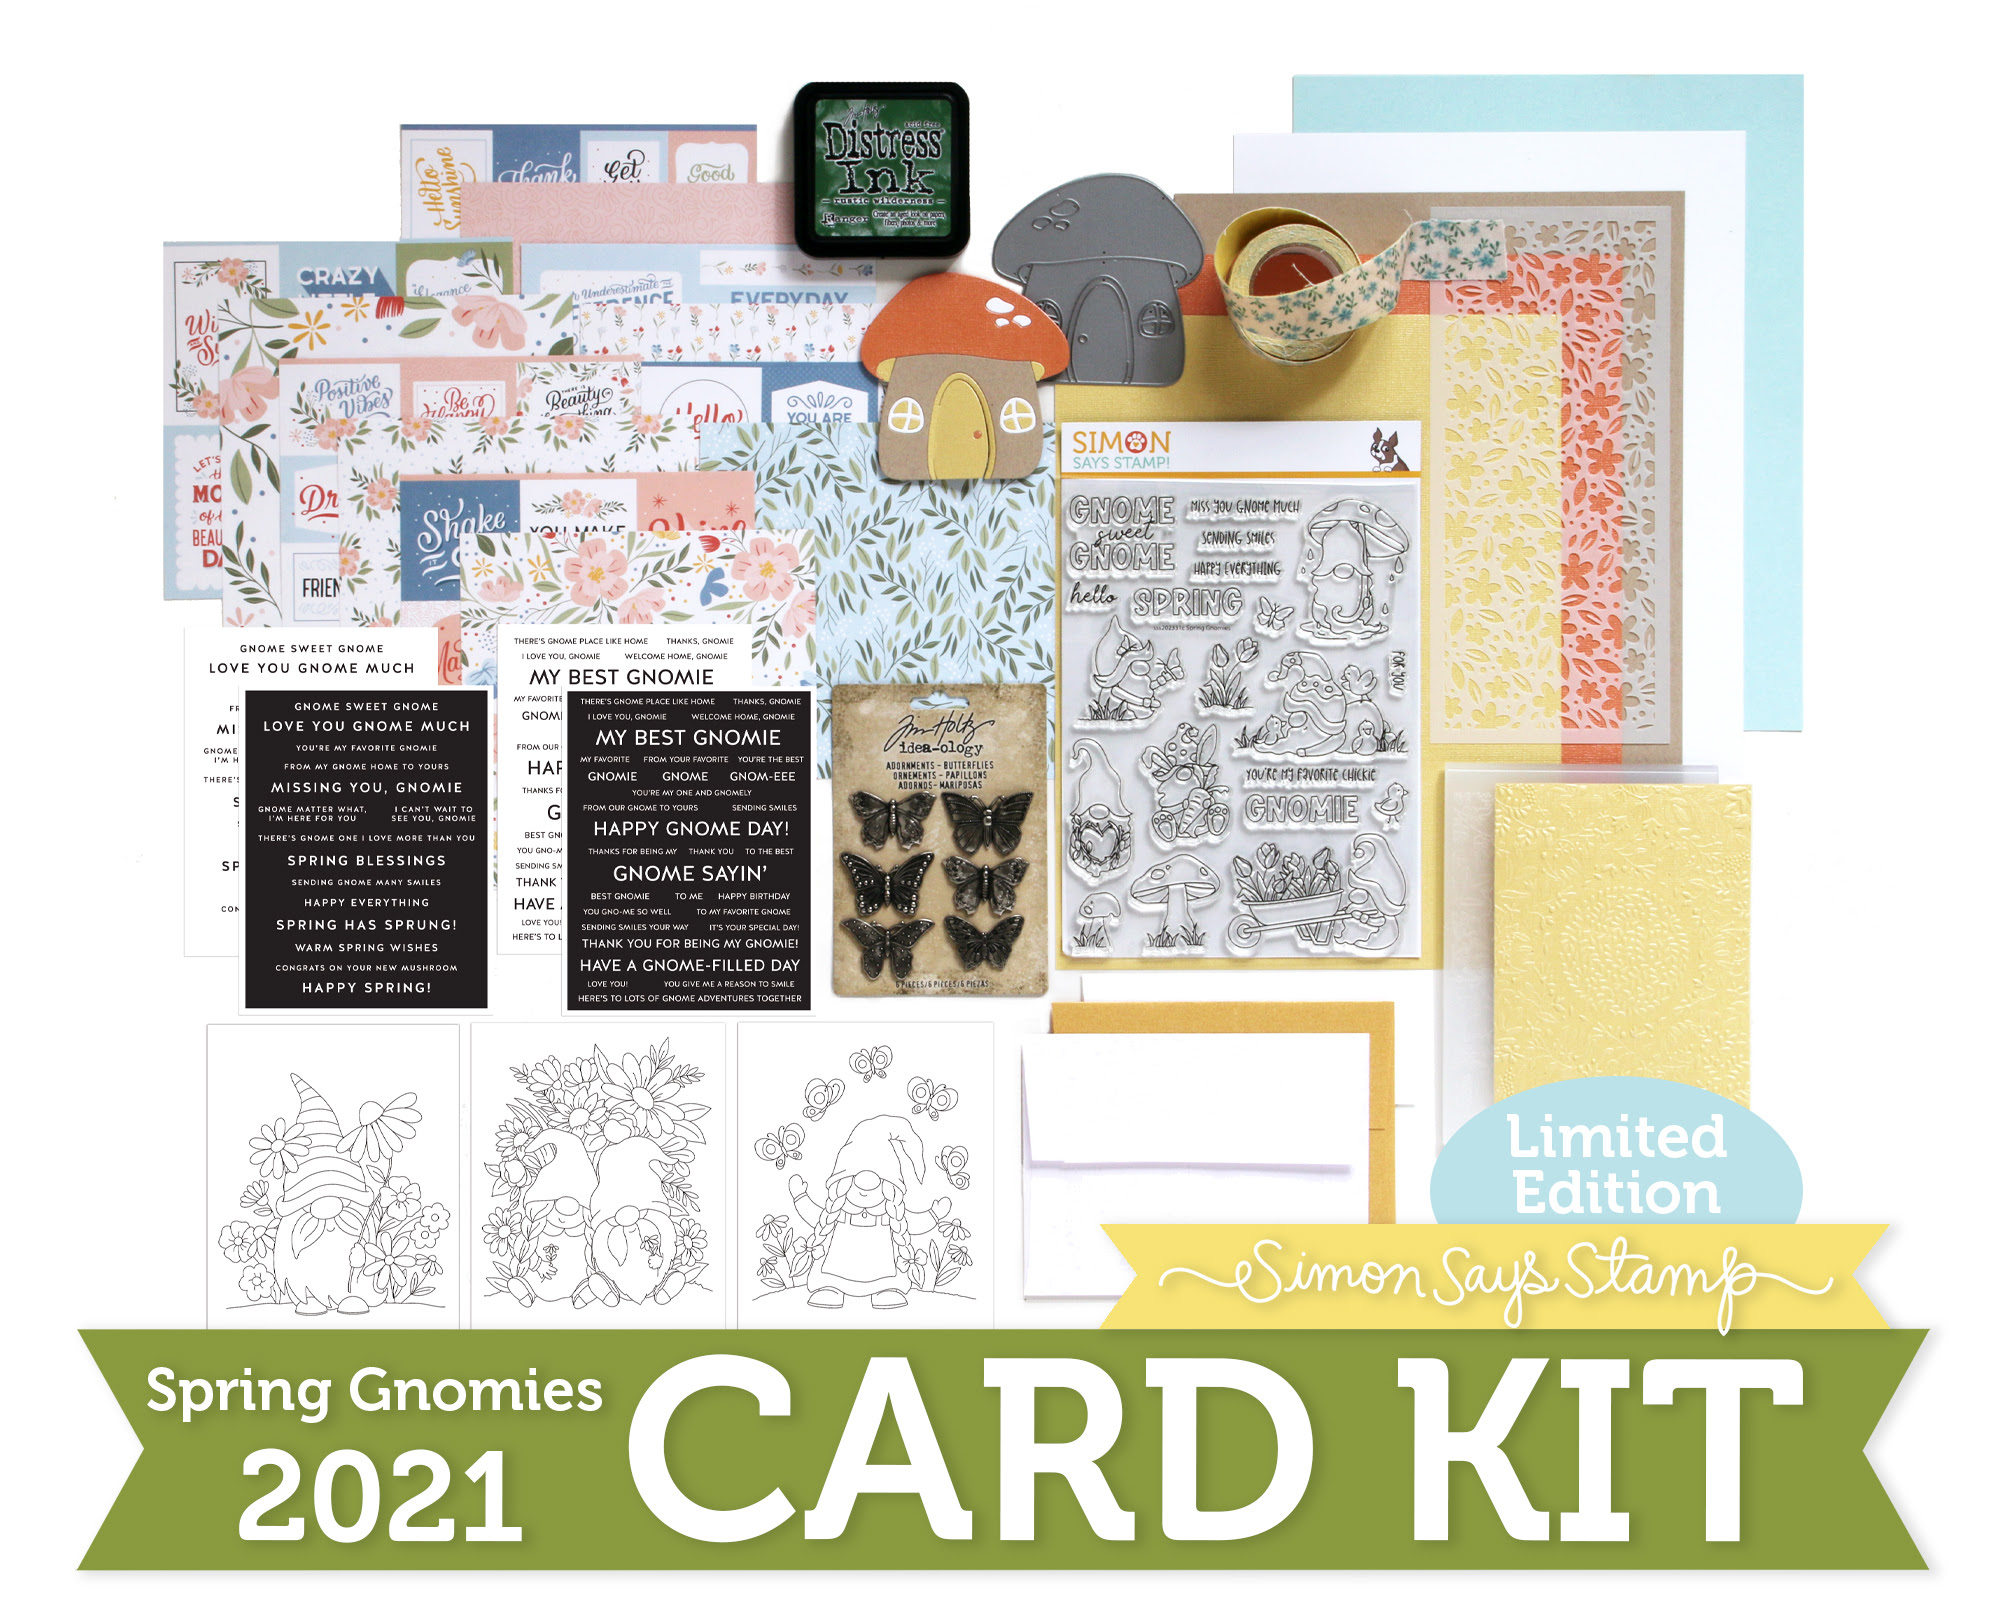
I love card kits because they allow me to make tons of cards and not have to think about what looks good together! All the kit contents coordinate with each other, so that means you get to just have fun making beautiful projects. I had so much fun creating with the new limited edition, Spring Gnomies card kit from Simon Says Stamp that I made 7 mini slimline cards from it!

This Copic-colored gnome with his mushroom umbrella uses the Spring Gnomies stamp set (which I illustrated!), as well as the gorgeous Salutations pattern paper and Spring Gnomies sentiment strips. All of these are contents from the kit. I paired my finished card with a Slate Mini Slimline Envelope.

Going a little more modern and graphical, I stenciled the Bitty Floral stencil with Texture Paste onto a white mini slimline card. Once the paste dried, I adhered 3 pattern paper squares from the Salutations paper pack onto the card. A couple of greetings and some Moonshine sequins from Simon were a perfect finishing touch. This card looks stunning against the Soft Navy envelope I chose to pair with it.
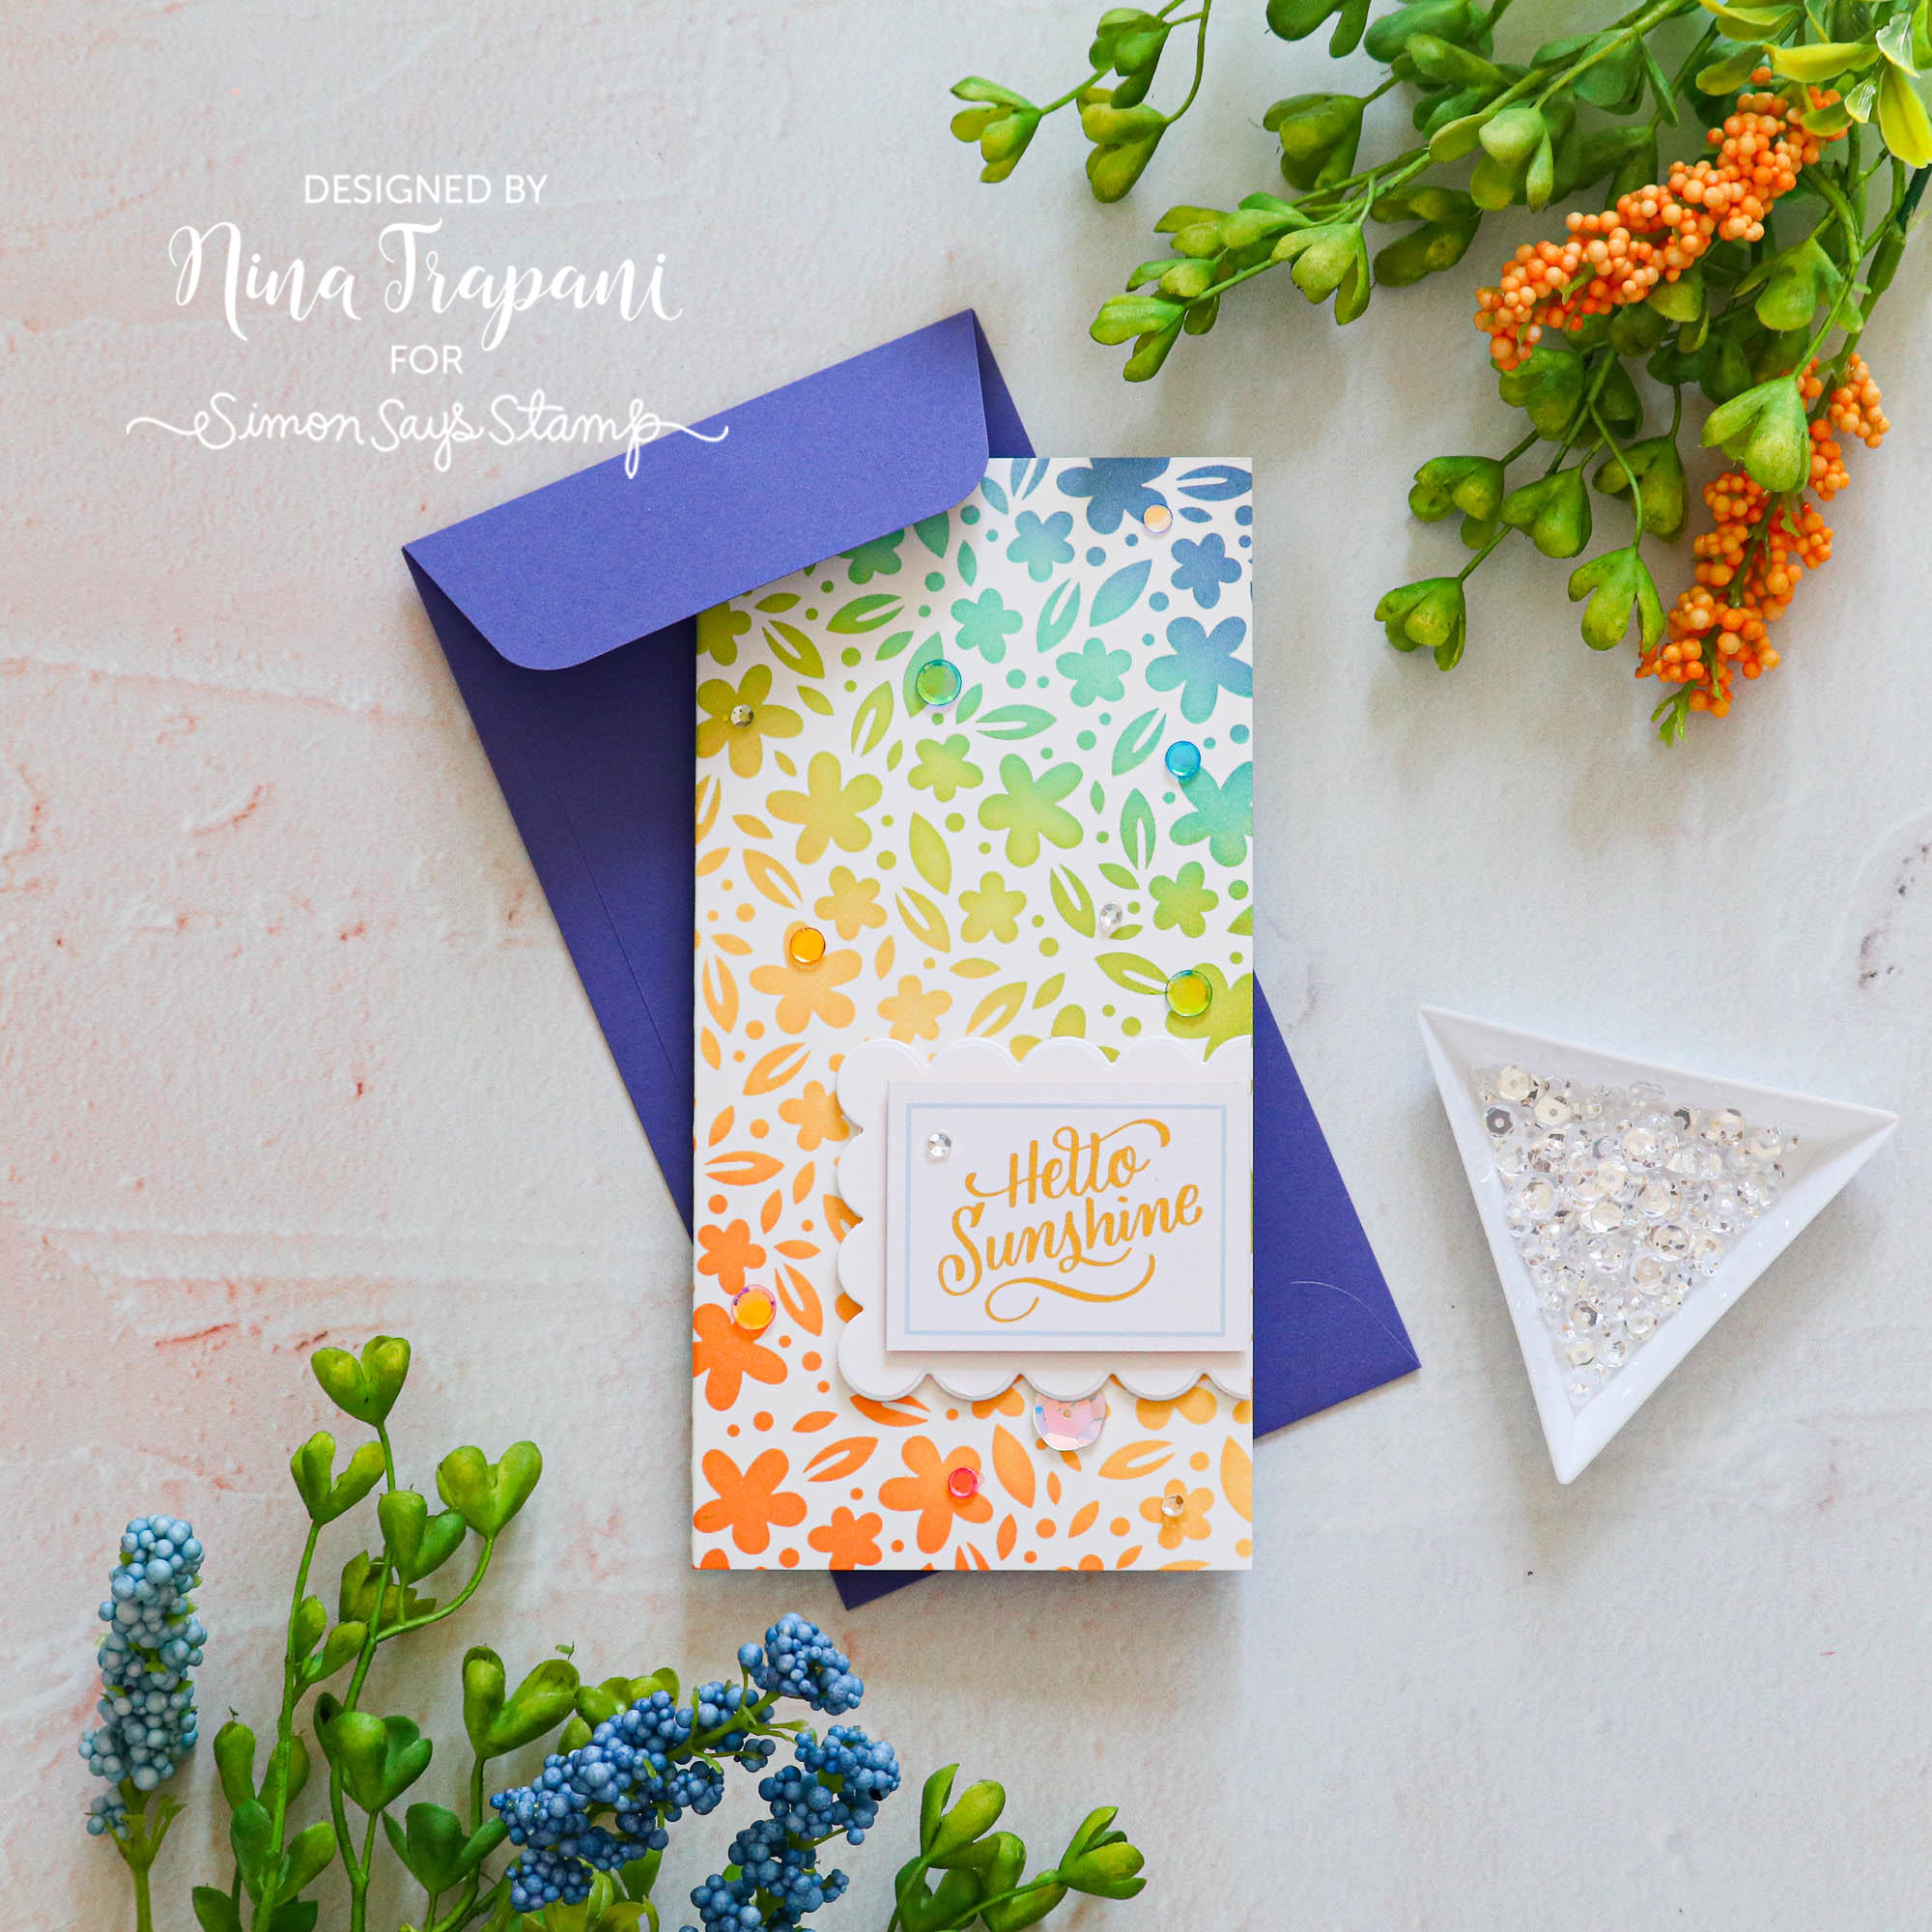
I loved working with the Bitty Floral stencil so much that I decided I needed to do a little ink blending with it! Inspired by the colors in the Salutations paper pack, I picked out Ripe Persimmon, Dried Marigold, Peeled Paint, Broken China and Faded Jeans as the Distress Oxide ink blending color combo. I added a greeting from the paper collection (layered onto a Chunky Scallop Rectangle die), and some Holographic Rainbow sequins complimented the whimsical floral background. This card is paired with a Blue Violet Mini Slimline Envelope.

Keeping with the colorful theme, I Copic colored one of the Spring Gnomes Watercolor Cards that are in the kit. After fussy cutting the gnome out, I added him onto a blended background that uses the same Distress Oxide color combo I used on the floral card above. I added a couple of greetings from the Spring Gnomies stamp set and some Holographic Rainbows around the gnome. If you watch the video, I’ll show you how I hid the mistake I made on this card!

Back to the Spring Gnomies stamp set, I colored more of the images with Copics! Similar to one of the first cards I created, he’s layered onto a Salutations pattern paper sheet and paired with a cute greeting from the paper collection. I added Moonshine sequins for that extra little sparkle! I’ll be mailing this card with the Lemon Chiffon Mini Slimline Envelope.
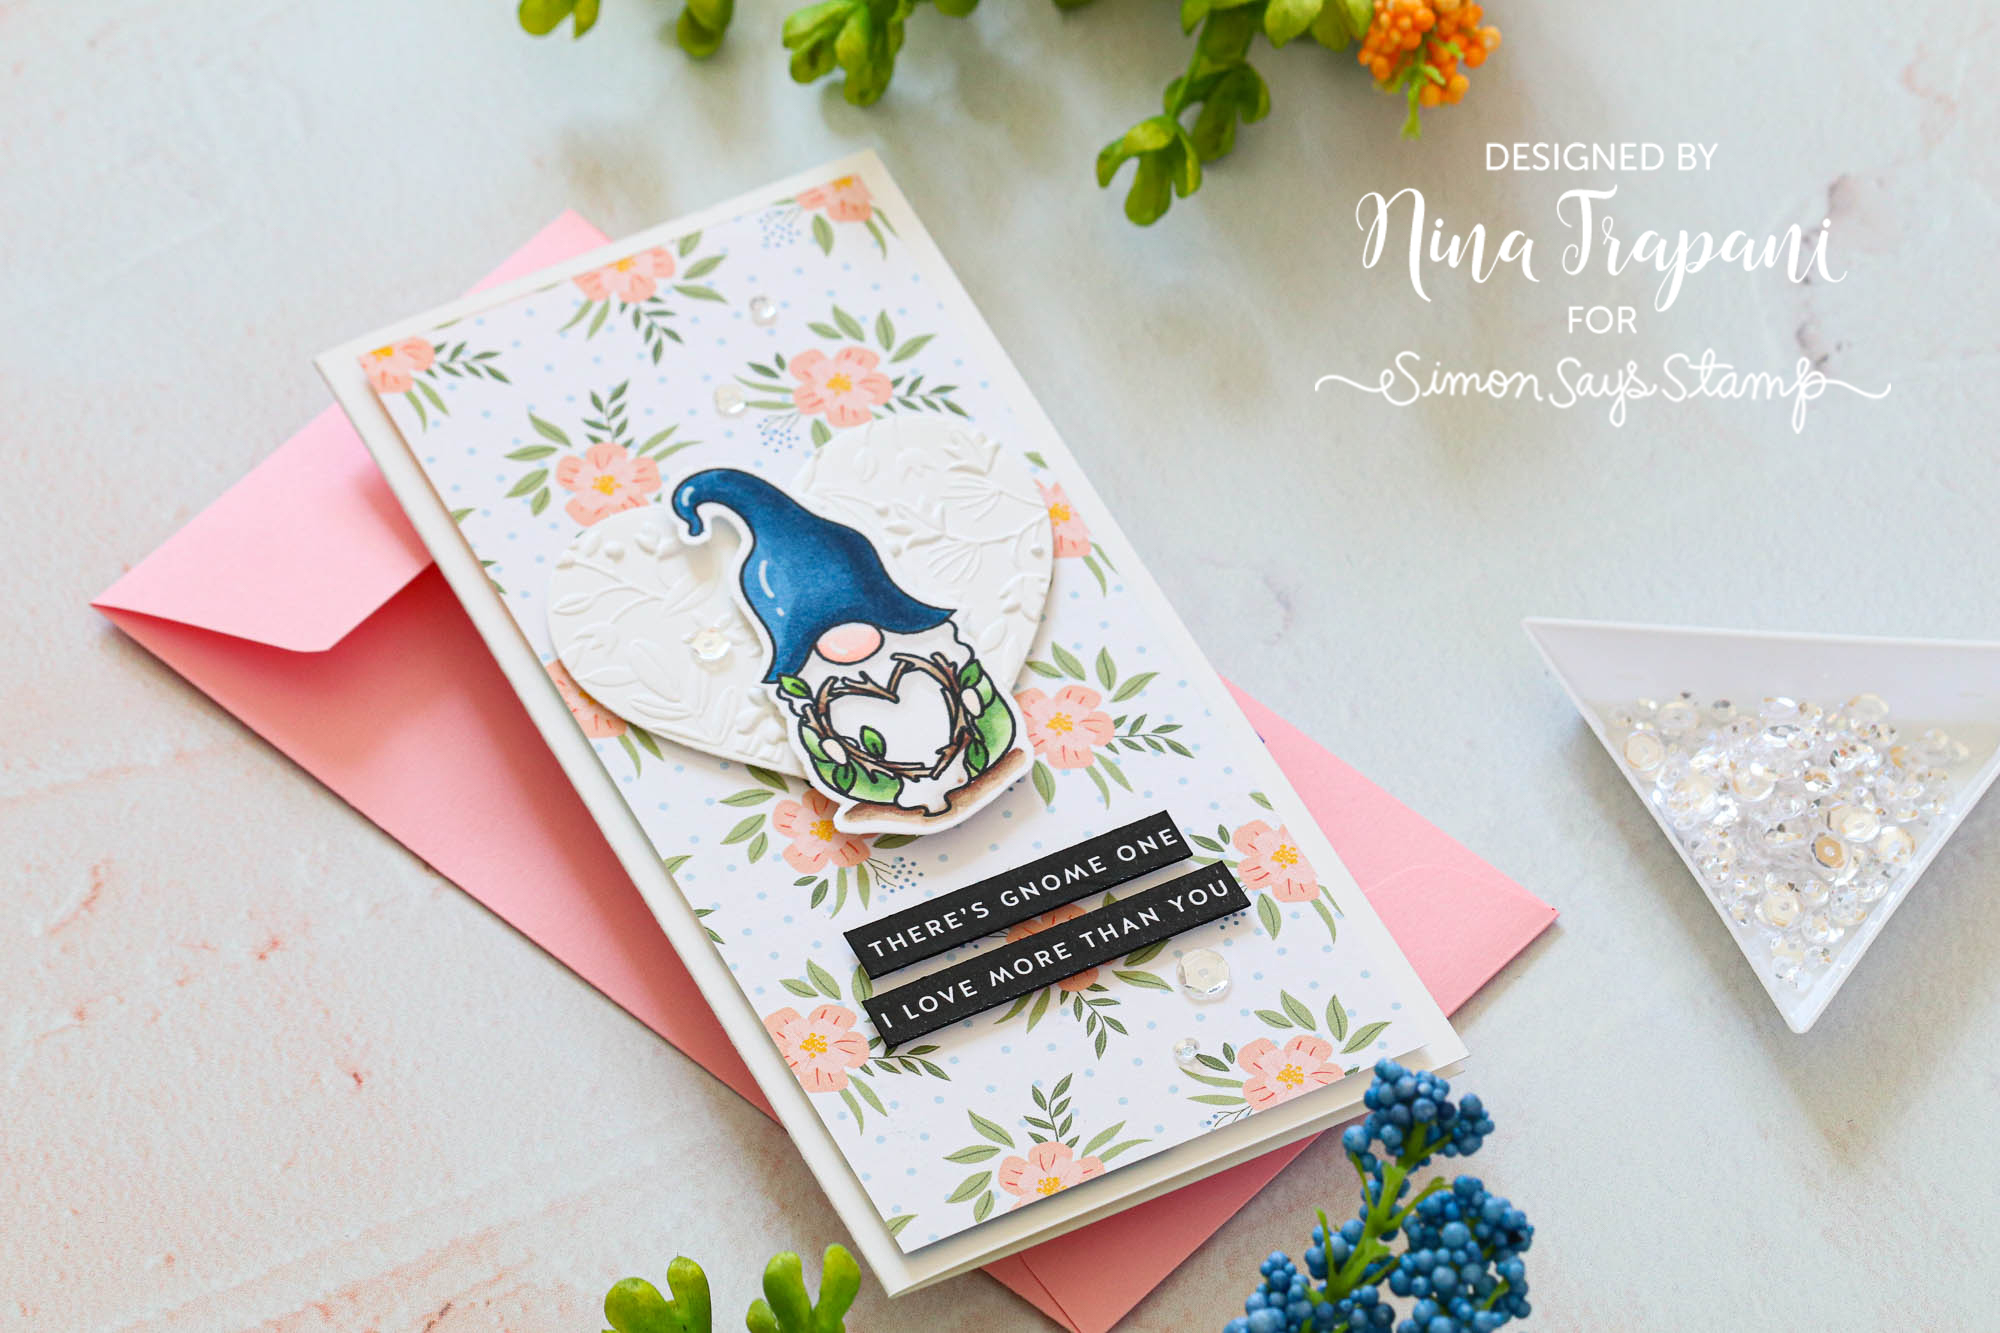
Did you know there is an embossing folder in the Spring Gnomies kit, too??? YES – the Splendid Leaves embossing folder! Using this stunning folder, I embossed the pretty florals onto a heart I cut from Simon’s Nested Hearts die set. I have a Big Shot machine, so I used the following sandwich: base plate #1, plus 1 cutting plate (with the embossing folder on top). This heart is layered with one of the Spring Gnomies stamps onto pattern paper. A couple of sentiment stripsand sequins added the final touches to this textured card. I paired this sweet mini slimline with a Cotton Candy envelope.
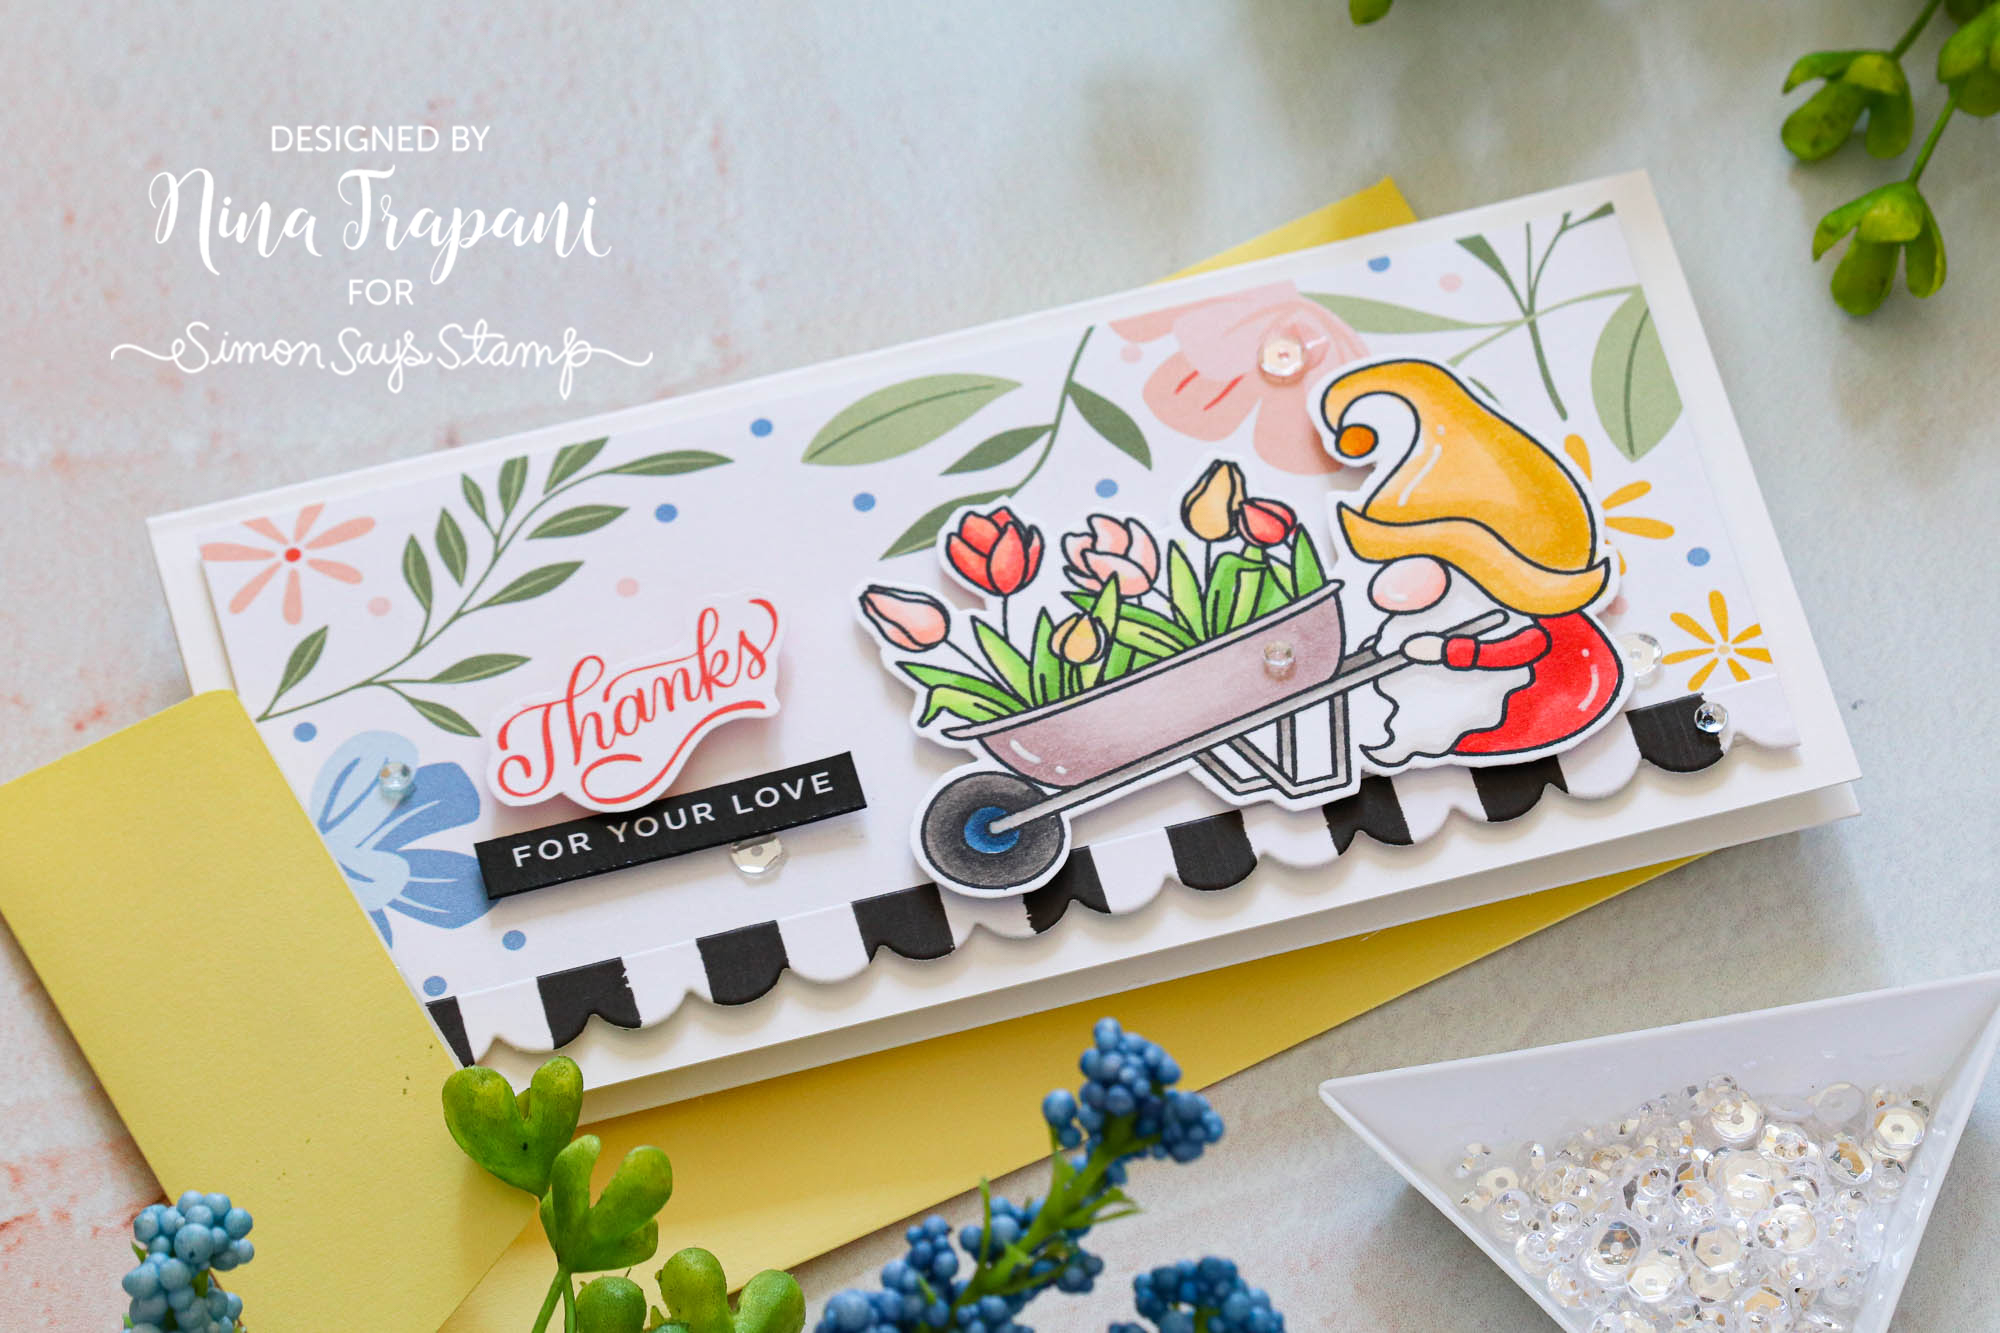
My last card features a similar design as some of the previous cards (don’t mess around when you have a good thing going, right?), but this one has a little extra pop! I used the fun gnome with the wheelbarrow from Simon’s Spring Gnomies stamp set, and I layered him onto the Salutations paper, along with a scrap of black and white pattern paper. The striped paper was cut with a scallop rectangle die from Simon. I added a couple of charming greetings and sequins. My card will be mailed in this pretty Lemon Chiffon Mini Slimline envelope.

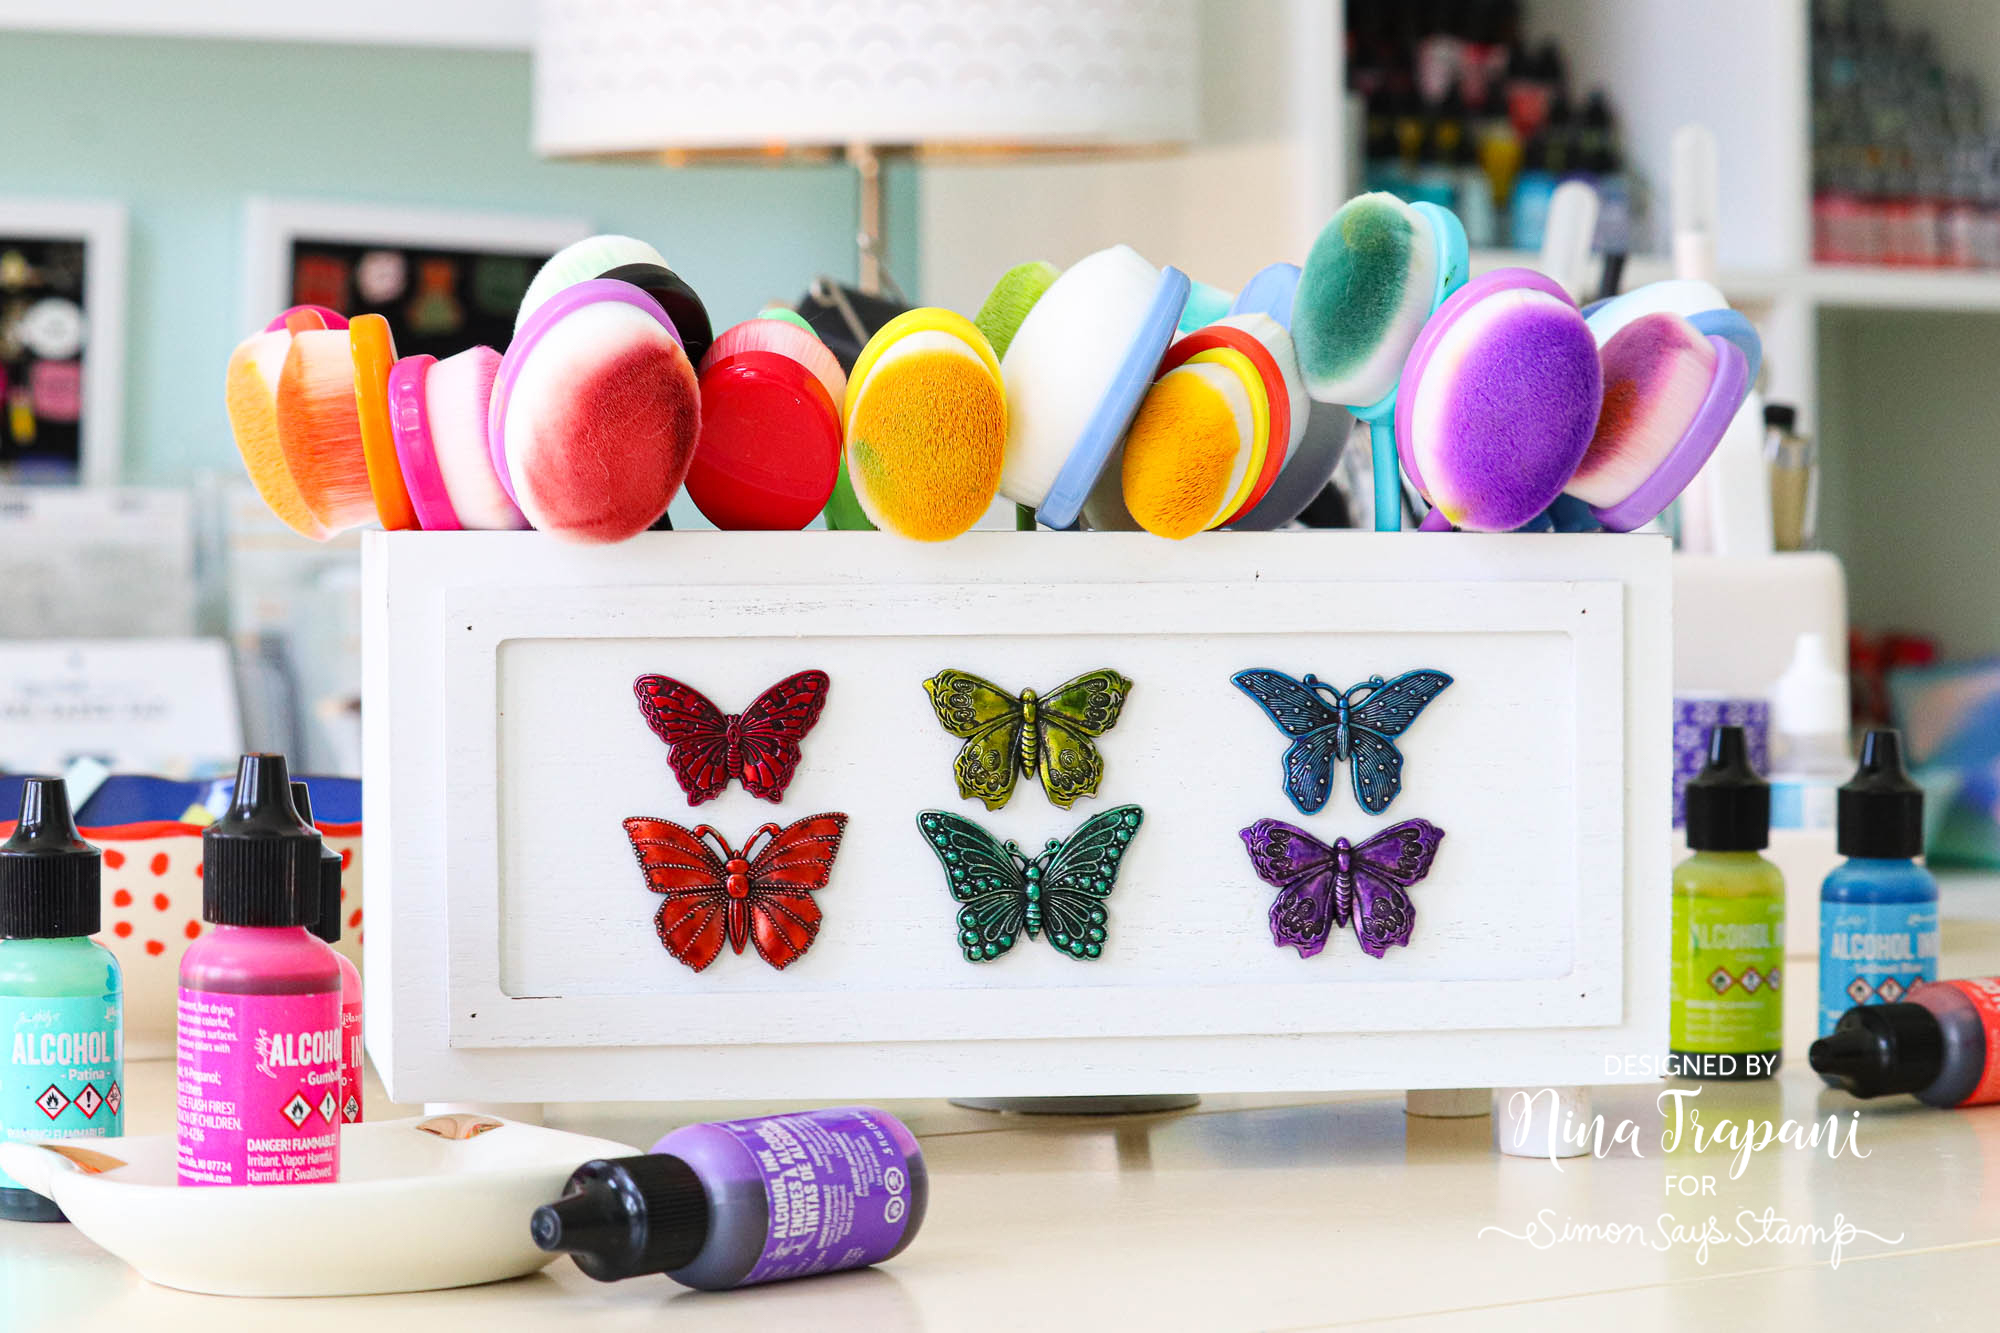
7 mini slimline cards later and I could STILL make even more with this Limited Edition Spring Gnomies kit! In fact – I did! I made this colorful, DIY storage caddy for my craft room using some of the kit contents! You have to see how it’s made – check out the video in this post to see exactly how it was done.
SUPPLIES
|


 LinkDeli Free 15 day trial
Fantastic cards. Love the kit . Thank you.