More DIY Glimmer Paste Inspiration + Memory Box & Birch Press Designs

Hello everyone! Have you started your winter and holiday cards yet? Hard to believe we are already in October!
Memory Box and Birch Press Designs recently released a gorgeous assortment of dies and stamps. I love them all; some are holiday themed, others are for every day occasions! Today I am using of few of them with a DIY Glitter Paste technique!
I’ve featured this technique before, using stencils and stamps from Simon Says Stamp! You can watch that tutorial in this post.

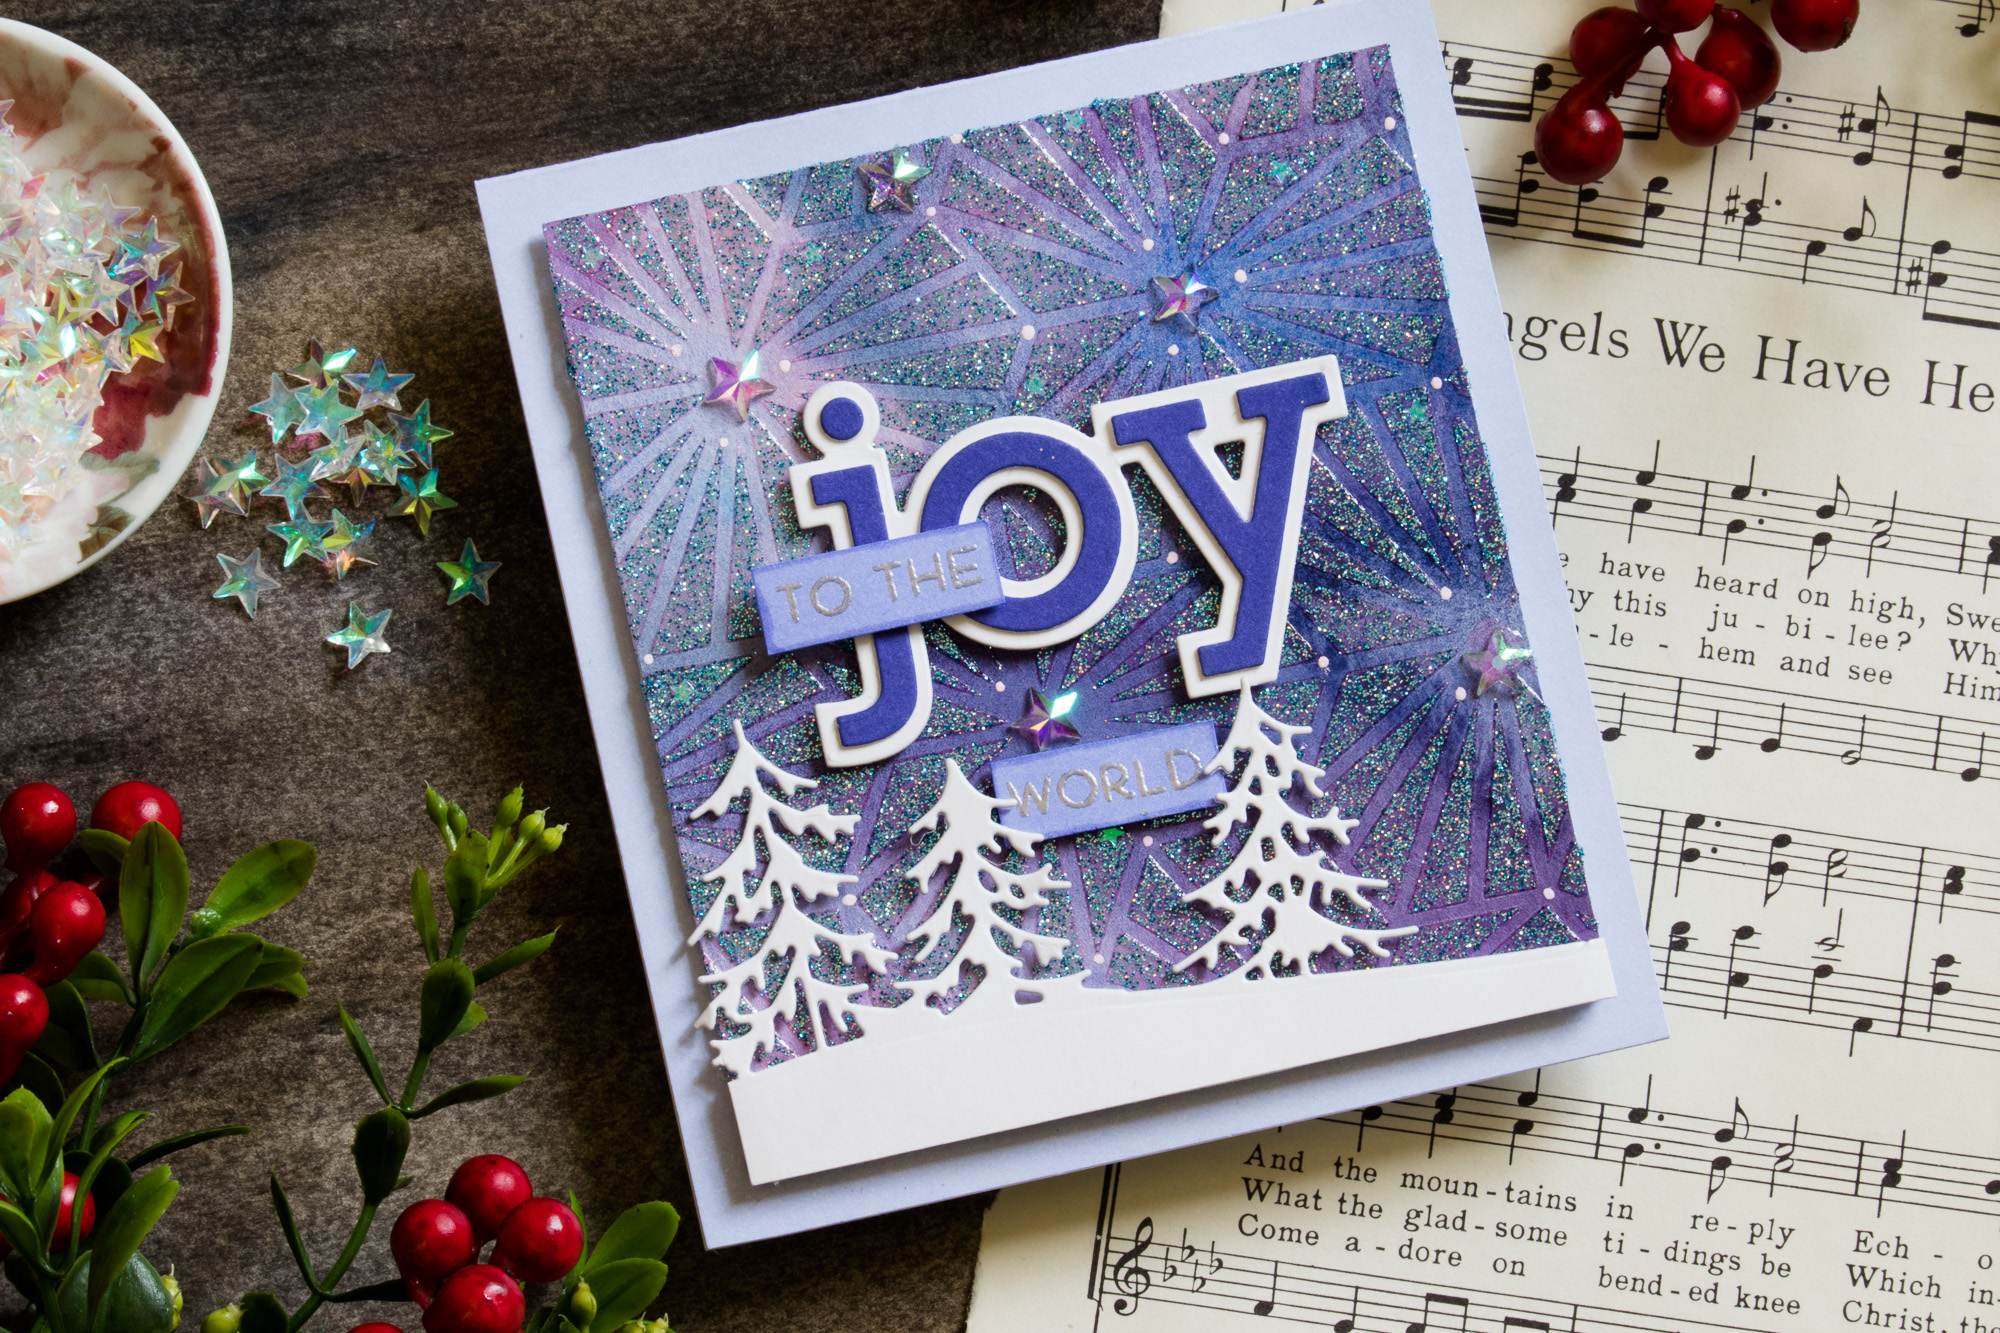
On this beautiful Christmas card, I wanted to incorporate the Memory Box Joy Outline die into the center of the design. Along with this greeting, I’ve silver embossed sentiments from the Birch Press Design Joy and Peace stamp set.

The background – featuring the glitter paste technique I showcased in the video above – was first created with Violet Brocade Nuvo Shimmer Powder. Once that powder watercolor background dried, I applied Translucent Texture Paste (mixed with WOW Santorini glitter) through the Neat & Tangled Geometric Bloom stencil.

Along the bottom of the glitter paste background, I added a white silhouette of pine trees, cut with Memory Box’s Wooded Glen Landscape die. I love how this contrasts so beautifully with the “sky” behind it!
For a bit of embellishing, I added some pretty stars with the Buttons Galore Sparkletz Crystal Stars and Pretty Pink Posh’s mini Iridescent Star Confetti.


I adore the background colors of this next, glittering beauty! I used Distress Inks (Chipped Sapphire, Broken China and Tattered Rose) and blended them through the Carolyn stencil. Before removing the stencil, I added translucent texture paste (mixed with Your Carriage Awaits glitter) over the ink blending. Because the texture paste is translucent, the colors shine through the “glitter paste” and give a dreamy effect!

On top of the glittery design, there are sentiments that I cut with the Birch Press Design Best and Friend Sugar Script dies. I also added a complementing greeting, embossing from the Best Friend stamp set (also by Birch Press Design). The final finishing touch was to add Ice Crystal sequins from Lucy’s Cards here and there around the greetings.


What I love most about this DIY Glitter Paste technique, is that it allows you to create almost any glitter paste you desire with simply 1 jar of Translucent Texture Paste, and any glitters you have in your stash!
Thanks for visiting me today… hoepfully you are inspired and will be trying this DIY Glitter Paste technqiue! I always enjoy creating with this effect, and I hope you do too!
SUPPLIES


 LinkDeli Free 15 day trial
Nina these are absolutely STUNNING!! You always make me look at my products in different ways! :)
Beautiful cards! Love all the glitter and those backgrounds are just gorgeous!!
These are all amazingly beautiful Nina. Such a great effect.
Great idea! Love your cards and video.
Super sparkly awesome cards!! I love the background on the first card a lot!!