Watercolor Stamping + Simon’s STAMPtember® Exclusive with Tim Holtz


Hello friends! I am excited to be sharing some fresh inspiration with you, using the new stamps from Simon Says Stamp and Tim Holtz’s STAMPtember® exclusive. I recently shared a set of cards that featured foiling with the STAMPtember® stencils (included with the Tim Holtz stamp set) and Transfer Gel.
If you missed that video, you can find it over on this tutorial.
Today’s video is featuring an oldie-but-goodie technique called watercolor stamping. I have used this technique many times in the past and was itching to do it again. I hope you enjoy!
The video above explains the process of creating the watercolor stamping effect. Be sure to watch it and see how I used the Zig Clean Color markers with the Tonic Studios Spray Mist bottle to achieve the technique. I also share tips on getting detailed results.

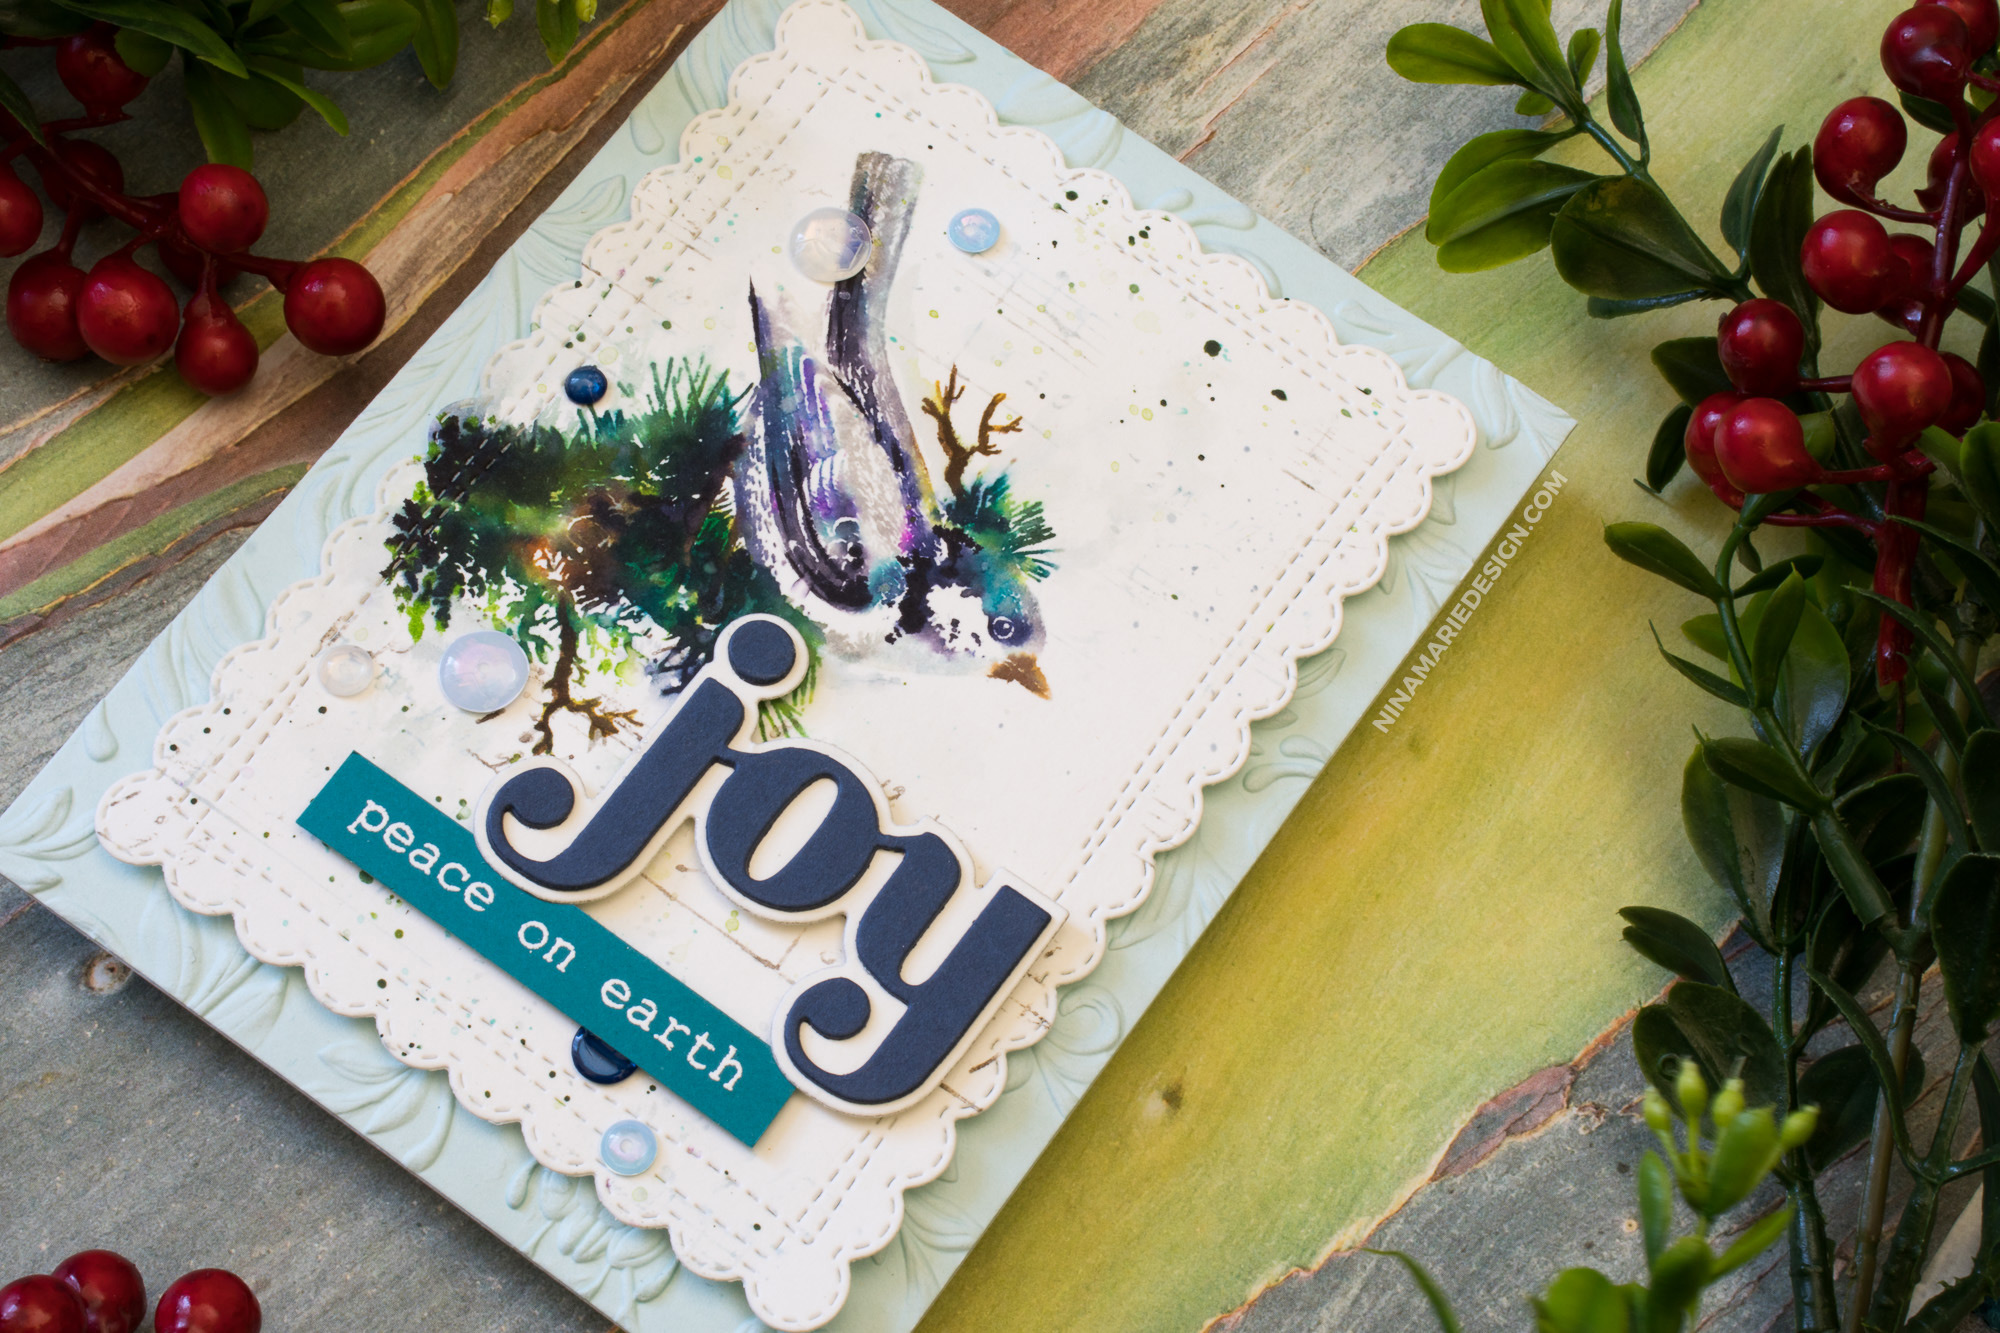
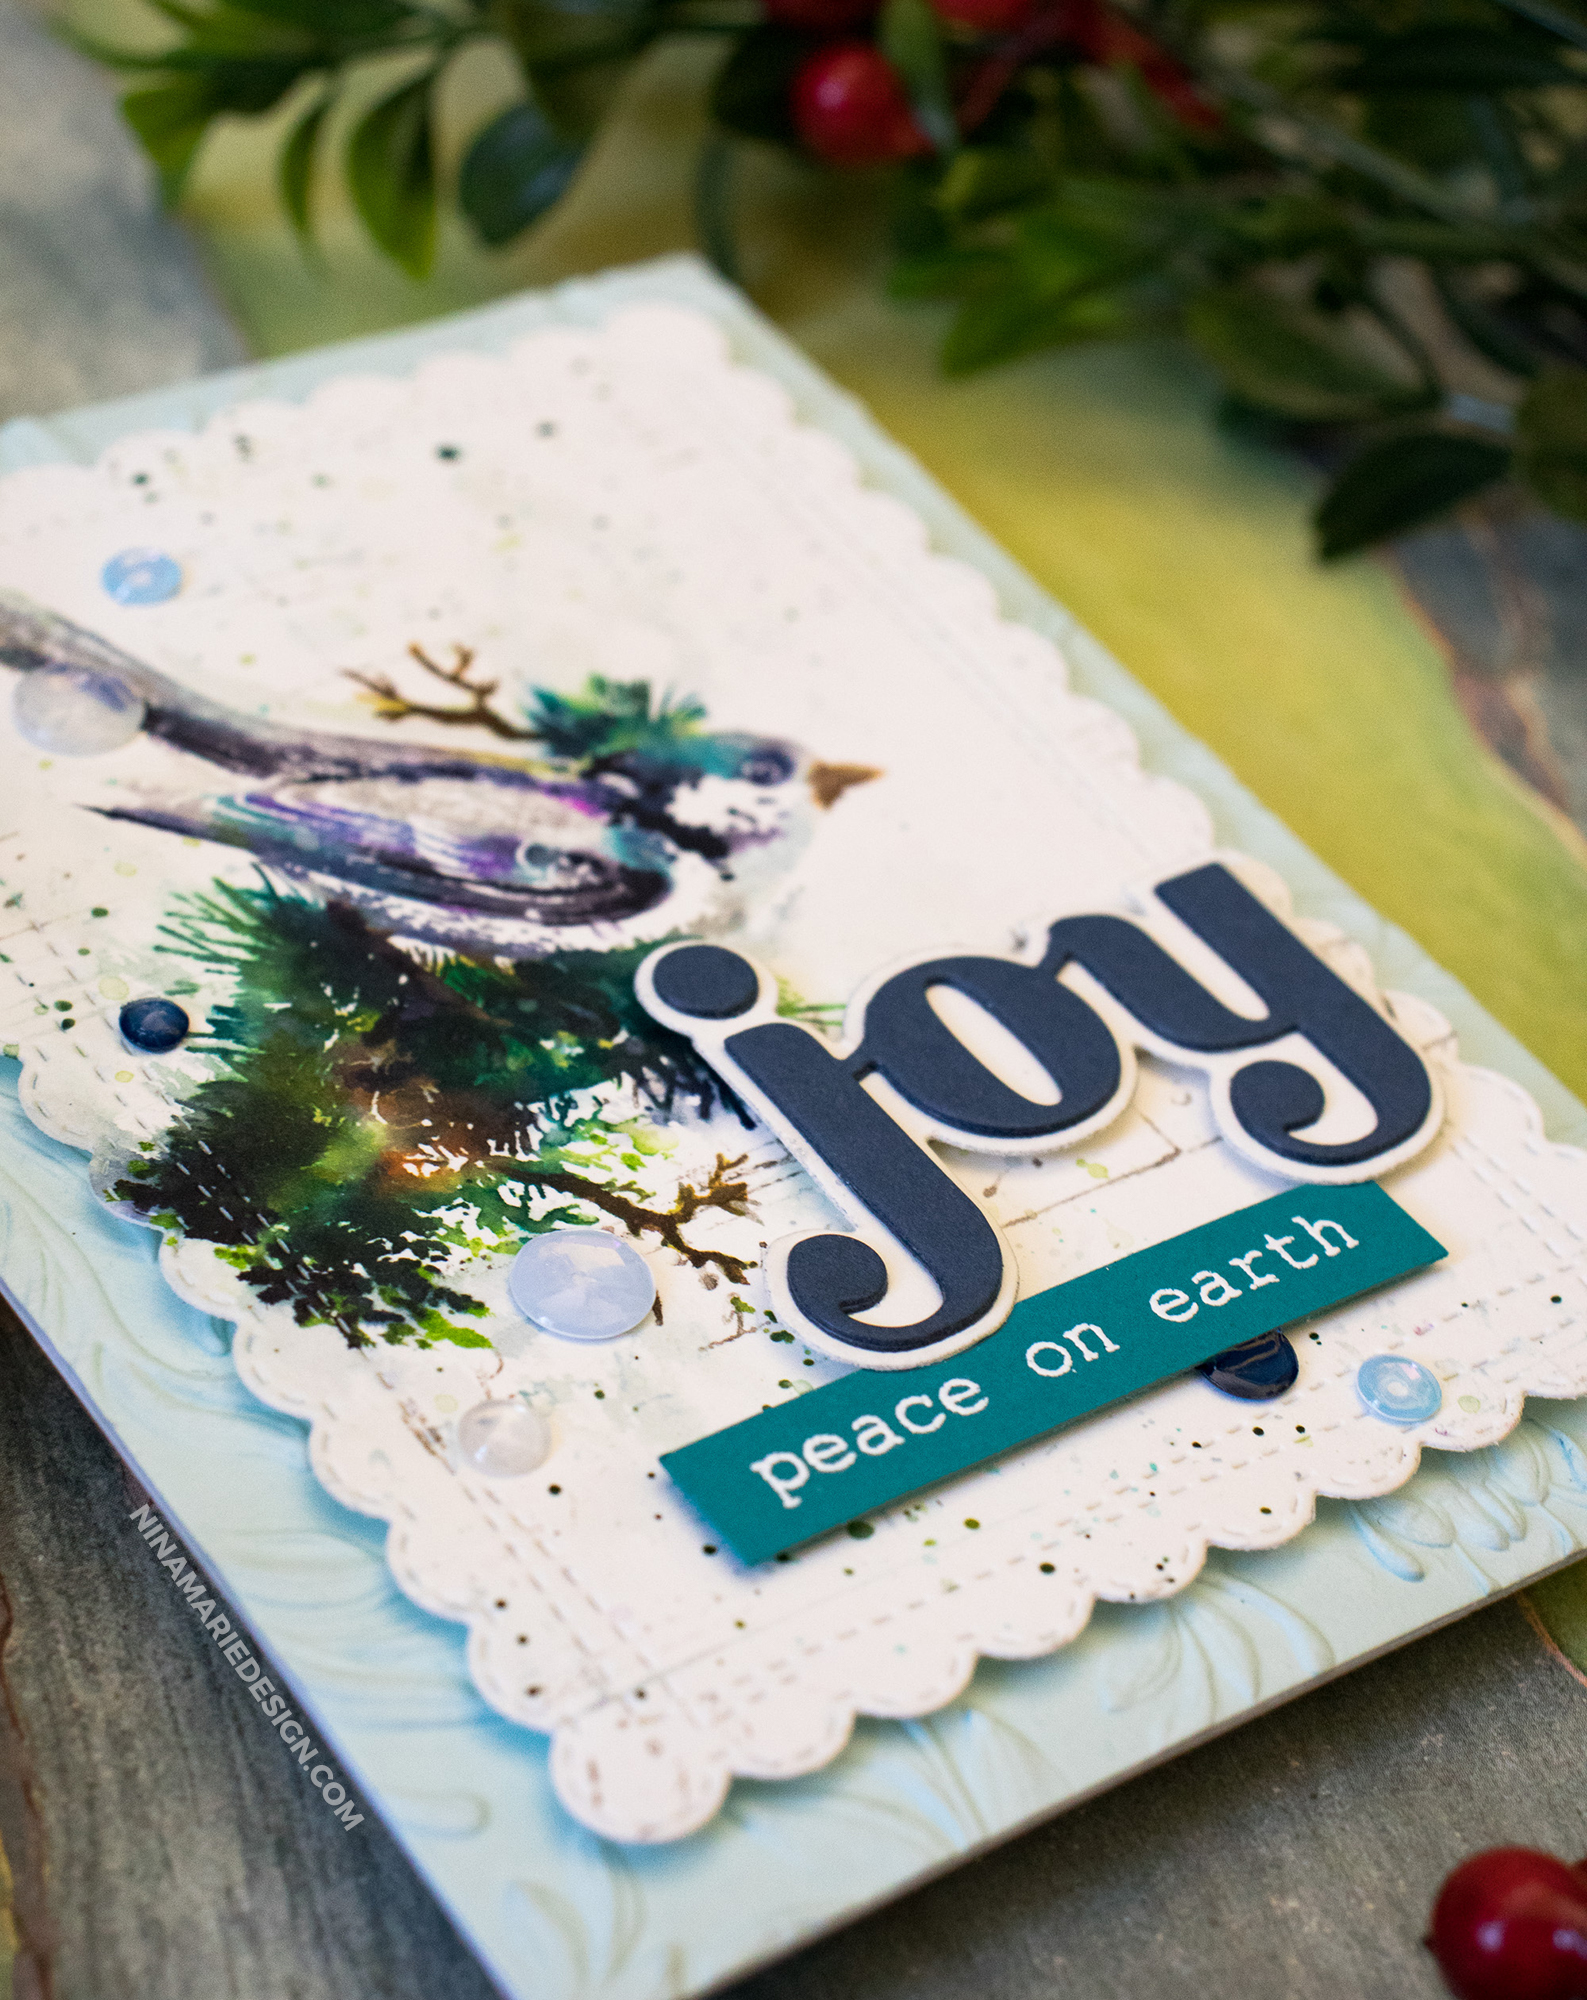
For the card with the bird, I cut my watercolor stamped panel with a Wrapped Scalloped Rectangle die from Memory Box. That scalloped panel is layered onto a Sea Glass card base that I dry embossed with Tim Holtz’s Botanical 3D Texture Fades. I love how the texture added some detail to the card without being distracting.

The greetings on this card are from some of Birch Press Designs and Memory Box’s latest holiday releases; Big Joy Sugar Script die and Typewriter Holiday Sentiments. I finished off the card by adding a few sequins from Lucy’s Cards Hydrangea and Studio Katia’s Sparkling Sea mixes


The other card I created with this STAMPtember® set, features the holly branches. I love how they frame the greeting, which also happens to be from that same stamp set. I used masking to stamp and heat emboss the sentiment; the bottom portion of it is embossed onto Schoolhouse Red cardstock, which helps draw in the red tones in the holly.

The finishing touches of this card included dots of Strawberry Coulis Nuvo Jewel Drops and Sparkling Sea sequins (which have Morning Dew Nuvo Drops on top of each sequin).
I love how these cards turned out and I hope they have further inspired you to create some holiday cards with the Tim Holtz and Simon Says Stamp STAMPtember exclusive! Be sure to check out the video tutorial featuring the stencils included with this stamp set… I used them with Transfer Gel and DecoFoils to create some shiny holiday cards!
Thank you for stopping by today… I will be back again soon with more to share!
Simon just released a couple of other exclusives that you won’t want to miss! This card here features the adorable, Hello Beautiful set that was created by Newton’s Nook Designs! I made a fun, interactive Reveal Wheel Card with this set… you can watch how I made it by visiting Simon’s blog.

Simon just released a couple of other exclusives that you won’t want to miss! This card here features the adorable, Hello Beautiful set that was created by Newton’s Nook Designs! I made a fun, interactive Reveal Wheel card with this set… you can watch how I made it by visiting Simon’s blog.
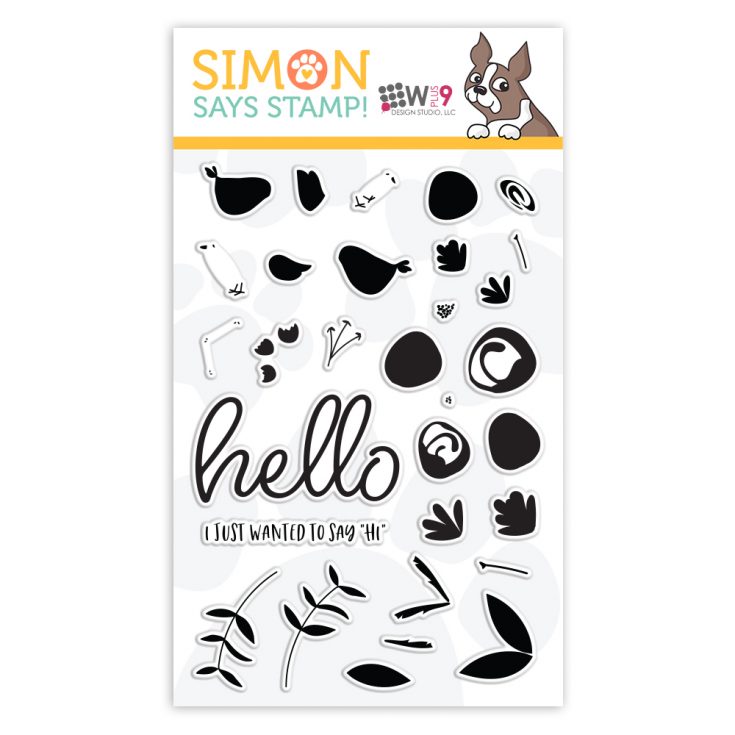
Don’t miss also, this gorgeous stamp layering set that WPlus9 designed exclusively for Simon’s STAMPtember event called, Saying Hi! There are cute birds, loose florals… and endless ways to mix and match them.
Simon’s also releasing this cute die that WPlus9 created to work with the set. I love this style of font, as it matches with just about anything!
If you love either the Newton’s Nook or WPlus9 exclusives, be sure to get them while supplies last. STAMPtember® sets are all limited edition and once sold out, will not be coming back!
SUPPLIES


 LinkDeli Free 15 day trial
Love your cards. They are all beautiful. Also, I never would have thought of using that technique with my Zigs, but I am going to try it soon. Thanks for the inspiration and tutorial!
So pretty, especially the bird, I enjoyed your video.
Amazing cards they are!! :)