Little Details That Make A Card Pop
[fusion_builder_container hundred_percent=”no” equal_height_columns=”no” hide_on_mobile=”small-visibility,medium-visibility,large-visibility” background_position=”center center” background_repeat=”no-repeat” fade=”no” background_parallax=”none” parallax_speed=”0.3″ video_aspect_ratio=”16:9″ video_loop=”yes” video_mute=”yes” overlay_opacity=”0.5″ border_style=”solid” admin_toggled=”no” admin_label=”Post Content”][fusion_builder_row][fusion_builder_column type=”1_1″ layout=”1_1″ background_position=”left top” background_color=”” border_size=”” border_color=”” border_style=”solid” border_position=”all” spacing=”yes” background_image=”” background_repeat=”no-repeat” padding=”” margin_top=”0px” margin_bottom=”0px” class=”” id=”” animation_type=”” animation_speed=”0.3″ animation_direction=”left” hide_on_mobile=”small-visibility,medium-visibility,large-visibility” center_content=”no” last=”no” min_height=”” hover_type=”none” link=””][fusion_text]
Hello everyone, I hope you are having a very happy Tuesday so far! Today I want to share a video tutorial with you that features Honey Bee stamps and dies, as well as tips for adding extra details to bring your cards to life.
Honey Bee is a newer stamp company that has really hit the ground running with their creative and beautifully designed products. I was very excited when Lisa and Melissa (the owner) from Honey Bee Stamps asked if I would share a couple projects this month using their stamps!
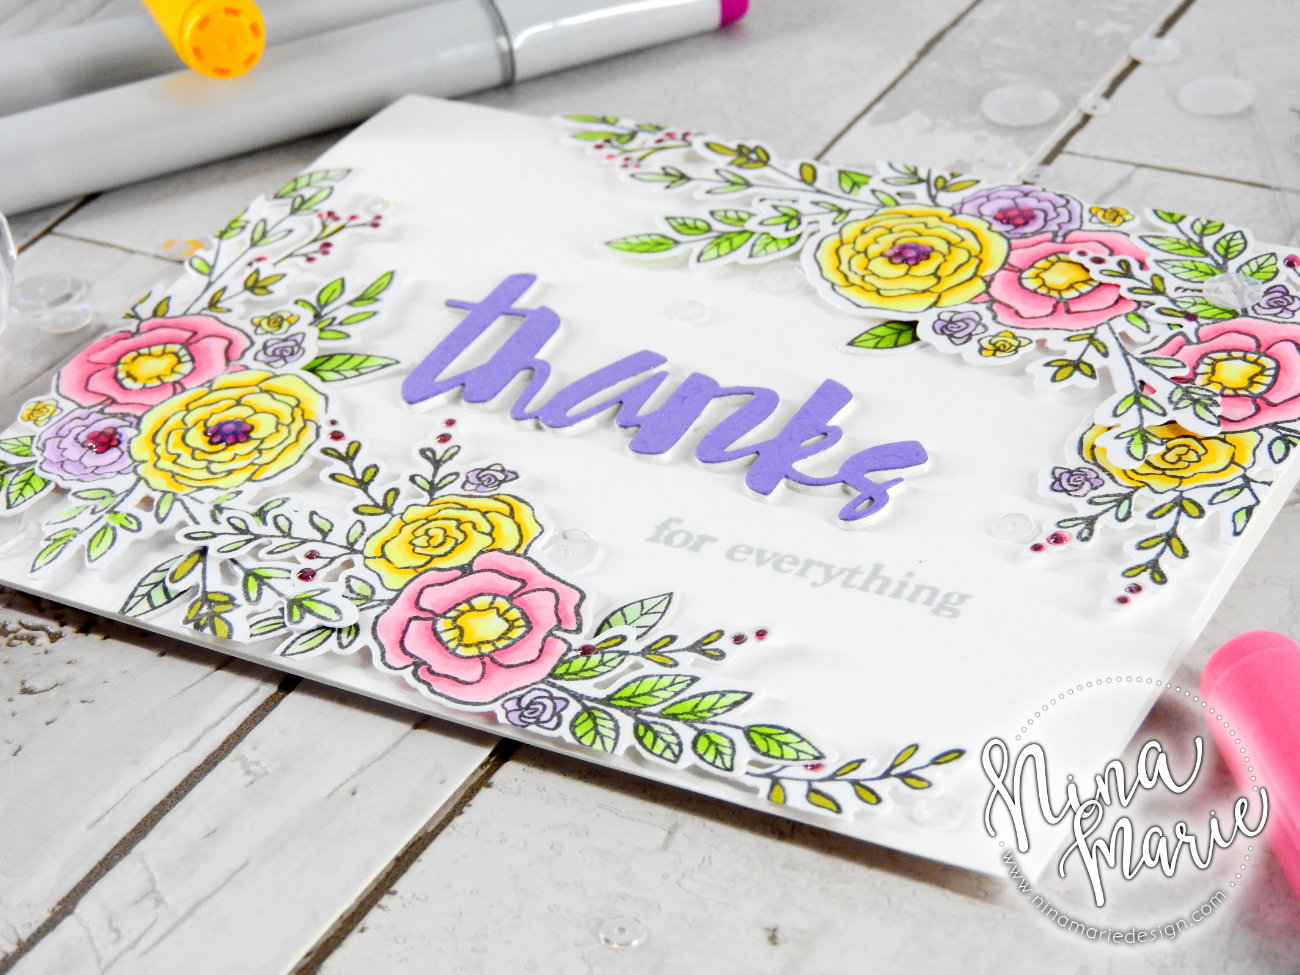
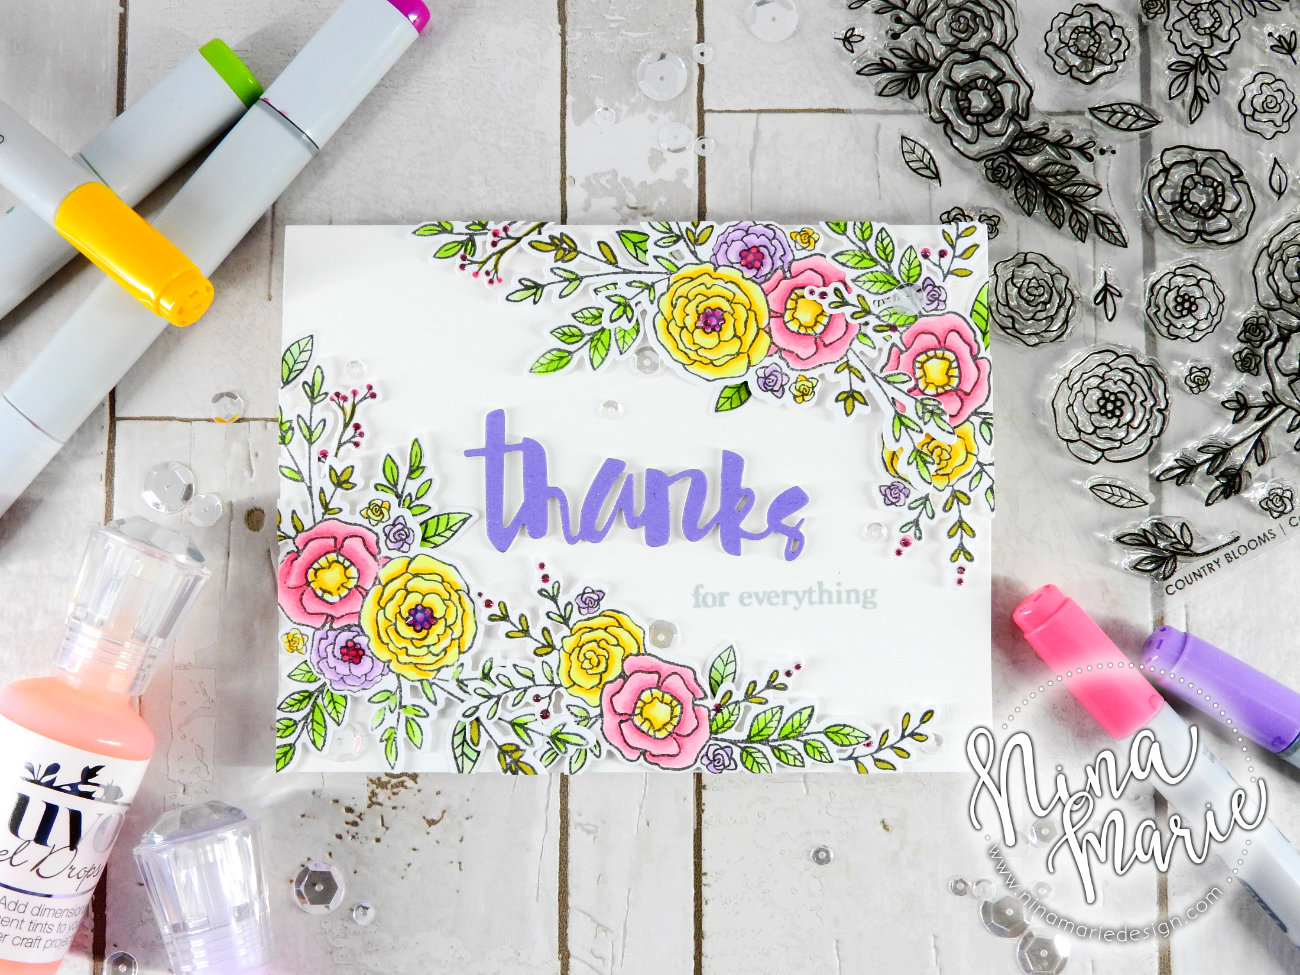
In this video, I will be using the gorgeous Country Bloom stamps and dies from Honey Bee Stamps. I love the gorgeous, hand drawn feel of the floral images in this set! They are perfect for coloring, so I used my Copic markers to color them in.
After coloring the images, I cut them out using the coordinating Country Blooms dies. A few of the dies in this set are solid (unlike most wafer-thin dies which are open in the center). I like being able to die cut after I stamp and color an image. However, with a solid coordinating die it is impossible to line it up with the stamped image because you cannot see through it. In the video, I will share my method for lining up the dies perfectly with my stamped and colored images!
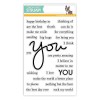
The sentiments I used were made using Simon’s Painted Thanks die and You Matter stamp set. The Painted Thanks sentiment is layered by cutting both white and purple cardstock and adhering them together.
Because little details bring a card like this to life, I want to highlight in the video below what exactly those details were. They are discrete, but the impact of those subtleties makes all the difference. I hope you will watch the video to see more on that!
Thanks so much for stopping by and visiting with me today. I hope I will be seeing you again very soon!
[/fusion_text][fusion_separator style_type=”none” hide_on_mobile=”small-visibility,medium-visibility,large-visibility” top_margin=”20″ bottom_margin=”20″ alignment=”center” /][fusion_text]
WATCH THE VIDEO
[/fusion_text][fusion_youtube id=”https://www.youtube.com/embed/ka_G2ayu7zs” width=”600″ autoplay=”false” hide_on_mobile=”small-visibility,medium-visibility,large-visibility” /][fusion_separator style_type=”none” hide_on_mobile=”small-visibility,medium-visibility,large-visibility” top_margin=”20″ bottom_margin=”20″ alignment=”center” /][fusion_text]
SHARE THIS POST ON SOCIAL MEDIA
[/fusion_text][fusion_separator style_type=”none” hide_on_mobile=”small-visibility,medium-visibility,large-visibility” top_margin=”20″ bottom_margin=”20″ alignment=”center” /][fusion_text]
PRODUCTS
[/fusion_text][/fusion_builder_column][/fusion_builder_row][/fusion_builder_container]










 LinkDeli Free 15 day trial
This is such a bright and happy card. Great job!