Copic Colored Scene + Three Tips For Mass Producing Cards
[fusion_builder_container hundred_percent=”no” equal_height_columns=”no” hide_on_mobile=”small-visibility,medium-visibility,large-visibility” background_position=”center center” background_repeat=”no-repeat” fade=”no” background_parallax=”none” parallax_speed=”0.3″ video_aspect_ratio=”16:9″ video_loop=”yes” video_mute=”yes” overlay_opacity=”0.5″ border_style=”solid”][fusion_builder_row][fusion_builder_column type=”1_1″ layout=”1_1″ background_position=”left top” background_color=”” border_size=”” border_color=”” border_style=”solid” border_position=”all” spacing=”yes” background_image=”” background_repeat=”no-repeat” padding=”” margin_top=”0px” margin_bottom=”0px” class=”” id=”” animation_type=”” animation_speed=”0.3″ animation_direction=”left” hide_on_mobile=”small-visibility,medium-visibility,large-visibility” center_content=”no” last=”no” min_height=”” hover_type=”none” link=””][fusion_text]
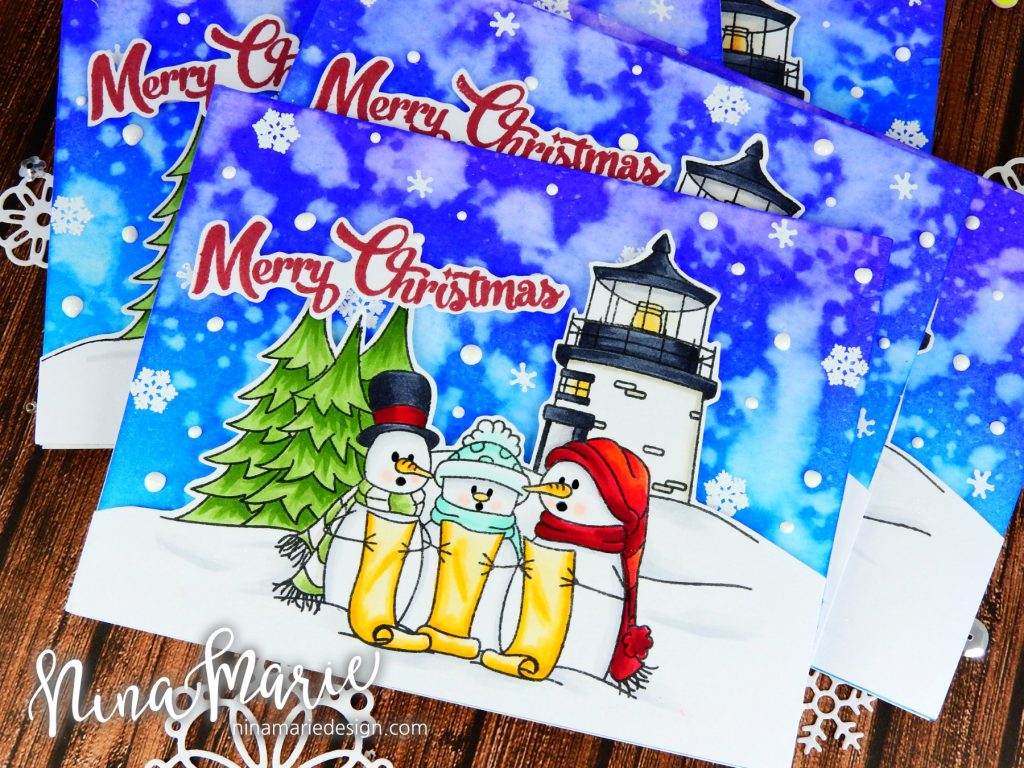
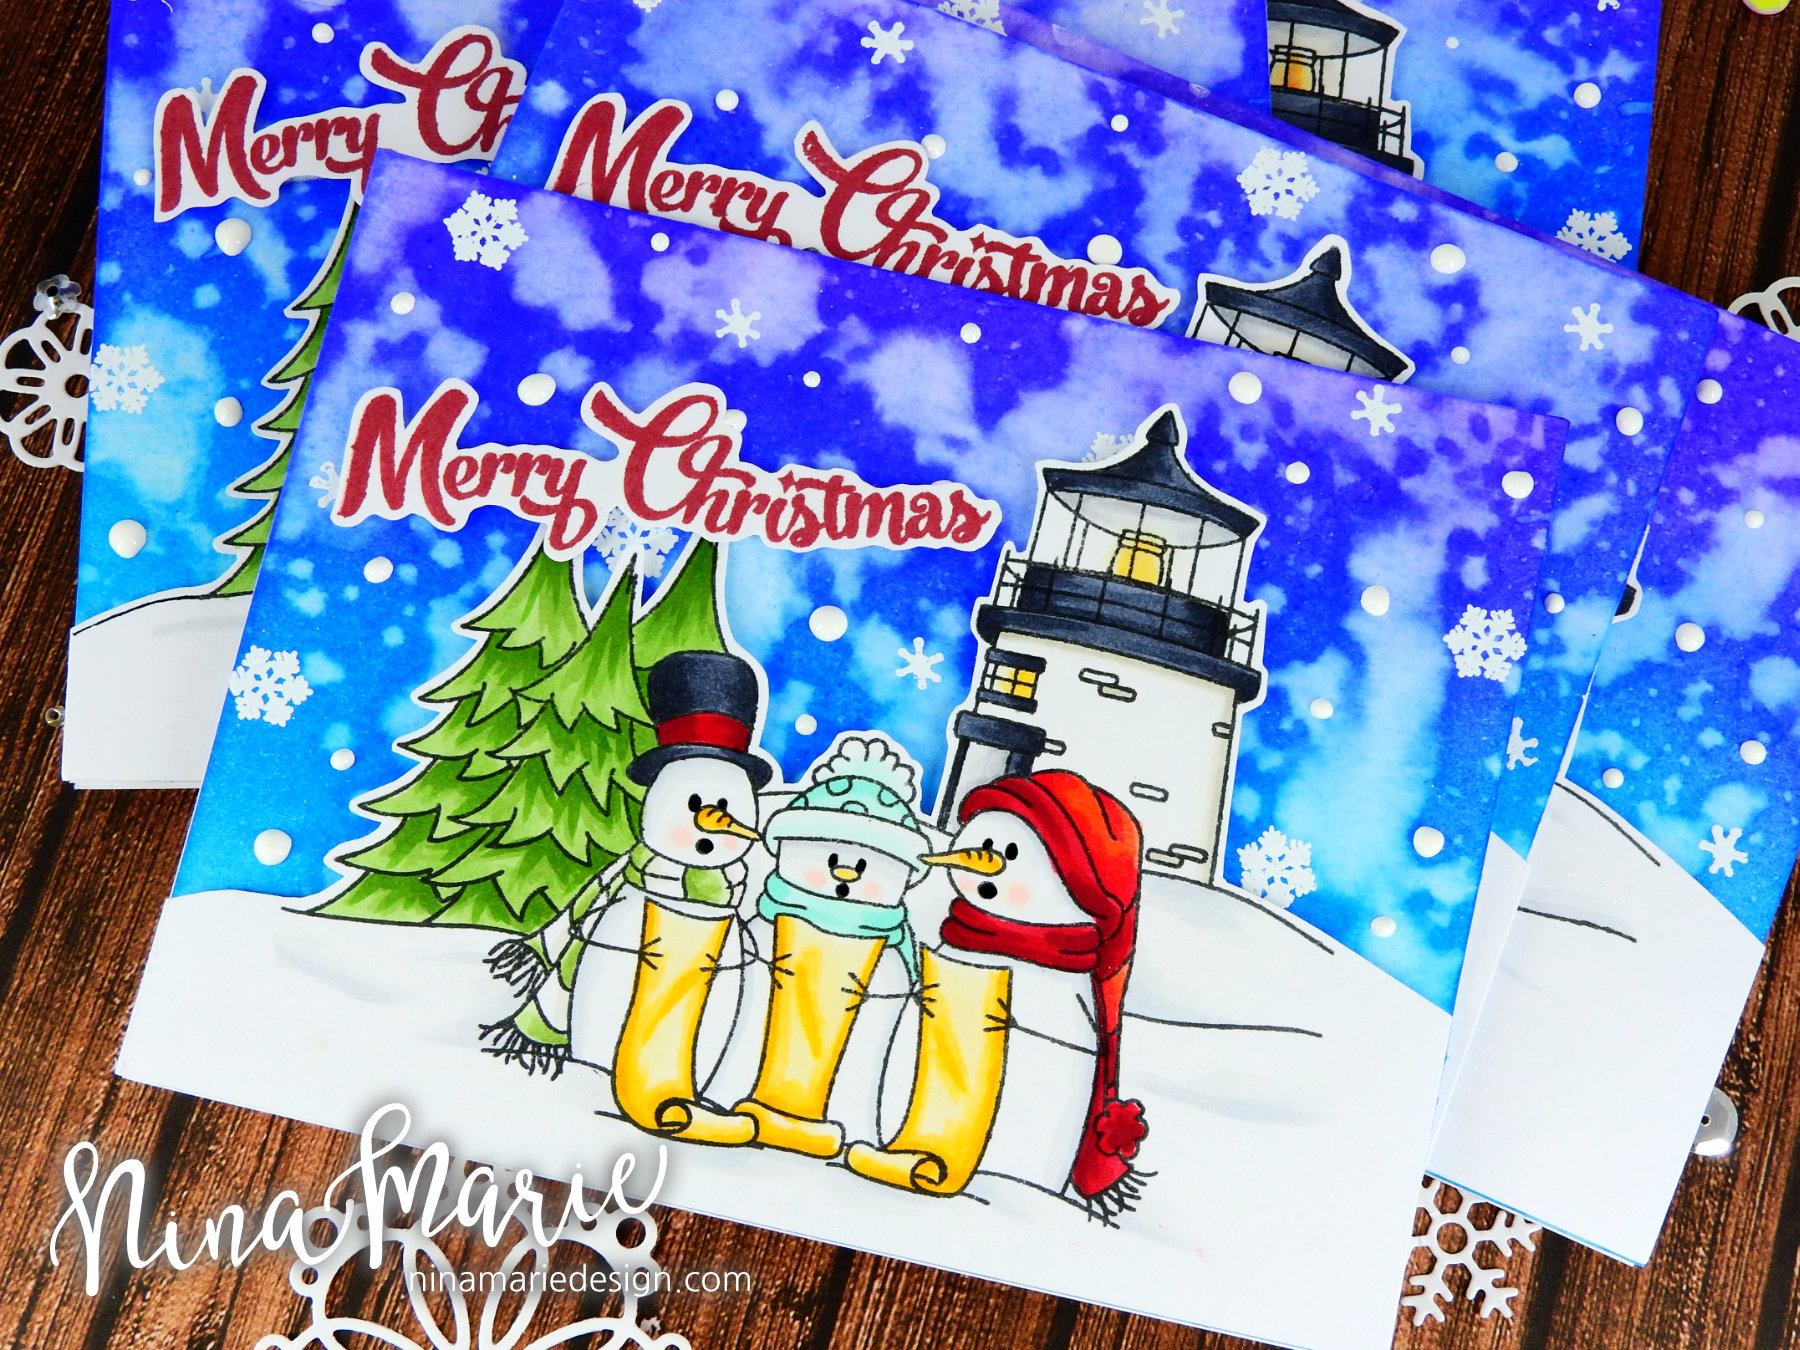
Hello crafty friends! I hope your week is off to a great start! Today I wanted to share a set of cards I made for a friend of mine using the In My Backyard stamp set that I designed for Whimsy Stamps earlier this year.
A little backstory first…
This lighthouse you see in the In My Backyard stamp set is actually a real lighthouse and it IS in my backyard so-to-speak; this is Owls Head lighthouse (I think the name is cute, LOL). It is one of many lighthouses within a short distance of my home, as Maine is known for having over 60 lighthouses up and down its coastline; this particular one was built in 1852. I have been there countless times since I was young, so it holds a lot of memories for me.
When I designed the In My Backyard stamp set, I created it in such a way that it could be used for Christmas or just winter-themed cards; getting extended use out of a stamp set is always a big bonus, right?
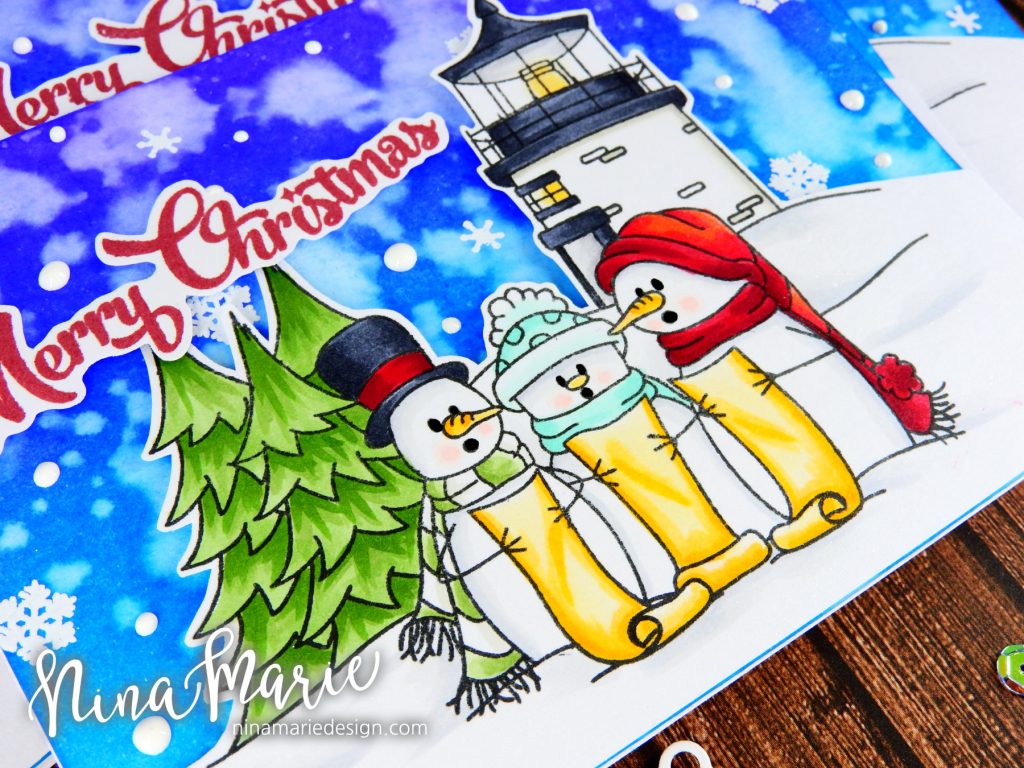
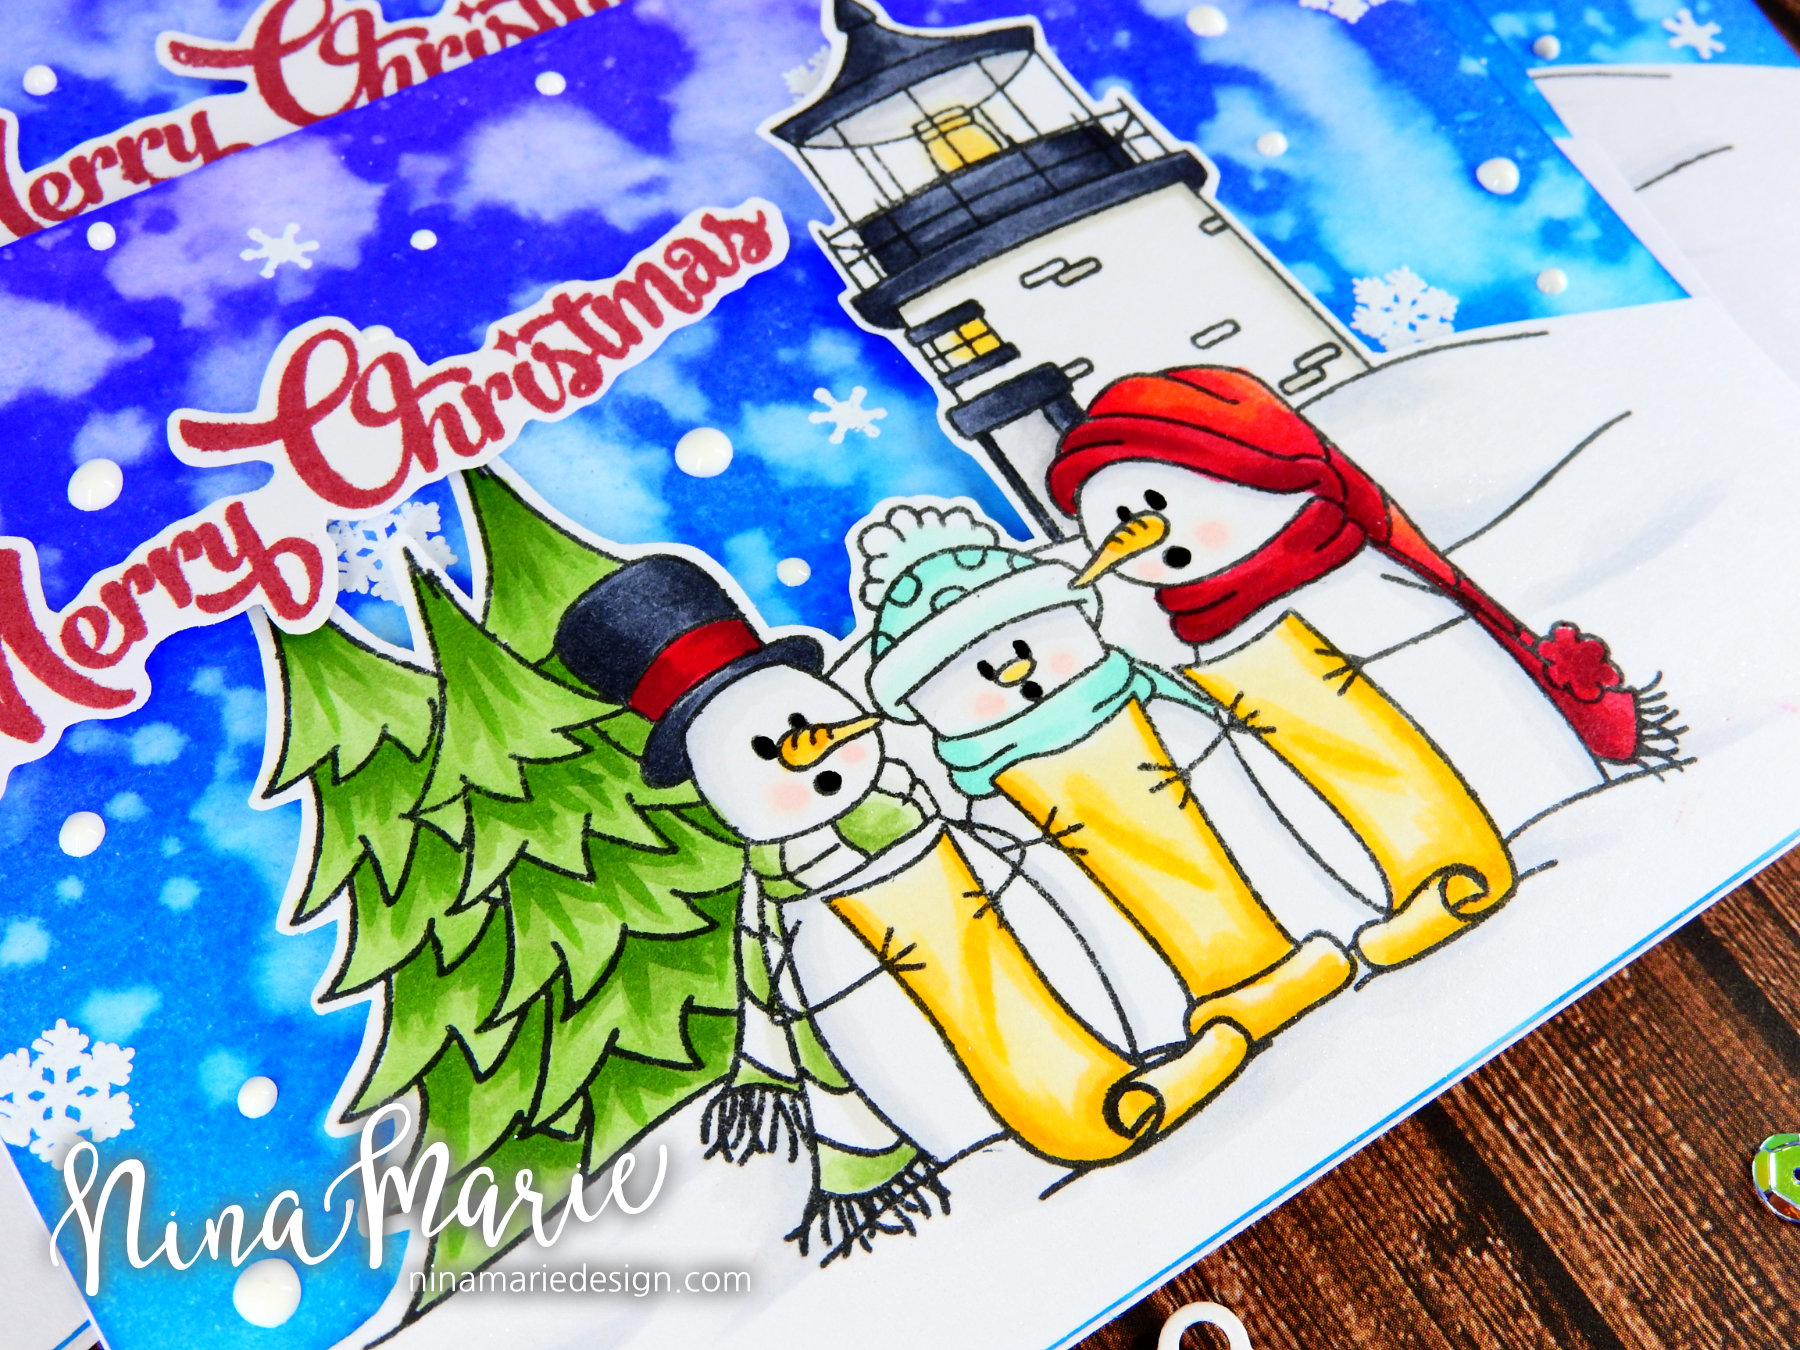
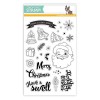
In the set I made for my friend, there is a total of 6 cards (all look the same). I stamped and Copic colored the In My Backyard images, created a night sky with Distress Inks, heat embossed the snowflakes (also from In My Backyard) and added a few white dots of snow with some Enamel Accents, and also stamped a sentiment from the Simon Says Stamp’s Swell Christmas stamp set that I also designed.
There is quite a bit of Copic coloring involved, that took me some time; this was the most lengthy part of the process, but I love coloring so for me it was a blast! But sometimes coloring may seem like too daunting of a task to use on mass produced cards.
And I will admit, if you were going to make 100 of these, coloring them exactly as I did here would take you a while. But for smaller card sets I think this kind of card is quite doable. I’ll share some tips with you that I find helpful for when I am mass producing cards that are a bit more time consuming.
Tip 1: Make one first; this allows you to set the stage for your upcoming process. By making one of the cards from start to finish, you’ll be able to shake out any kinks, see what works and what doesn’t, create shortcuts that will save you even more time when you go to make the actual set of cards… I don’t always do this, but 75% of the time I will and it pays off big time. You too may find that doing a “dry run” helps with your mass producing.
Tip 2: When working on mass producing cards, no matter what kind of card it is, always work on each step for each card all at once. For instance: I started off by stamping all 6 of the In My Backyard scenes onto cardstock. I then did all the coloring; after that, I created all the backgrounds… etc., etc. By doing the process like this, it saves more time because you’re not making one card all at once, having to break out the same supplies over and over. Instead, you can do each step all at once and then put those supplies away because you won’t need them again!
Tip 3: Be mindful of dimension. When you are mass producing cards, more than likely you are going to need postage (unless you plan on hand-delivering all your cards!). Too much dimension on a card will require extra postage on your envelopes. Instead of breaking out the foam tapes and fun foams, look for other ways to add dimension to your cards that don’t actually add physical depth to the card. Examples could be:
- adding Glossy Accents
- using enamel dots or liquids
- create shadows with your coloring
- heat emboss
- use texture pastes
- make use of small and large images to create depth of field
And a bonus tip for when you are mass producing cards: turn on a favorite movie, YouTube videos, play some music… by creating a slight distraction for your mind while you are working on repetitive processes like this, you’ll move faster because your mind won’t be focused on what you are repeating… like how many times you colored the same image! :)
I hope today’s post has given you not only some inspiration on using the In My Backyard stamp set, but also that you were able to pick up a tip or two from my list here! Thanks for stopping by and visiting me today… I’ll see you again very soon!
SHARE THIS POST ON SOCIAL MEDIA
Feel free to share this post on social media using this image!
PRODUCTS
If you are interested in any of the products used in this post, I have them all linked below to Simon Says Stamp. Affiliate links used when possible.
[/fusion_text][/fusion_builder_column][/fusion_builder_row][/fusion_builder_container]













 LinkDeli Free 15 day trial