Simple Scene + Neat & Tangled Release Wrap Up
Hello there everyone! I am so happy you are joining me today, as I have a clean and simple scene card to share with you featuring a couple of the new stamps and dies from Neat & Tangled’s May release!
For my card today I combined the Say Yes to Donuts and the Big Bold Brew sets to create a really cute scene, because of course what goes better together than coffee and donuts? Well, I would say tea and donuts, but that’s my because I am biased towards a nice hop cup of English Breakfast tea!
I stamped the kids from both the Say Yes to Donuts and Big Bold Brew sets onto white cardstock and colored them in with Copics. After coloring them in, I used the coordinating dies for both images and cut them out with my Big Shot machine.
I attached them with foam tape onto my white cardstock panel and added a bit of ground using some warm gray markers. The stitching detail on the panel was created with a border die from the My Favorite Things Basic Stitch Line dies… I didn’t die cut it perfectly on the bottom edge of the panel but its totally okay because remember, these little “imperfections” are what makes the card special. It’s handmade and its not supposed to be perfect right? It’s something I always have to remind myself when I have a self-perceived “boo boo” on a card; my OCD side wants to fix it right away or even start all over again. Haha!
My white panel is matted onto some gray and white striped patterned paper and I popped both pieces up off of my A2 card base with fun foam. The sentiment banner is created by simply trimming out a piece of Seaglass cardstock and adding a v-end notch to the bottom which creates a cute little banner shape. I stamped my sentiment in both black and purple dye inks and attached that onto my white card panel as well. For a final finishing touch, I used a bit of pink bakers twine to tie a cute little bow across the top of the card.
MORE INSPIRATION
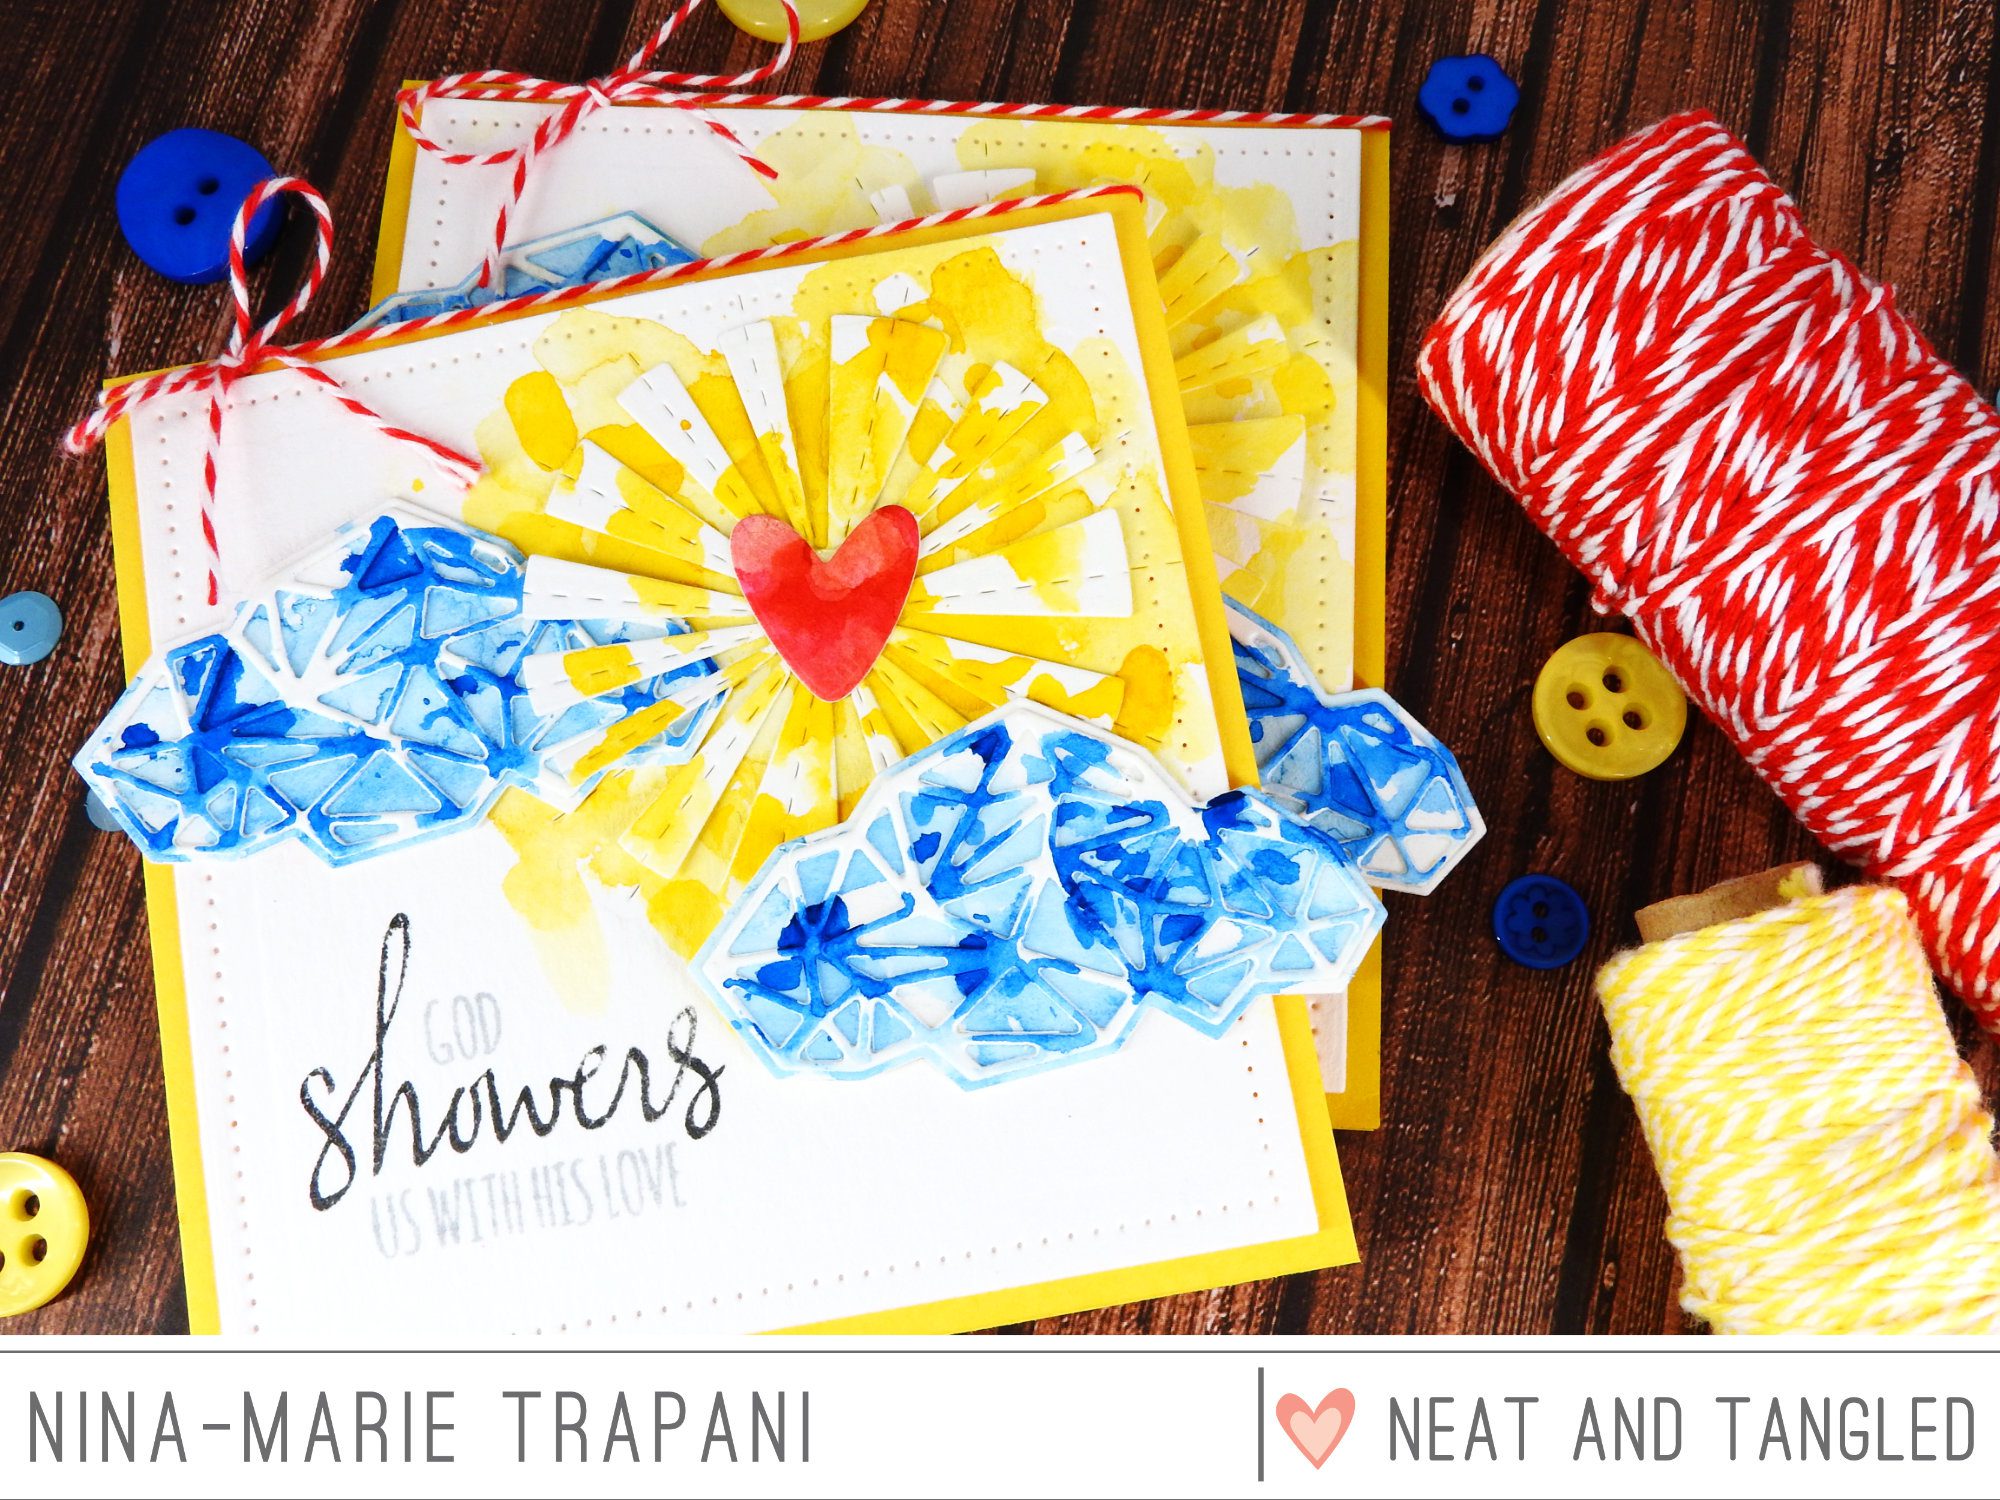
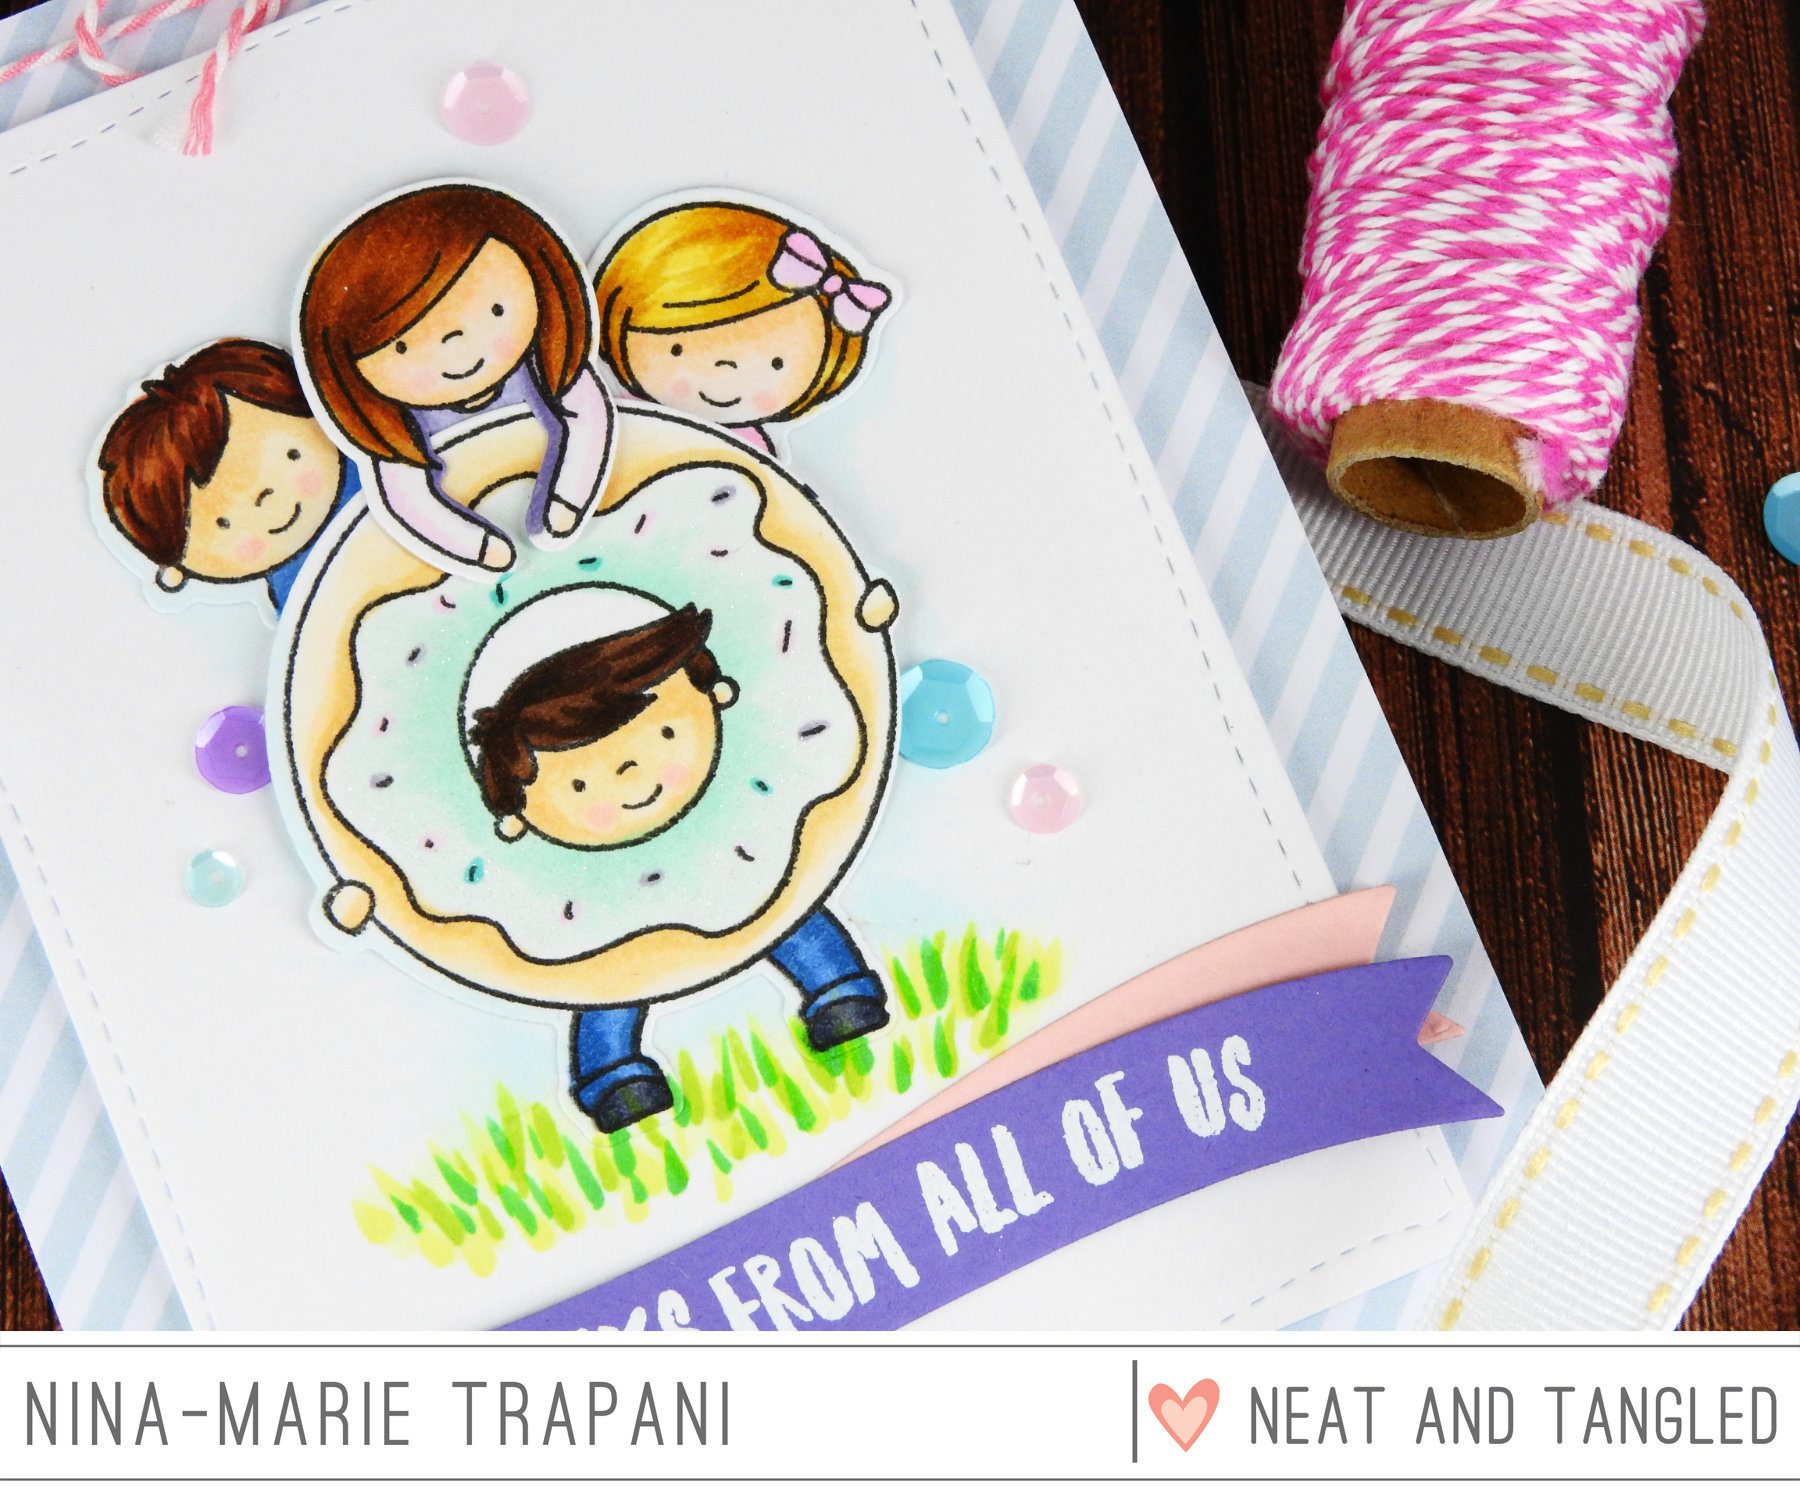
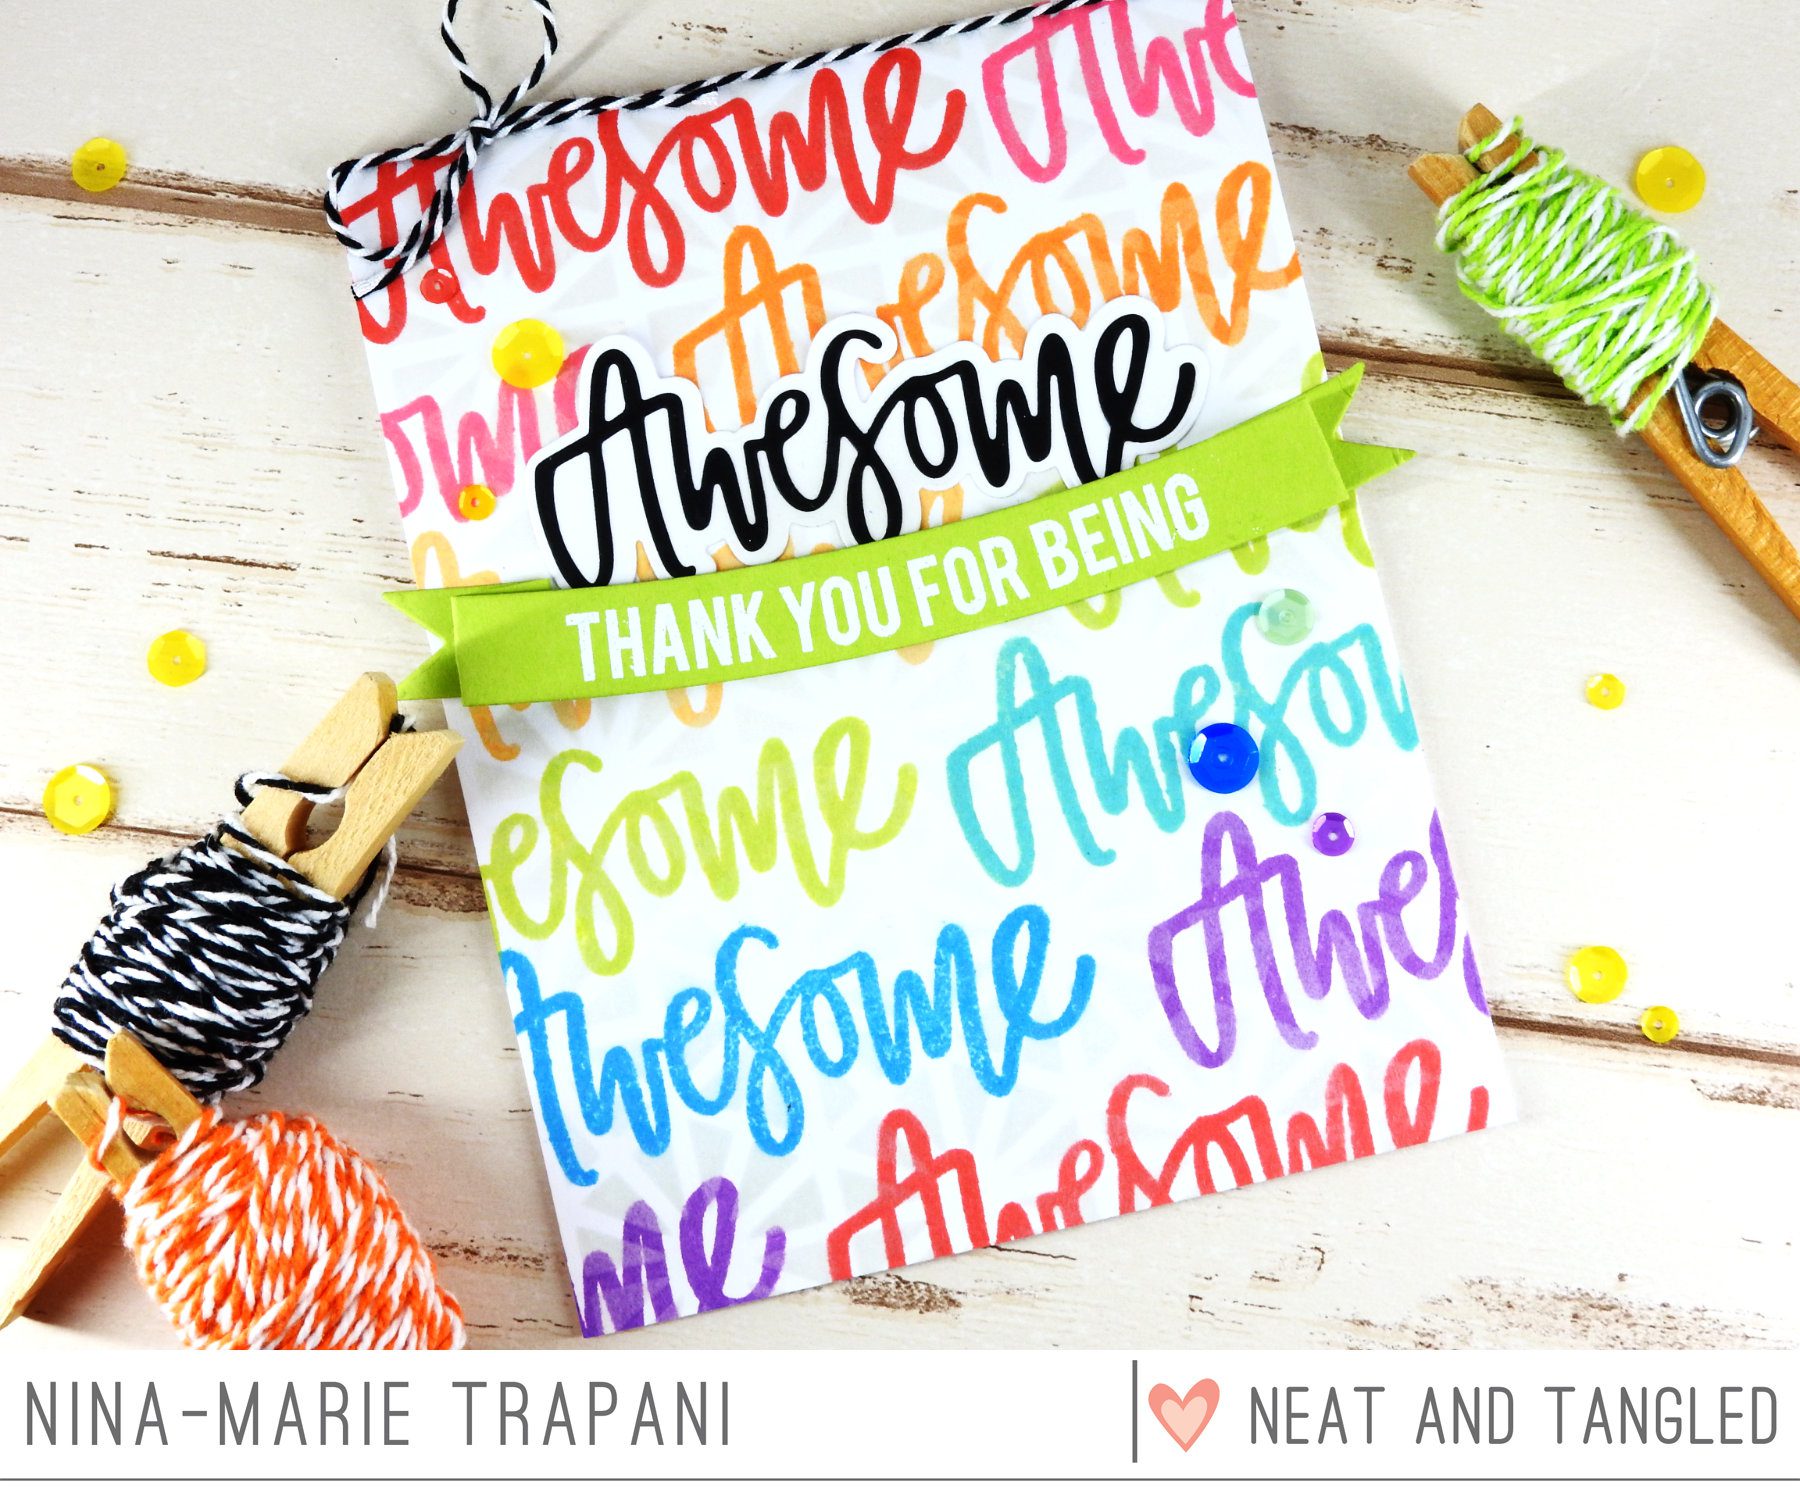
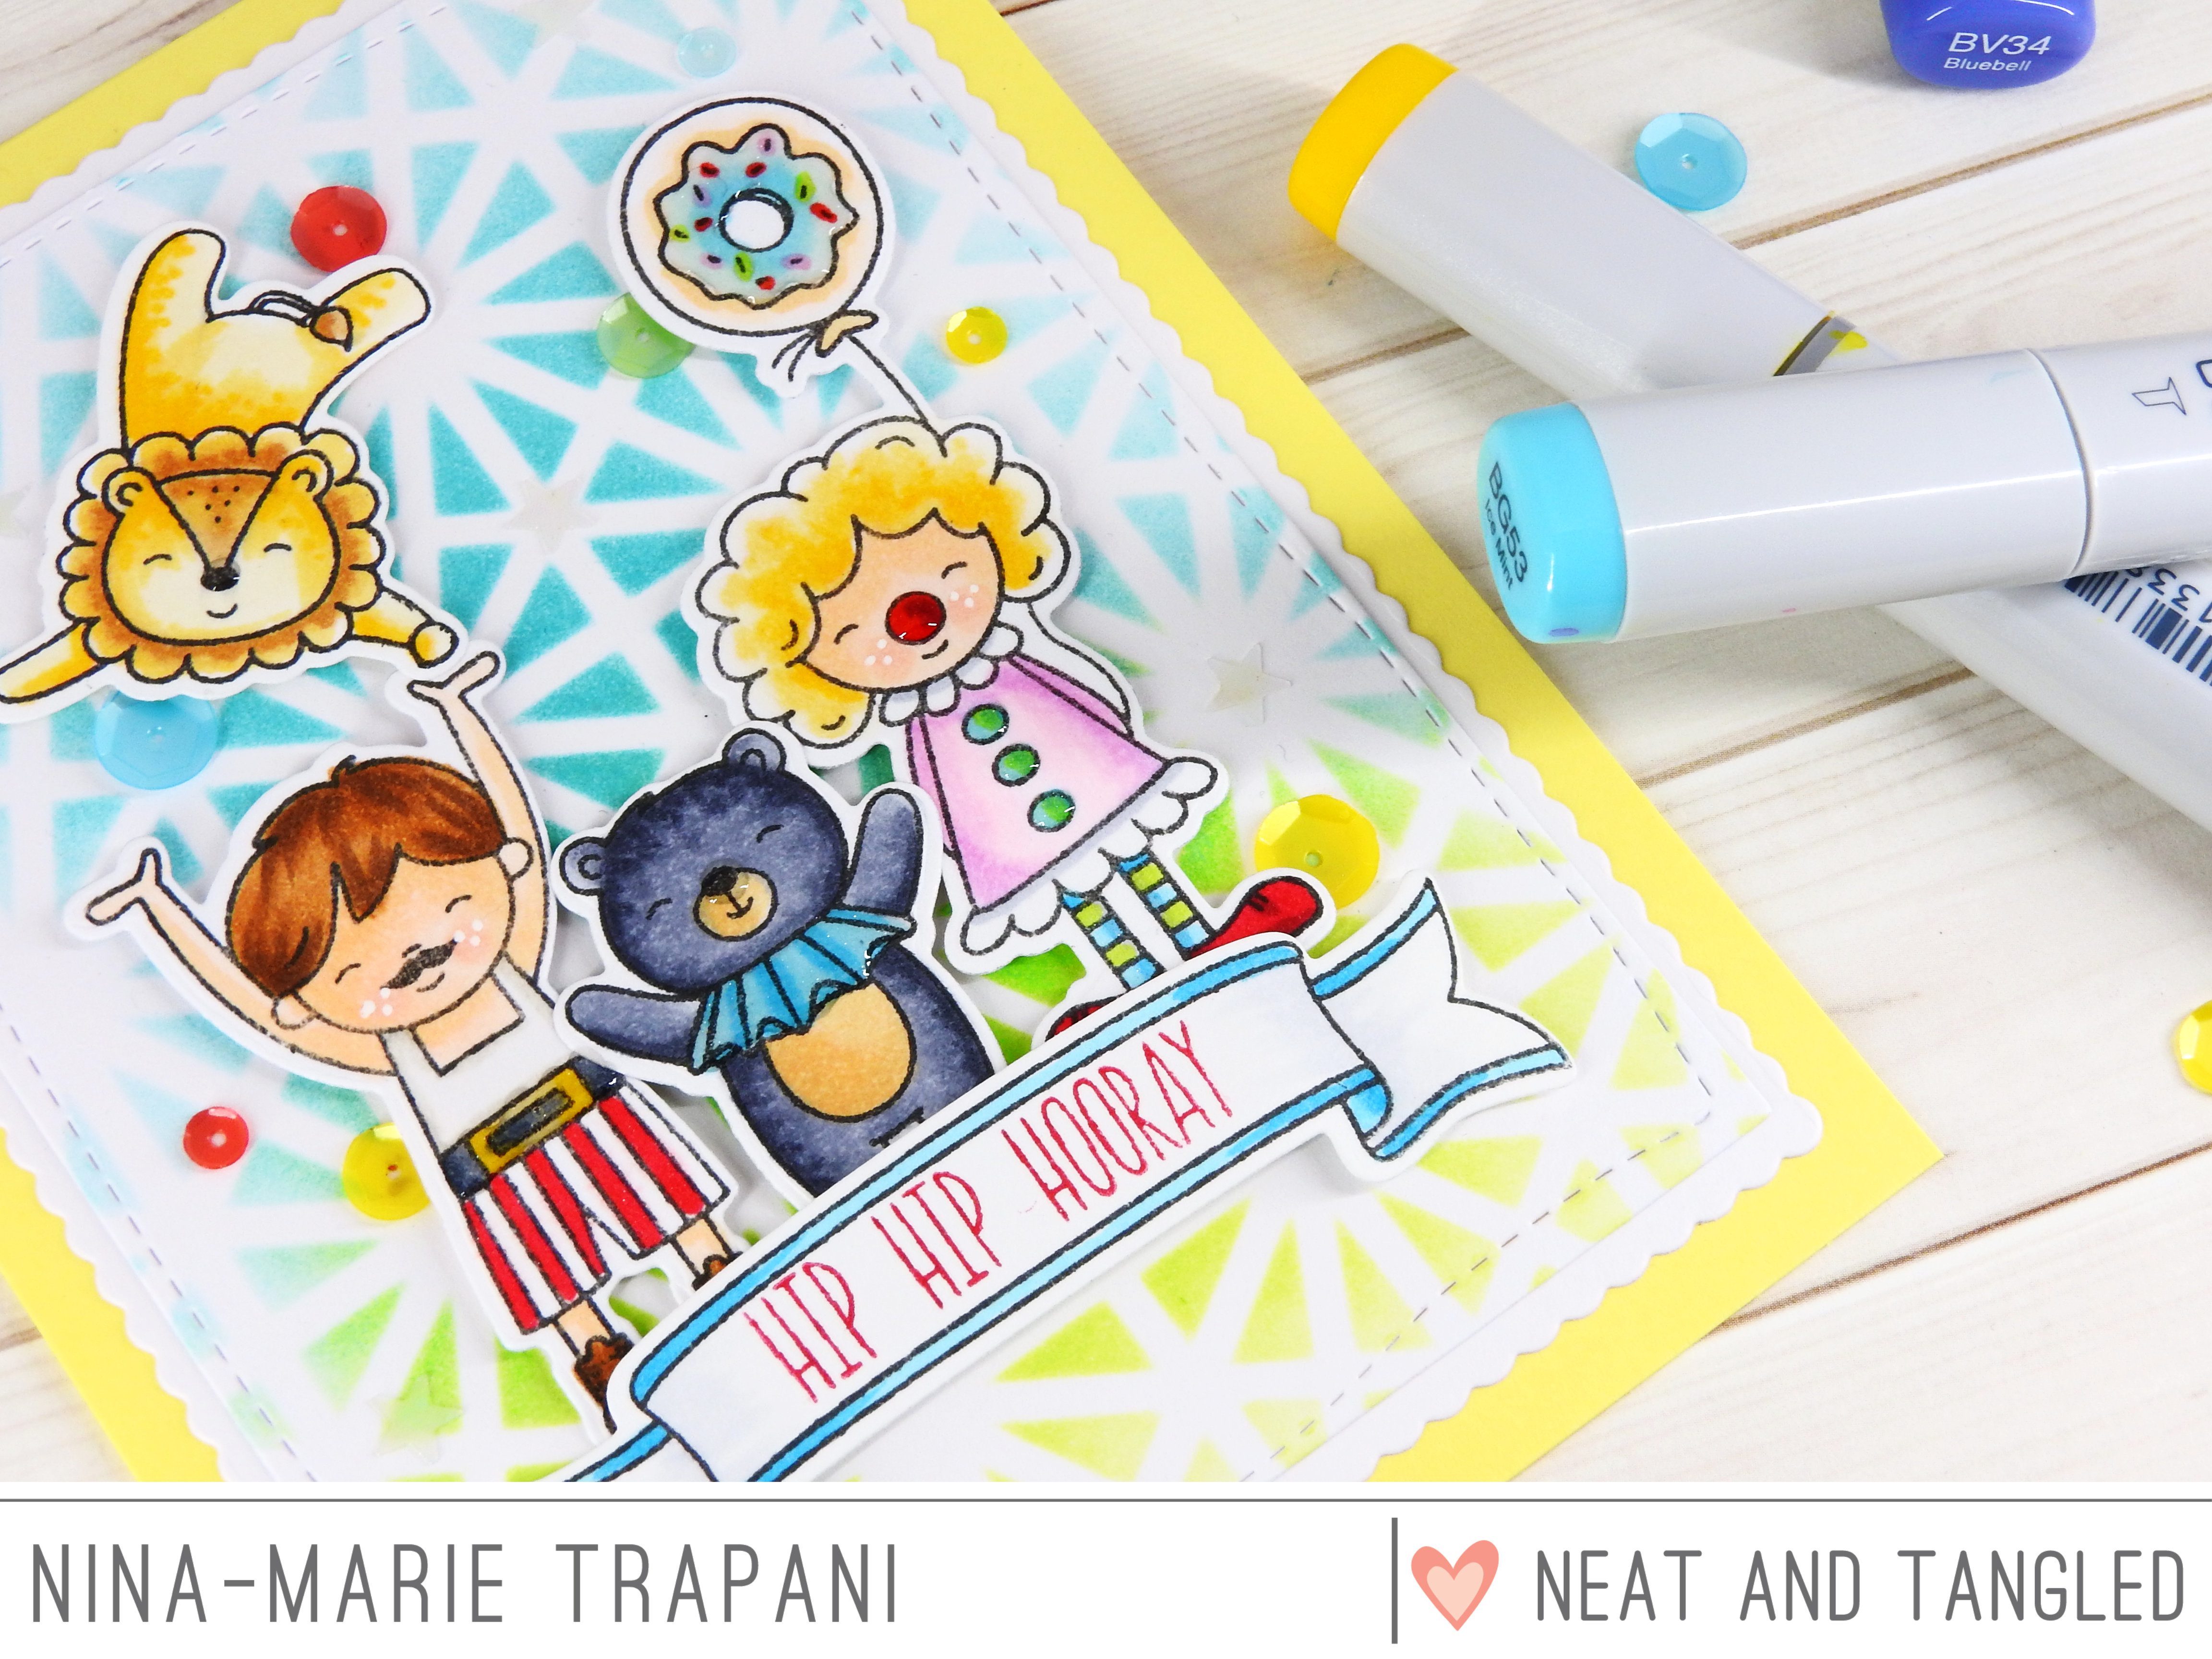
If you missed the cards from this week’s May Neat & Tangled release, be sure to check them all out below! Click on the photos to be taken to the corresponding blog posts.
[one_half padding=”0 5px 0 5px”]

[one_half padding=”0 5px 0 5px”]

PRODUCTS
If you are interested in any of the products used in this post, I have them all linked below to Simon Says Stamp. Affiliate links used when possible.
[su_expand more_text=”SHOW MORE” height=”400″ link_color=”#007474″ more_icon=”icon: chevron-down” less_icon=”icon: chevron-up” class=”expand products”]
SIMON SAYS STAMP
[/su_expand]


 LinkDeli Free 15 day trial
I’m finally catching up on some emails and I had to come over and gush about how cute this turned out. Love it! :)
Such a darling card! I love the soft colors you used. You did an amazing job with the release, your cards were fantastic!!!
sooooooo SWEET!
Happy Birthday♡