Dry Brush Stamping
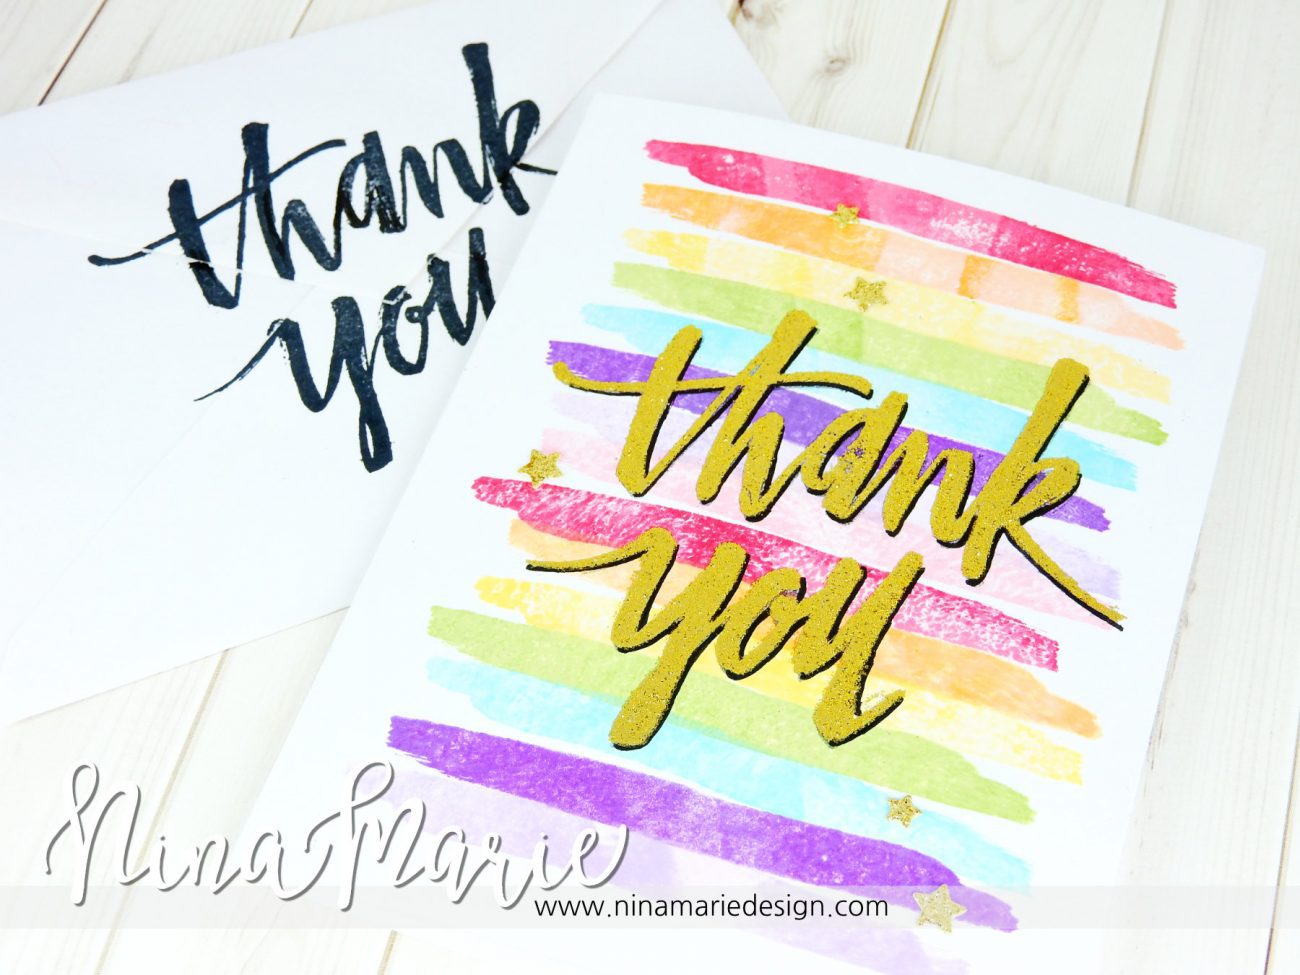
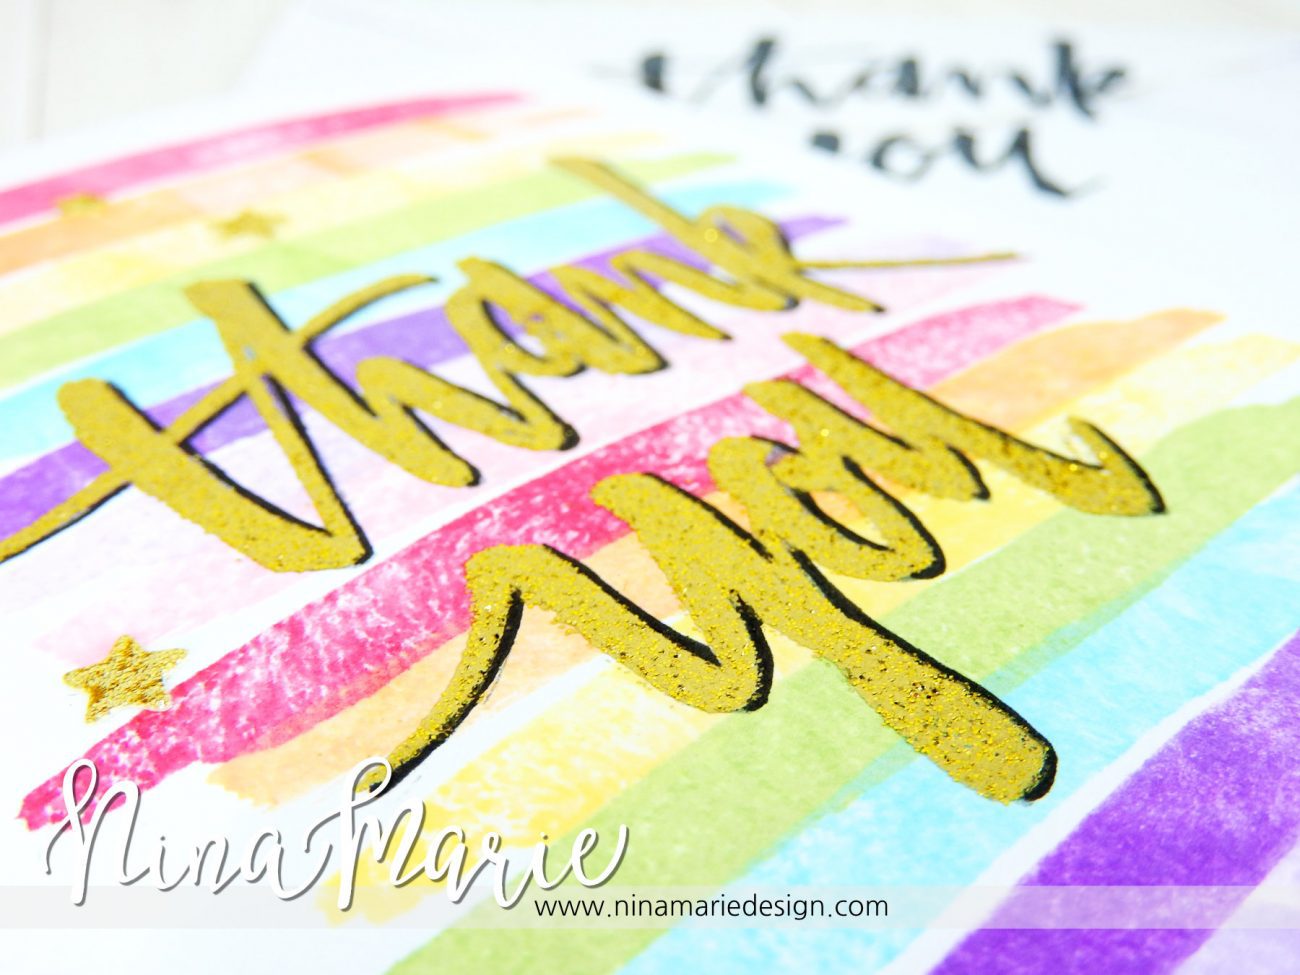
Hi Everyone! Thank you cards are always a great thing to have handy and I have a simple yet classy looking card to share with you today that features a technique I call “dry brush” stamping.
This card features some stamps from the new and popular Concord & 9th stamp company. They have a lot of really unique and fresh products in their online shop, and I encourage you to check them out because I think they are on their way to doing some really big things!
I love their Painted Thank You stamp set and it is the set I’ve used to create this entire card. The set features many great brush-stroke style images and I thought it would be great to use the paint stroke stamp to create a dry-brush background.
This technique is super simple, and I have a video tutorial for you to show you how! You can watch the video below here on my blog, or over on my YouTube channel.
The dye inks I’ve used for this card are from Altenew, but you can use any inks you may have to achieve similar results. And while I used my fingers to dab off some of the ink, you could easily use a dry cloth to do the same thing… I just happen to like to get inky! :)
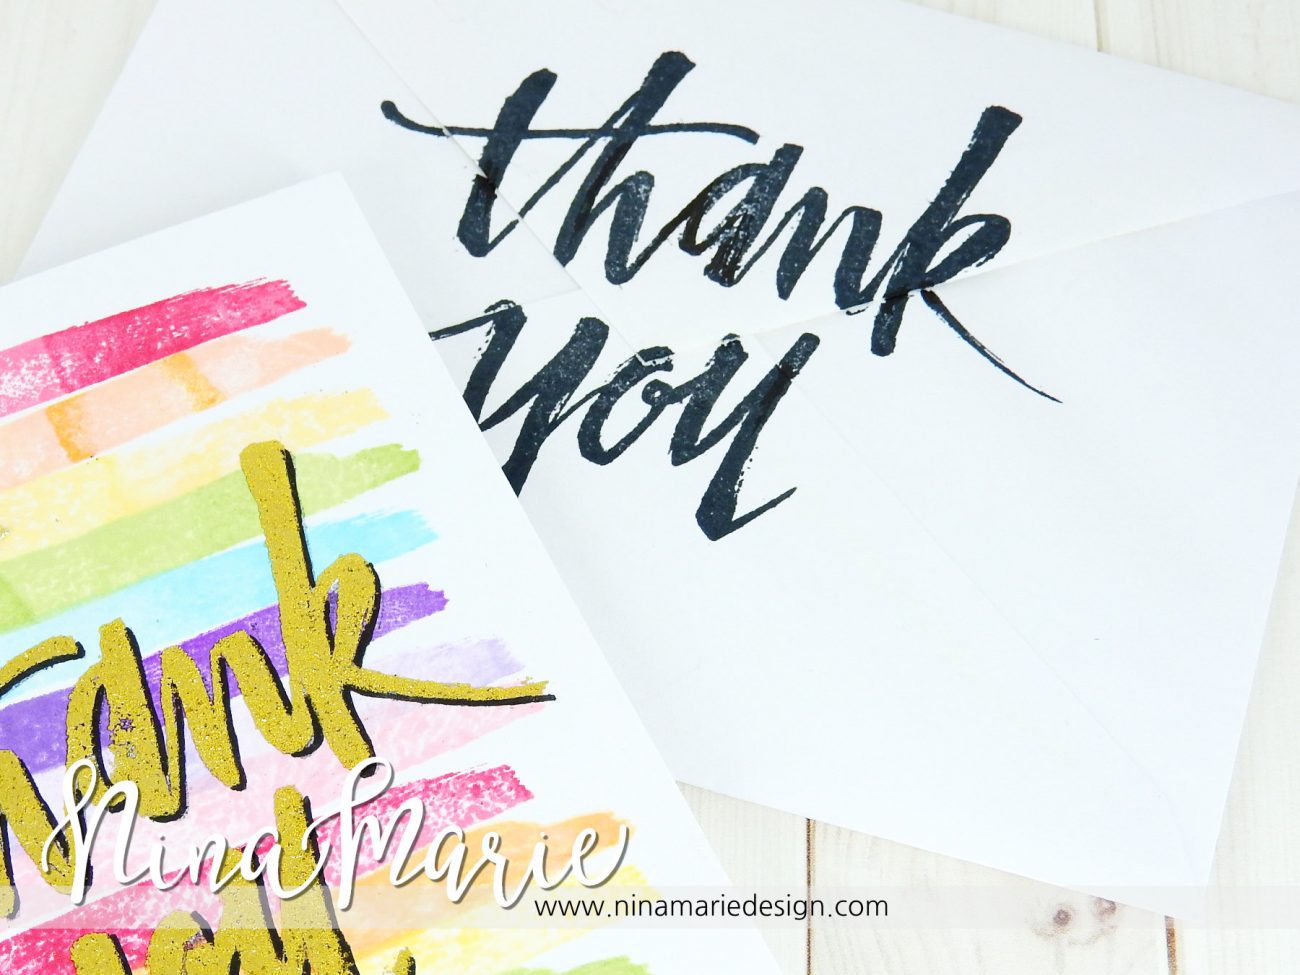
And of course, I had to decorate the envelope with this fabulous stamp set… I simply took some black ink and stamped the thank you stamp onto the front flap of a white envelope. Simple, but the bold font really makes a big impact on the white paper.
MORE INSPIRATION & CONCORD & 9th
If you’d like to see more inspiration using Concord & 9th products, be sure to check out this card I did using one of their other stamp sets! Click on the photo to be taken to the post for this card.
And if you like what you’ve seen from Concord & 9th so far, you’ll want to check out their products, including their newest release! Here are a few things that have caught my eye lately…
[one_third padding=”5px 5px 5px 5px”]


PRODUCTS
[one_fifth padding=”5px 5px 5px 5px”]


[one_fifth padding=”5px 5px 5px 5px”]


[one_fifth padding=”5px 5px 5px 5px”]


[one_fifth padding=”5px 5px 5px 5px”]


[one_fifth padding=”5px 5px 5px 5px”][/one_fifth][one_fifth padding=”5px 5px 5px 5px”][/one_fifth][one_fifth padding=”5px 5px 5px 5px”][/one_fifth][one_fifth padding=”5px 5px 5px 5px”][/one_fifth][one_fifth_last padding=”5px 5px 5px 5px”][/one_fifth_last]
[one_fifth padding=”5px 5px 5px 5px”][/one_fifth][one_fifth padding=”5px 5px 5px 5px”][/one_fifth][one_fifth padding=”5px 5px 5px 5px”][/one_fifth][one_fifth padding=”5px 5px 5px 5px”][/one_fifth][one_fifth_last padding=”5px 5px 5px 5px”][/one_fifth_last]
[one_fifth padding=”5px 5px 5px 5px”][/one_fifth][one_fifth padding=”5px 5px 5px 5px”][/one_fifth][one_fifth padding=”5px 5px 5px 5px”][/one_fifth][one_fifth padding=”5px 5px 5px 5px”][/one_fifth][one_fifth_last padding=”5px 5px 5px 5px”][/one_fifth_last]


 LinkDeli Free 15 day trial
Very pretty!
These are both lovely cards Nina. These also look like awesome products! Merry Christmas.