Creating a Clear Card
Happy Saturday everyone! I’m so glad you’re stopping by today as I am sharing a clear card featuring products from Neat & Tangled, Winnie & Walter and Pretty Pink Posh!
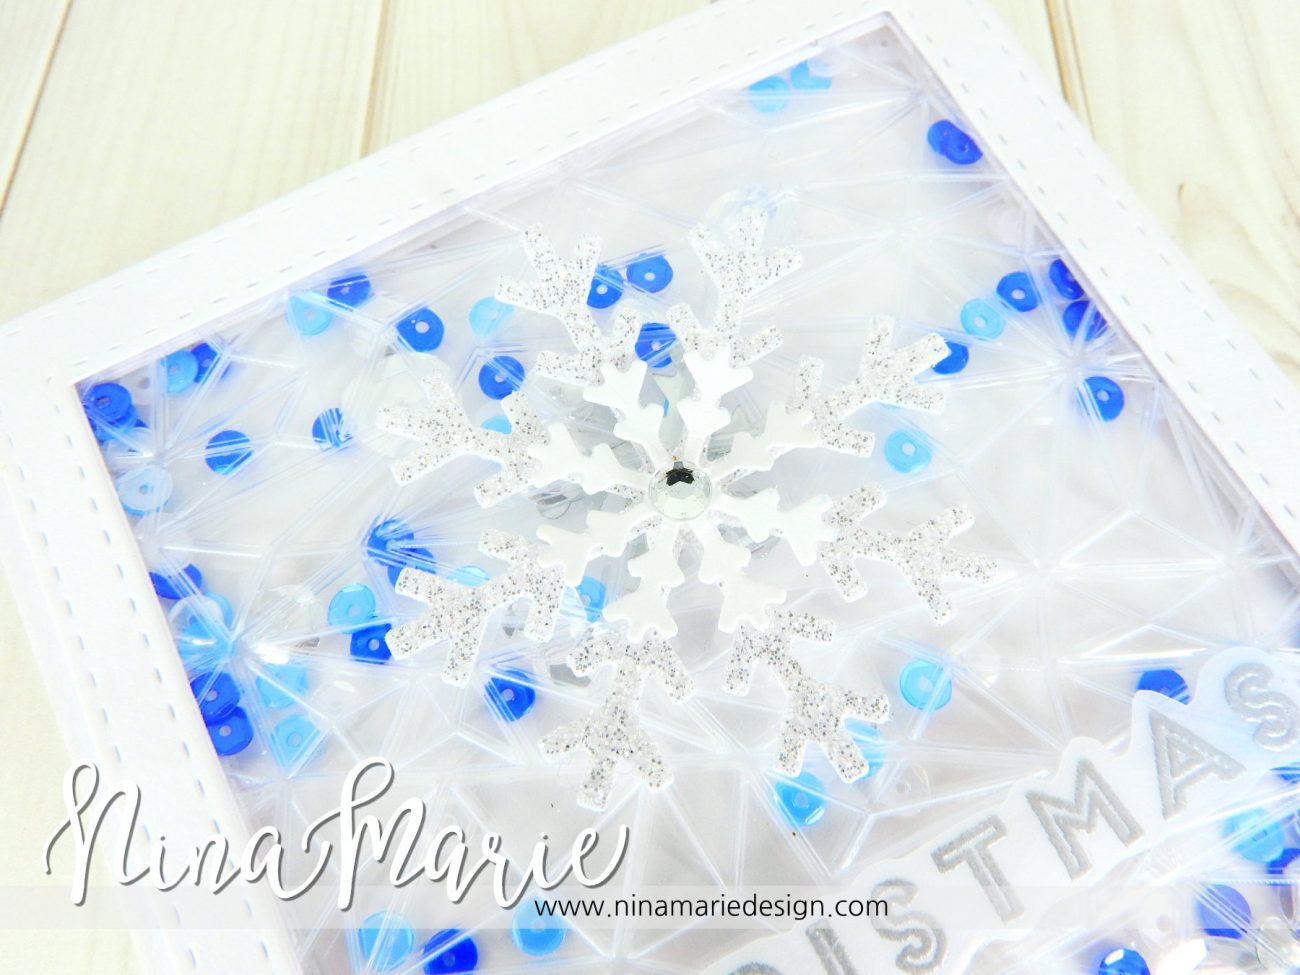
I love coming up with new ways to make my cards go from ordinary to really interesting. In this card I’ve used a sheet of transparency to create a beautiful clear card that has a dry-embossed background.
I started by cutting my transparency down to an A2 card base. I ran it through my Big Shot machine with a stencil to create an embossed background (I used a sandwich made by using tab 1, the Sizzix Texturz pad, the Sizzix silicone mat, my card base, the stencil and then finally a clear cutting pad). I then layered a scallop frame from Pretty Pink Posh’s exclusive die set on top of the embossed card front.
My poinsettia and berry branches were stamped from the Winnie & Walter Elsa’s Flora stamp set and I colored everything with Copic markers and then fussy cut them all out. The colors I used are:
- R27, R46, R59, R89, W7, W9, Y21, YR23 for the poinsettia
- YG01, YG11, YG63, RV95, RV99, E31, E37, E49 for the berry branches
On the front of the card I have layered up the images with a couple of gold loop die cuts from the Simon Says Stamp Circle Loops die set.
I also die cut a sentiment from black cardstock using the Neat & Tangled Happy Holidays die set, and heat embossed sentiments from their coordinating stamp set; the sentiments on the inside are stamped onto a white cardstock panel.
The effect of a clear card is just beautiful, isn’t it?? I love how the images and sentiments appear to be “floating” on the card… a very different and fun effect!
MORE INSPIRATION
If you enjoyed this card and are looking for more ways to use transparency sheets in fun ways, you might want to check out these other recent cards I’ve created! Clicking on the photos will take you to the direct blog post for each project.
[one_third padding=”5px 5px 5px 5px”]


PRODUCTS
[one_fifth padding=”5px 5px 5px 5px”]


[one_fifth padding=”5px 5px 5px 5px”]


[one_fifth padding=”5px 5px 5px 5px”]


[one_fifth padding=”5px 5px 5px 5px”]


[one_fifth padding=”5px 5px 5px 5px”]


[one_fifth padding=”5px 5px 5px 5px”]


[one_fifth padding=”5px 5px 5px 5px”]


I’ve submitted this card into the Simon Says Stamp Monday Challenge “Just a Pinch”.


 LinkDeli Free 15 day trial
This card is GENIUS! You had me at “transparency,” and then you took it up a notch by embossing the transparency! Wow! The effect is so stunning and elegant. I also have to tip my hat to you for combining so many different stamp elements so skillfully. You used stamps from a few different designers, but your card is so cohesive. I also really liked the way part of the sentiment was on the clear portion and part was on the background. This is a remarkable piece and I felt truly inspired when I read this post. Thank you for sharing your ideas and techniques with us for this week’s Simon Says Stamp Monday Challenge!
I love your card girl! TFS
I knew you were a master in coloring, but now I know that you’re an expert in making clear cards too! :P Just looks so awesome, Nina!!
Gorgeous creation!!!
This is beautiful! I love it!
I’ve always wanted to make a clear card but never have, this one is STUNNING!!!
This card is truly a beautiful inspiration. Thank you for being so clear in your tutorial; I can’t wait to try this technique. Happy Holidays to you!
This is stunning Nina-Marie! I haven’t made an acetate card in a couple of years. Not sure mine were EVER this beautiful but the are pretty! Merry Christmas to you and your family!
So gorgeous Nina! LOVE how you used the loop dies! Beautiful coloring and designing! Makes a gal wish she was on your Christmas card list! lol TFS!