Sunday Spotlight: Happy Mail
Welcome to another Sunday Spotlight! Today I have a fantastic tutorial for you featuring buttons… I’m sure almost everyone has a stash of buttons laying around the house. I enjoy saving them and using them for great accents on my cards.

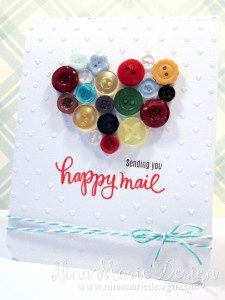
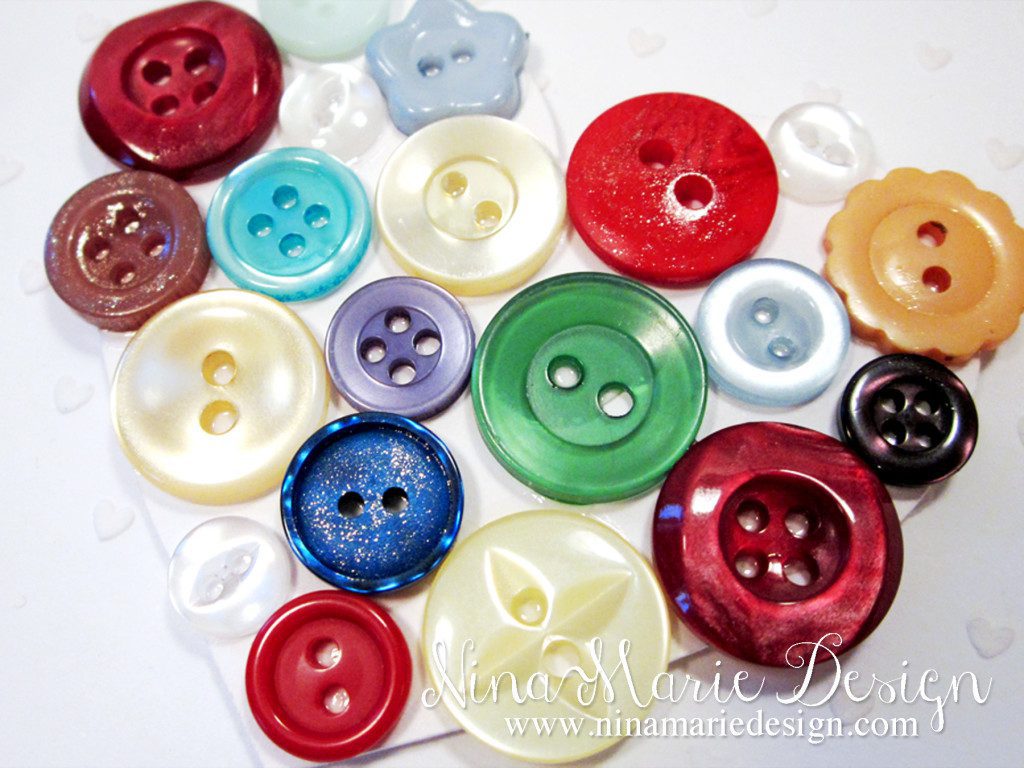
Using the Echo Park “Heart” Silhouette Studio file, I cut the heart from some white cardstock and began arranging (and rearranging!) my buttons onto the heart until I liked the placement. With some Glossy Accents, I one-by-one began adhering all the buttons to the heart. Once all my buttons were adhered, I set the heart aside to dry.

Taking both stamps once again, I stamped them onto a piece of scratch paper and cut around it loosely to create a mask, as I wanted to apply some texture paste to the background, but did not want it to get on my sentiment. Tacking the mask onto my card base, I took the Simon Says Stamp “Tiny Spaced Hearts” stencil and some Ranger Texture Paste to create the sweet little hearts in the background. They are simply adorable! :)

Now that my button heart was dry, I adhered it to the front of the card, above the sentiment, using dimensional foam adhesive. For some finishing touches, I applied a bit of shimmer to a few select buttons, added some faux stitching around the edges of the card base, and tied some blue baker’s twine around the bottom of my card.
Wouldn’t this make a wonderfully sweet Valentine or hello card?! ❤️ Hope you enjoyed today’s Sunday Spotlight post… See you again soon!
This card is also submitted to Simon Says Stamp’s December 2014 Work it Wednesday challenge.
Supplies
- Recollections White Cardstock
- Silhouette Cameo, cutting mat and ratchet blade
- Echo Park “Heart” cut file
- Simon Says Stamp “Sending Happy Thoughts” stamp set
- Simon Says Stamp “Soaring for You” stamp set
- Simon Says Stamp “Tiny Spaced Hearts” stencil
- Ranger Texture Paste
- clear embossing powder
- blue baker’s twine
- StazOn Timber Brown ink
- red and light brown pigment ink
- buttons


 LinkDeli Free 15 day trial
Way to use all those buttons with this one layer card! I love the simplicity of this design. So glad that you join the fun over Virginia’s View “Clean Slate” Challenge! Happy 2015!