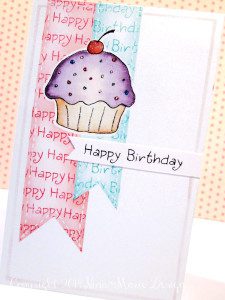
Fun With Masking & Stamping
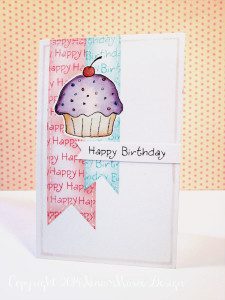
There is a fantastic sketch over at Mojo Monday today that I absolutely loved; with its tall, skinny design, and long double banners, it instantly caught my attention and I had to play with it! :)
Using the Inky Antics “Cupcake Birdy” stamp set, sticky notes, and some ink, I quickly created a “sweet”, almost-one-layer card, using very little supplies… let me show you how!

Once my cupcake image was stamped onto the card, I began roughly sketching out where I wanted my banners to be. After I was happy with the placement of my banners, I started the masking process…
Banner One (the teal colored one in the front):
- Apply the cupcake mask over your stamped image.
- With five 3″x 3″ sticky notes, mask off the front banner; two on each side, and one rotated 45° (with the corner inside the “v” of the banner).
- With teal ink and the “birthday” stamp from the “Cupcake Birdy” set, stamp it in a staggered pattern all over inside the masked area
- With Peacock Feathers distress ink and an ink blending tool, add color to the edges of the banner, leaving the center lighter than the edges.
- Remove all masks, except for the cupcake.

Now that I had the banners in place, I was ready to move onto the frame surrounding the elements… Using four sticky notes in the center (overlapping), and eight around the edges, I inked the unmasked area with Milled Lavender distress ink and an ink blending tool.
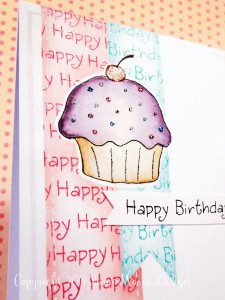
With all my masking now finished, I moved on to the coloring of the cupcake itself, using coordinating distress inks and a couple of watercolor brushes.
From a piece of white cardstock, I cut out a 1/4″ banner and stamped the Happy Birthday (using the same two stamps used earlier on) in Jet Black StazOn ink. I adhered the banner directly onto the card base.
S
Its amazing to see how much dimension you can create with some simple, but strategic shading. Hope you had fun with today’s tutorial! Happy Creating! :)
Supplies
- Ranger Inkssentials Watercolor Paper
- Recollections White Cardstock
- Tim Holtz Distress Ink: Worn Lipstick, Peacock Feathers, Spun Sugar, Milled Lavender, Dusty Concord, Antique Linen, Tea Dye, Fired Brick
- StazOn Jet Black ink
- Inky Antics Cupcake Birdy stamp set
- Uniball Signo White gel pen
- Wink of Stella clear glitter brush
- dark pink and teal pigment ink
- sticky notes
- glitter glue


 LinkDeli Free 15 day trial
This is gorgeous I adore that cupcake :)