Winnie & Walter Leading Lady: Part Three
Hello friends! Welcome back to my third guest post for Winnie and Walter’s Leading Lady feature… I hope you are having as much fun as I have so far! :)

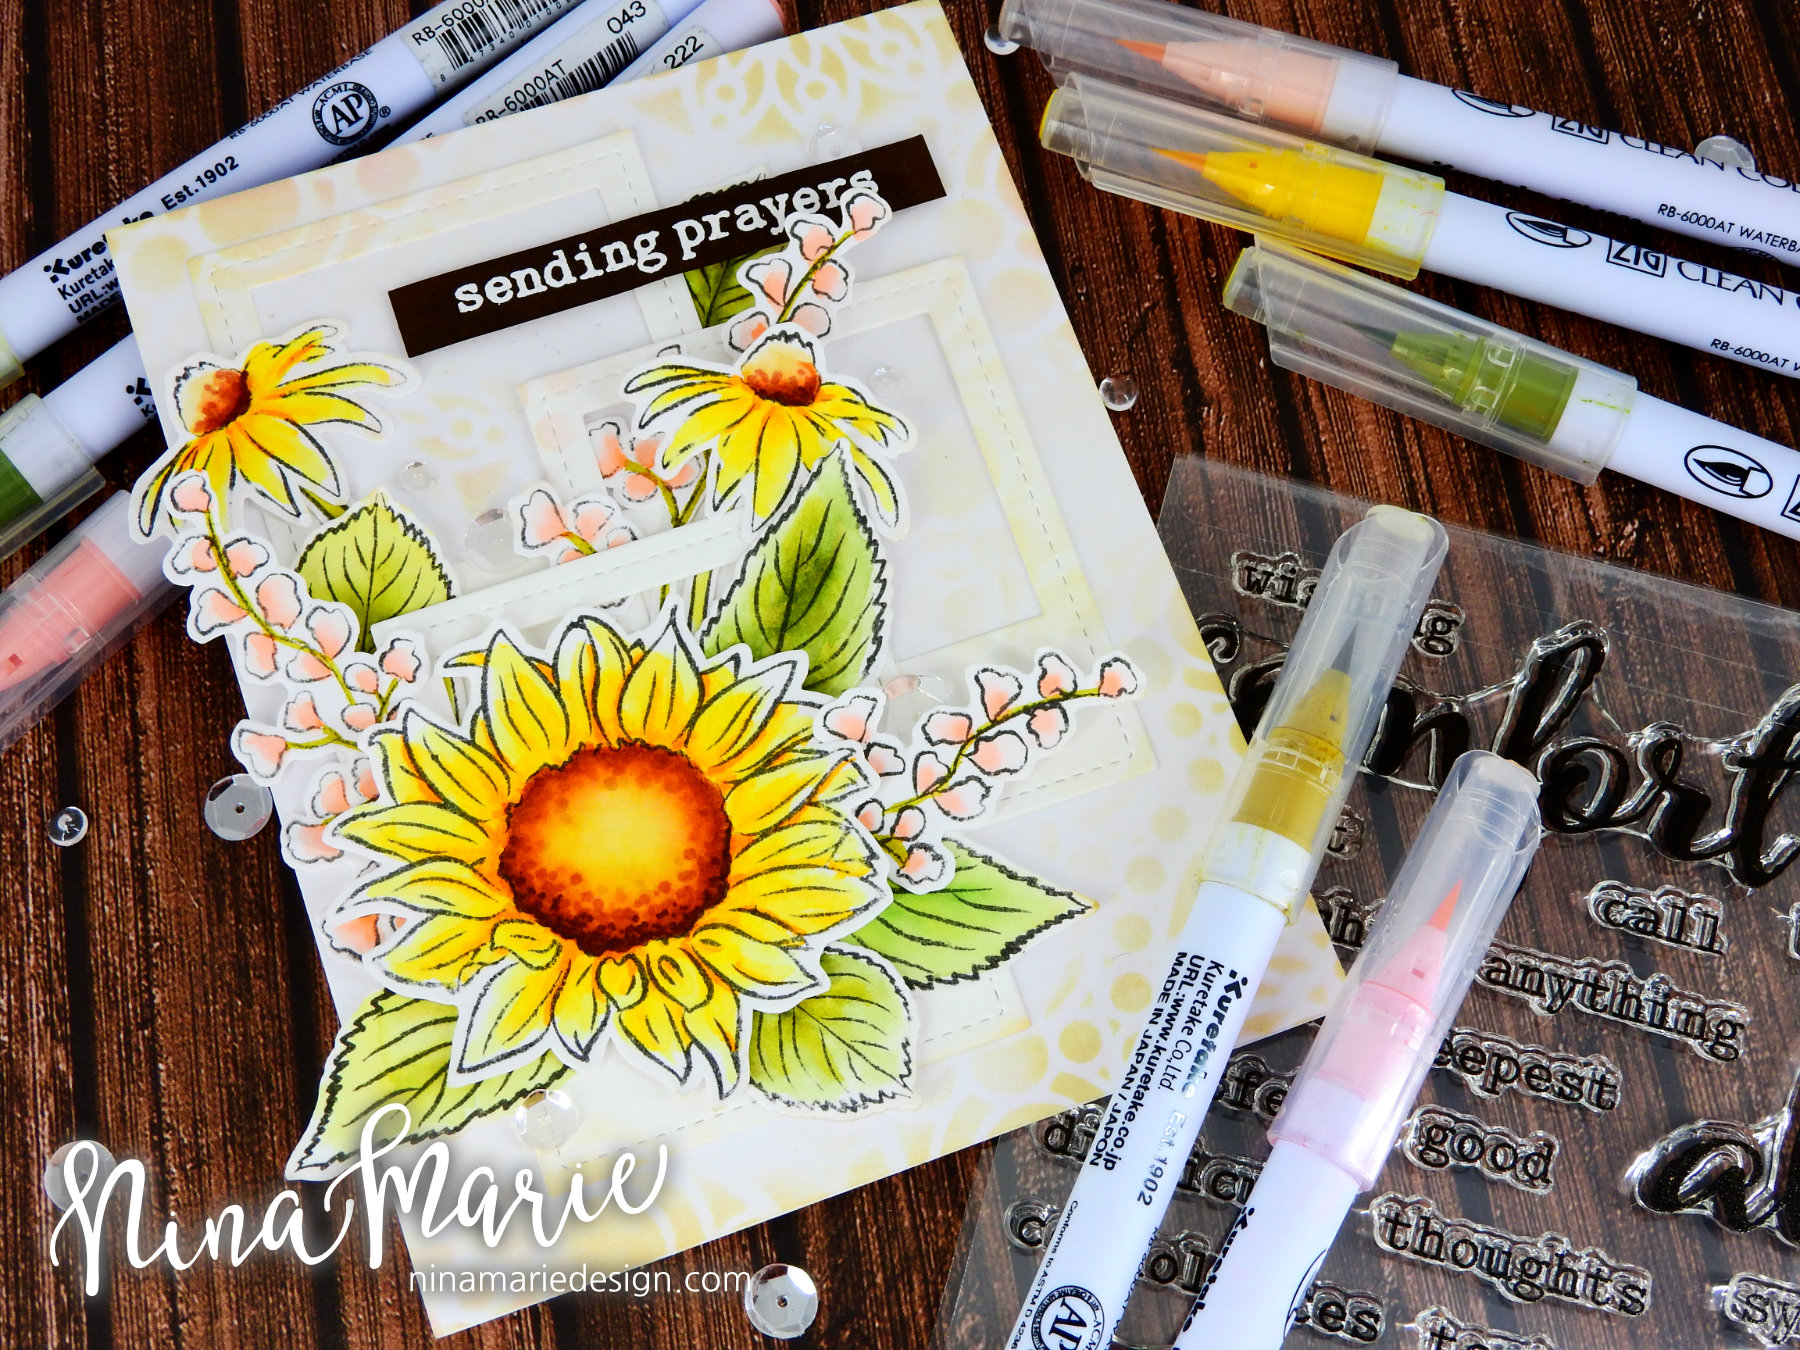
Today I want to share some inspiration on creating appealing card layouts using Winnie and Walter’s Addie’s Garden and Anna’s Flora stamp sets. The reason I chose these floral images for today’s card is because floral images are a great example of building a good layout; a poorly arranged flower bouquet isn’t as pretty as one that was more thought-out.
These floral stamps are some of my most favorite because of the beautiful detail and larger size of the images. This allows you to get creative with your coloring, which is so much fun! For this card I used a combination of Zig Clean Color markers and Copics to color the flowers and leaves.
When building a good floral arrangement, I like to make sure I build with a few things in mind:
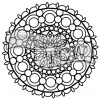
Rule of thirds: It helps to balance a design when there are three elements grouped into your card. For instance; I maintained this rule by using three frames in the background, three daisies, and three pink floral clusters. The odd number sits better in your mind believe it or not!

Visual triangle: See how all of the major elements on this card all can be connected by a visual triangle (imagine overlaying a triangle to connect like objects together)? This helps draw attention to the more prominent elements and allows them to take center stage while still maintaining a good balance. Examples of the visual triangle are the layout of the frames in the background as well as the placement of the daisies and the pink clusters.

Balancing Large and/or Bold Objects: This card features two heavy (large/bold) objects; the largest daisy and the strong colors of the sentiment strip. These two items can be balanced out on the design by placing them at polar opposites. In this case, I attached the daisy at the bottom left and the sentiment along the top right of the card. By placing them apart from each other, rather than close together, this helps keep the design from being too heavy in one area.

Odd Numbers: Remember the rule of thirds and how odd numbers helps the design of the card sit better in your head? Well the same applies for numbers greater than three! I scattered a total of 7 clear sequins around the floral arrangement, as well as having a total of 13 larger elements on the card (12 floral elements and 1 sentiment strip). Having that odd number really ensures a good layout!
Mixed Sizes: You’ll also notice that I varied the size of almost all of my elements on the card. This helps add a bit more interest to your design, as it keeps everything from becoming too boring and repetitive. If you can vary the size of the elements on your card, this helps keep the visual attention of the viewer.

This may seem like a lot of work and thought to put into a card, but remember you don’t have to incorporate them all into your card all at once; I wanted to make sure they were each included in the design so I could best show you how they work together to create an overall appealing design. And trust me; the more you practice these design tips, the more you’ll start doing them automatically. This is how I started; I had to remind myself of these things as I created a card, but now it’s just part of the design process for me and I do it on “auto-pilot” so to speak! And I know that the more you practice these things, the more you will start doing them automatically too!
Before I go, I’ll quickly touch on the rest of the card process:
I stamped the images onto watercolor paper with a waterproof ink and colored the images with Zig markers. I then went back in with a couple of Copic markers and added in a bit more extra detail. I layered the flowers and die cut frames onto my card base using liquid glue; I added the sentiment (heat embossed on dark brown cardstock in white embossing powder) using foam tape. The sequins were then tucked in and around the florals using some Glossy Accents.
I hope this post has helped you learn some new tips and tricks on creating good layouts on your cards! Thanks for spending some time with me today, I will see you again next week! :)
GIVEAWAY!

Before you go, I want to tell you that Shay was SUPER generous in allowing me to giveaway a $30 gift certificate to one of you, which can be used in the Winnie and Walter store! How cool is that?? BIG thank you to Shay for being so sweet!
To qualify for the giveaway, make sure you leave a comment on any of my Winnie and Walter blog posts (commenting on each Saturday post this month will count as extra chances to win the giveaway). After the last Leading Lady post at the end of the month, I’ll draw a random winner from all the collective post comments.
MORE INSPIRATION
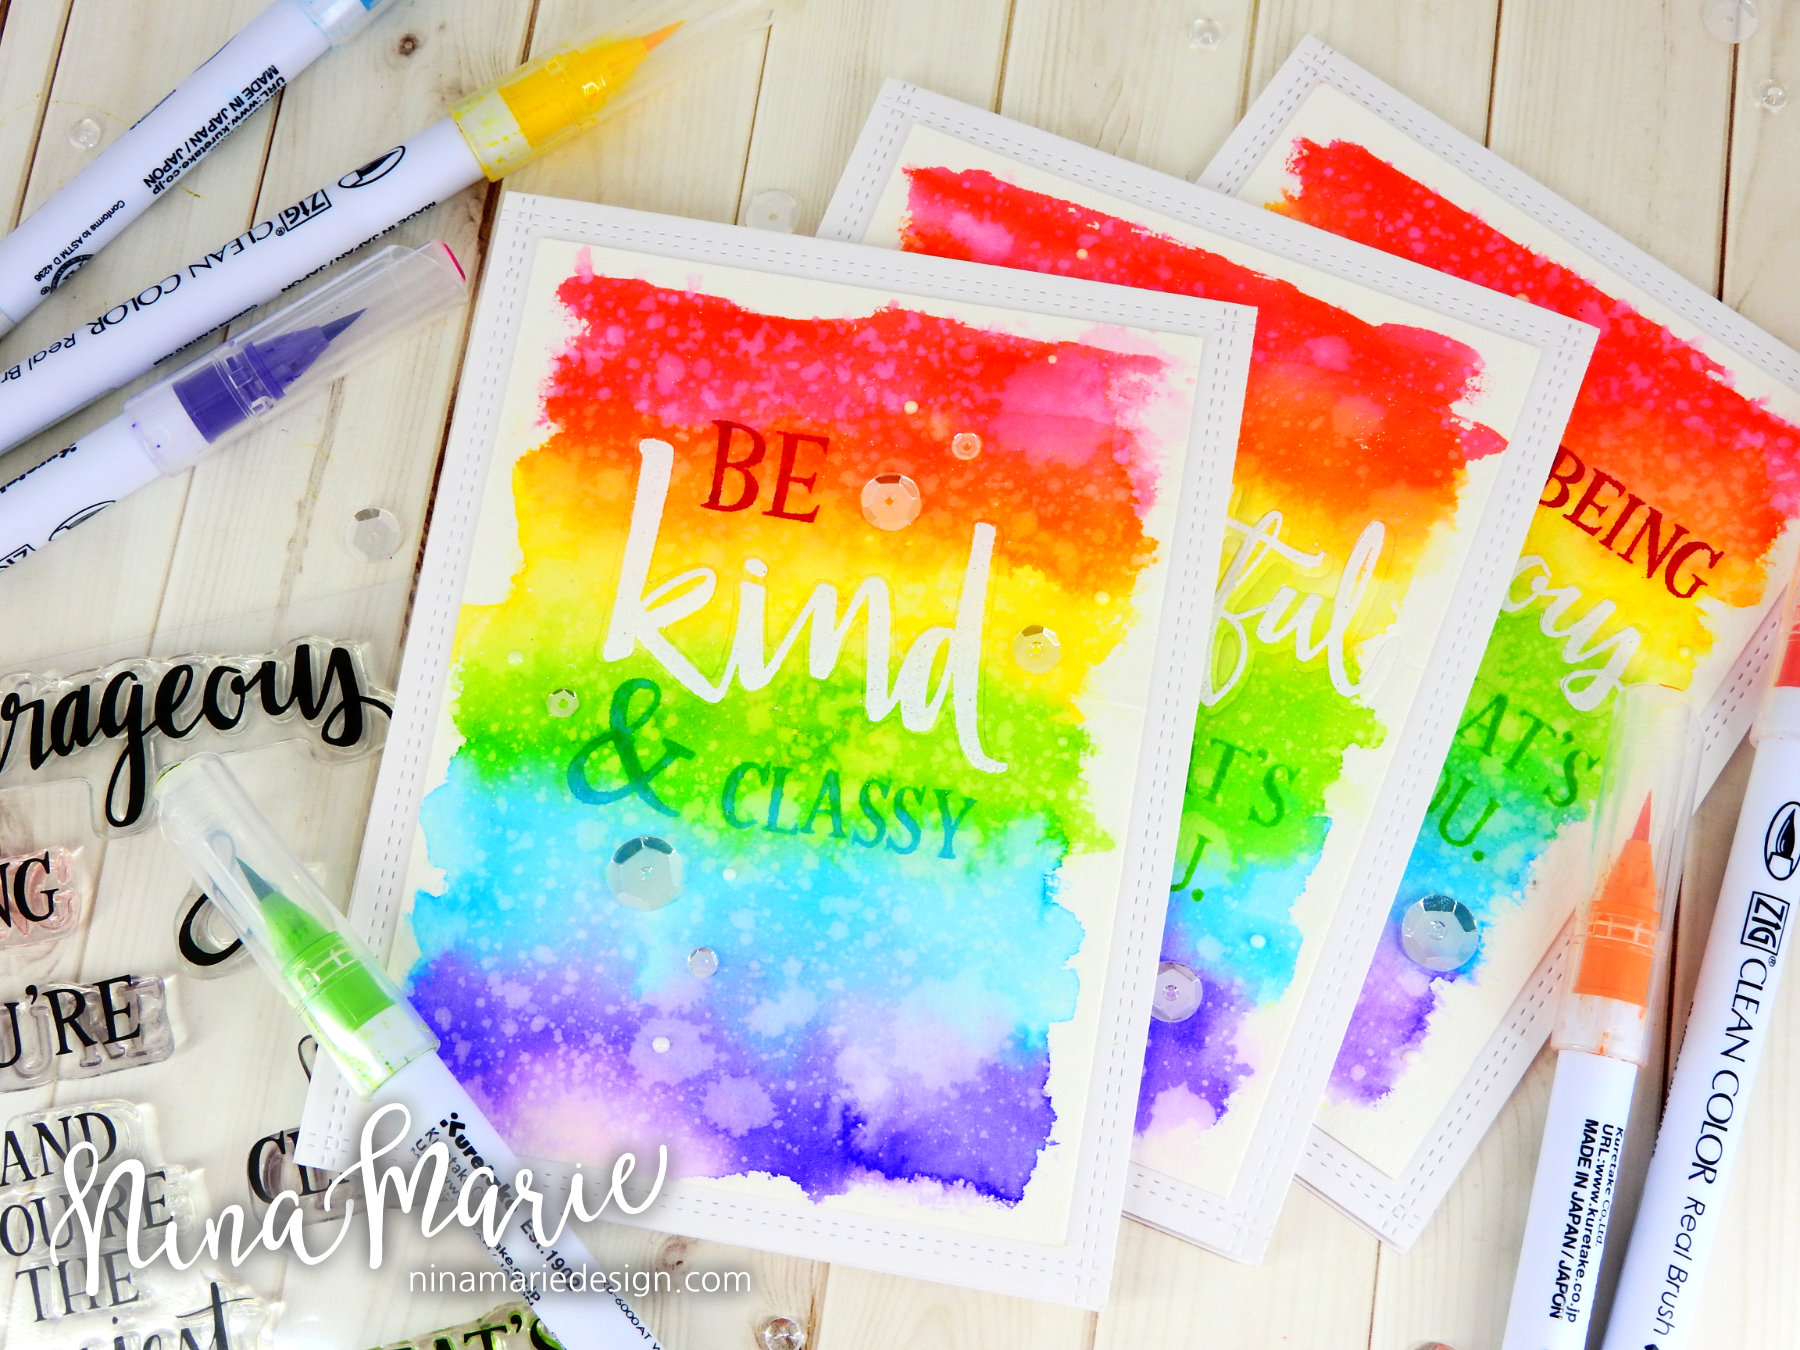
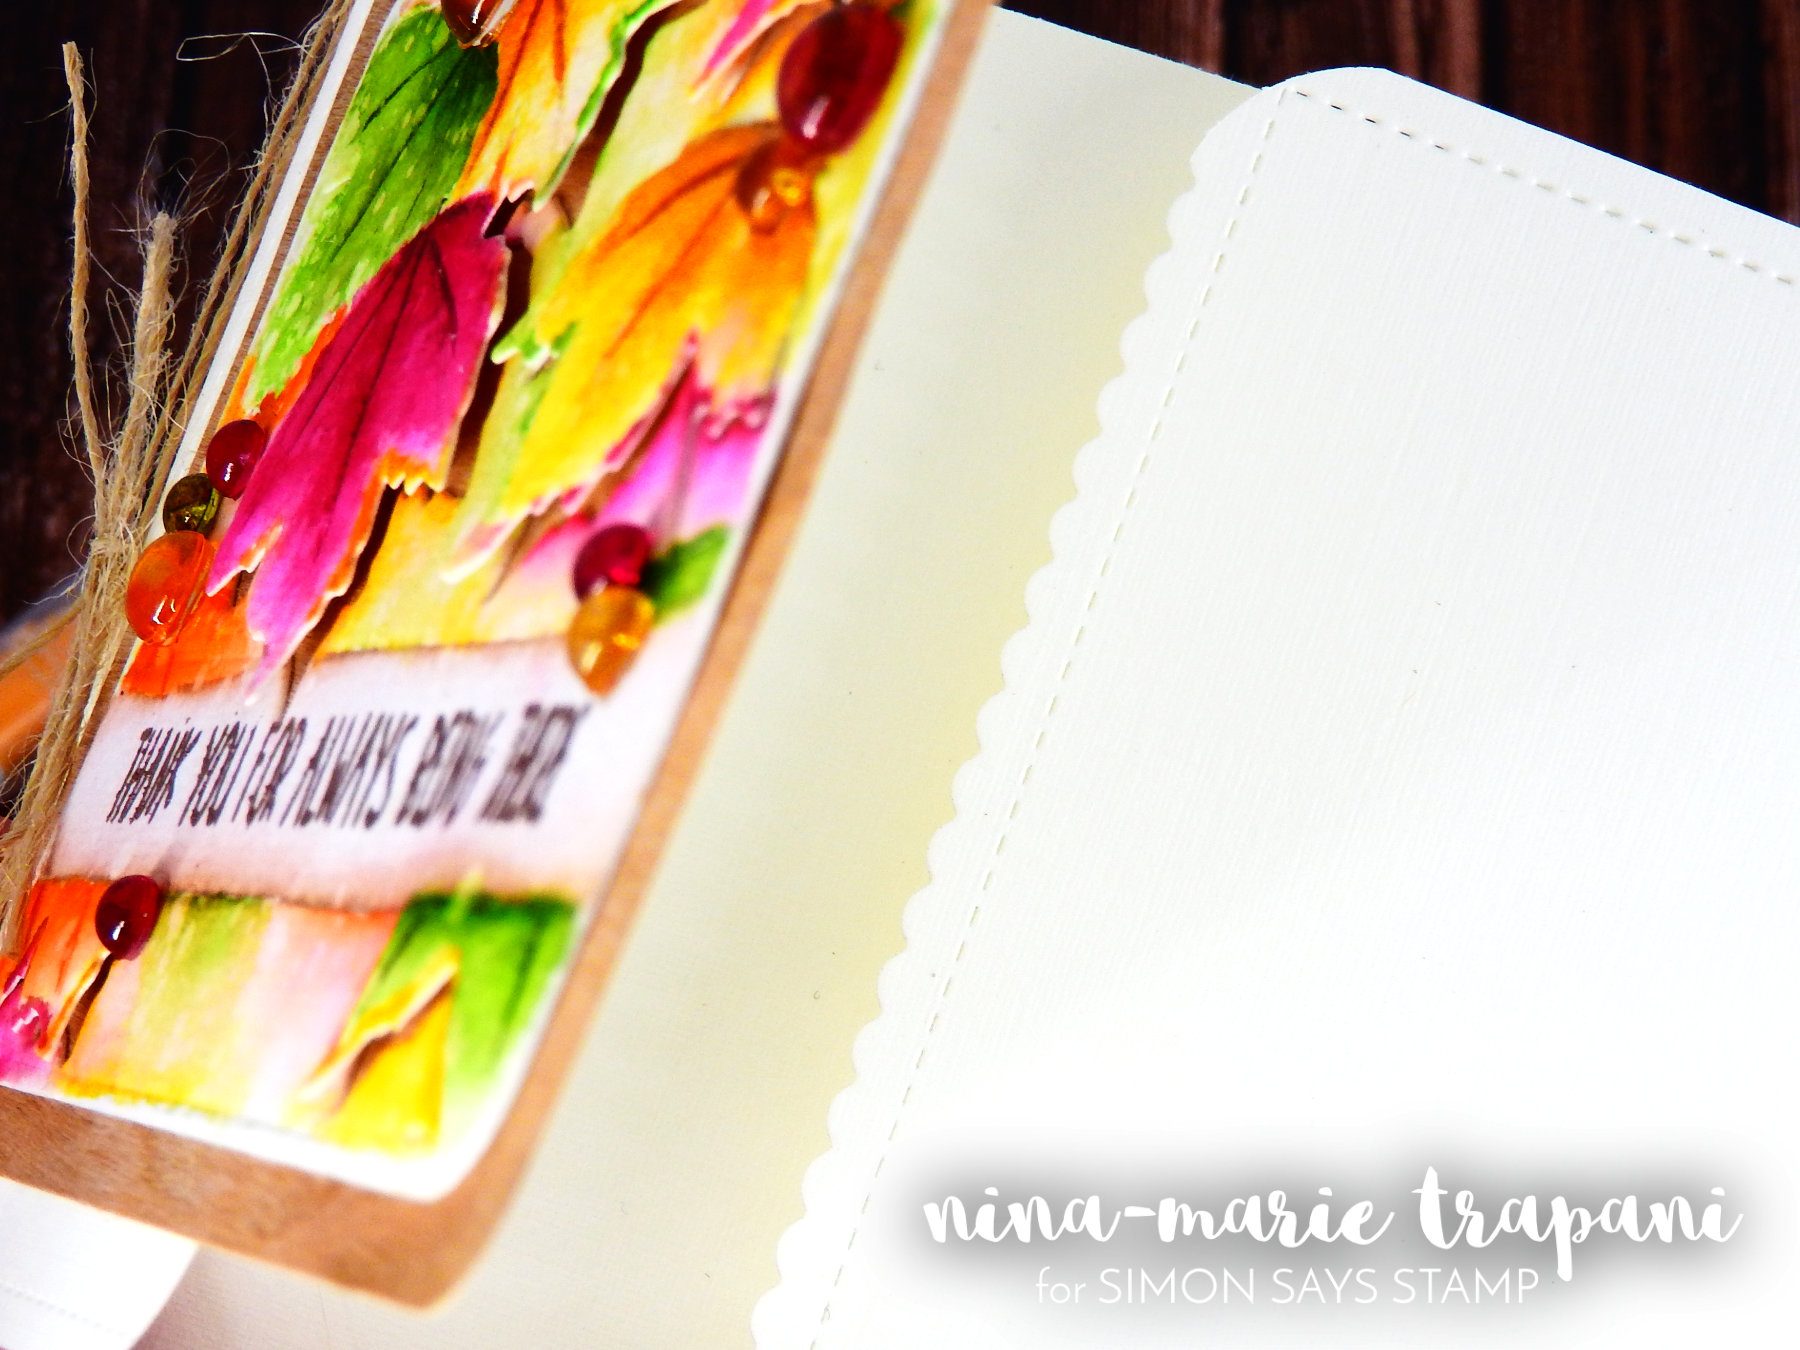
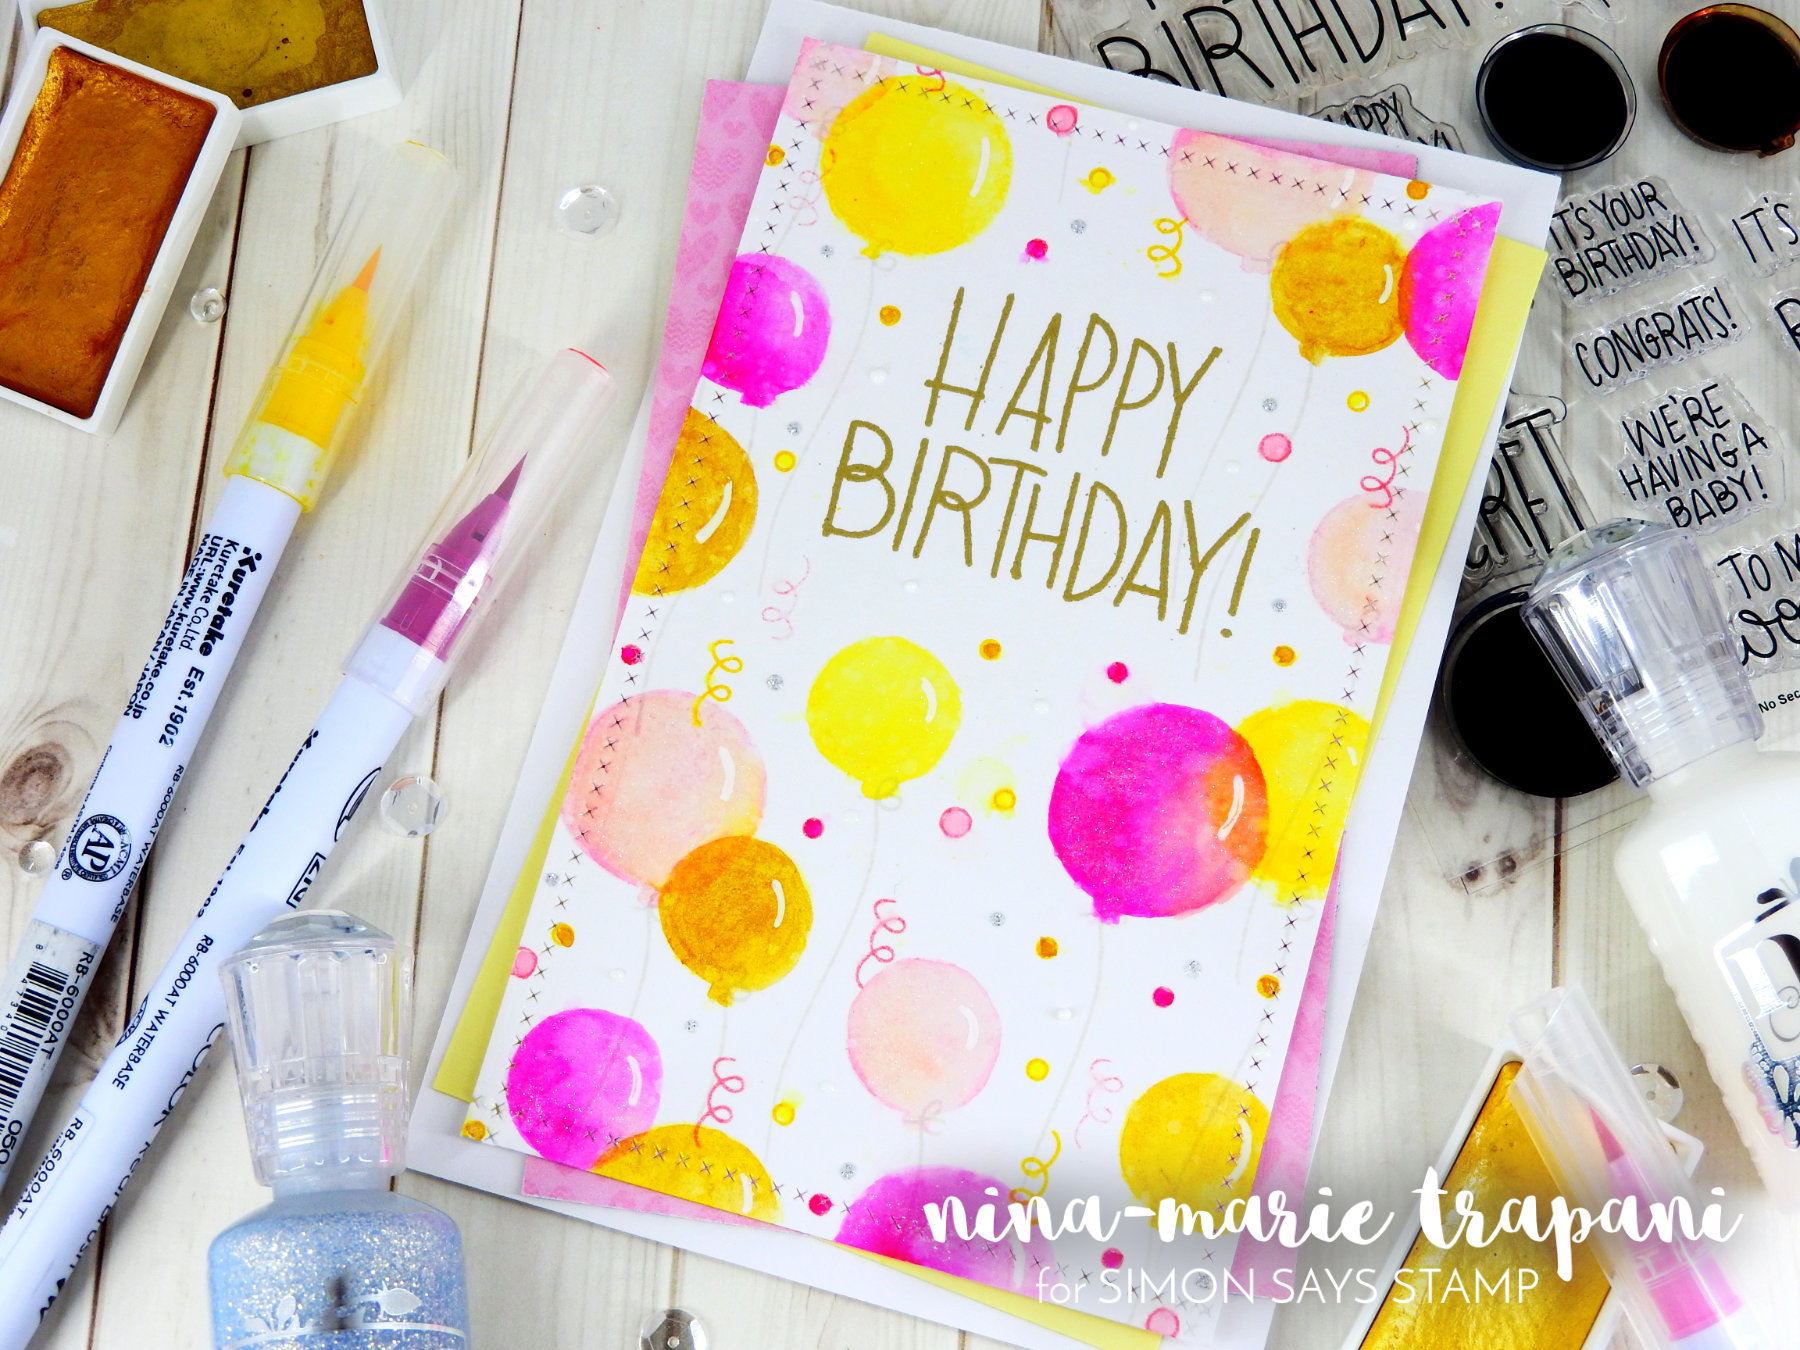
If you enjoyed today’s card, be sure to check out some of the other cards I’ve created recently! Click on the photos to be taken to the corresponding blog posts.
[one_third padding=”0 5px 0 5px”]
[/one_third][one_third padding=”0 5px 0 5px”]
[/one_third][one_third_last padding=”0 5px 0 5px”]
[/one_third_last]
PRODUCTS
If you are interested in any of the products used in this post, I have them all linked below to Simon Says Stamp. Affiliate links used when possible.
[su_expand more_text=”SHOW MORE” height=”400″ link_color=”#007474″ more_icon=”icon: chevron-down” less_icon=”icon: chevron-up” class=”expand products”]
SIMON SAYS STAMP
 |
 |
 |
 |
 |
 |
 |
 |
 |
 |
 |
 |
 |
 |
 |
 |
 |
 |
 |
 |
 |
 |
 |
 |
 |
 |
 |
 |
 |
 |
 |
[/su_expand]

 LinkDeli Free 15 day trial
DELIGHTFUL card!!!
LOVE the design, LOVE the colours, LOVE the layers!!!
THANK YOU for sharing your CREATIVE INSPIRATION and tutorial :)
Beautiful, beautiful card – I love the way you used the three frame die cuts – looks so good – you are a creative genius!!!
I love seeing these design principles at work. And on such a lovely card! The tiny blush flowers are so pretty!
Wow very impresion and amazing card. .thanks for all these wouderful tips
Wonderful card. Thanks also for the lesson in design.
I adore this stamp! Beautiful and a great lesson on card making
Wow you did an amazing job of layering the images and the different elements on this card.
Oh wow! Simply adorable! I love so much sunflowers! <3
Your card is lovely! Thank you for explaining how you designed it and all the considerations you made in doing it. i hope all those decision become second nature to me too one day!
Beautiful card! I love how you used those frames, so much great dimension and depth!
Gorgeous card,
love all the layers!
Carla from Utah
Wow! Nina-Marie, this is just WOW!!!
Gorgeous!! Thanks for the technique reminders! Always love your cards!!
the details on your coloring are stunning!
lovely card!
Beautiful card and thanks for all the tips.
Gorgeous card! Love the dimension and coloring! Addie’s Garden is one of my favorite sets! Thanks for all the tips on building a beautiful floral card!
Beautiful card! Great post with lots of fantastic info. Thank you ♥
Your card is definitely gourgous., love your Watercoloring and your layout. Very creative. What a great tips to arrange cards element. I learned much from this post . Thanks for sharing with us.
What great tips and such a beautiful card!
LOVE this…gorgeous card.