Heart Shaker Card

Happy Tuesday!
I thought it would be fun to participate in the Virginia’s View challenge #12 and the Muse challenge #103 this week. When thinking about what type of project I wanted to do for each one, I decided to combine the two and create a shaped card with a shaker element! Now how fun is that?!
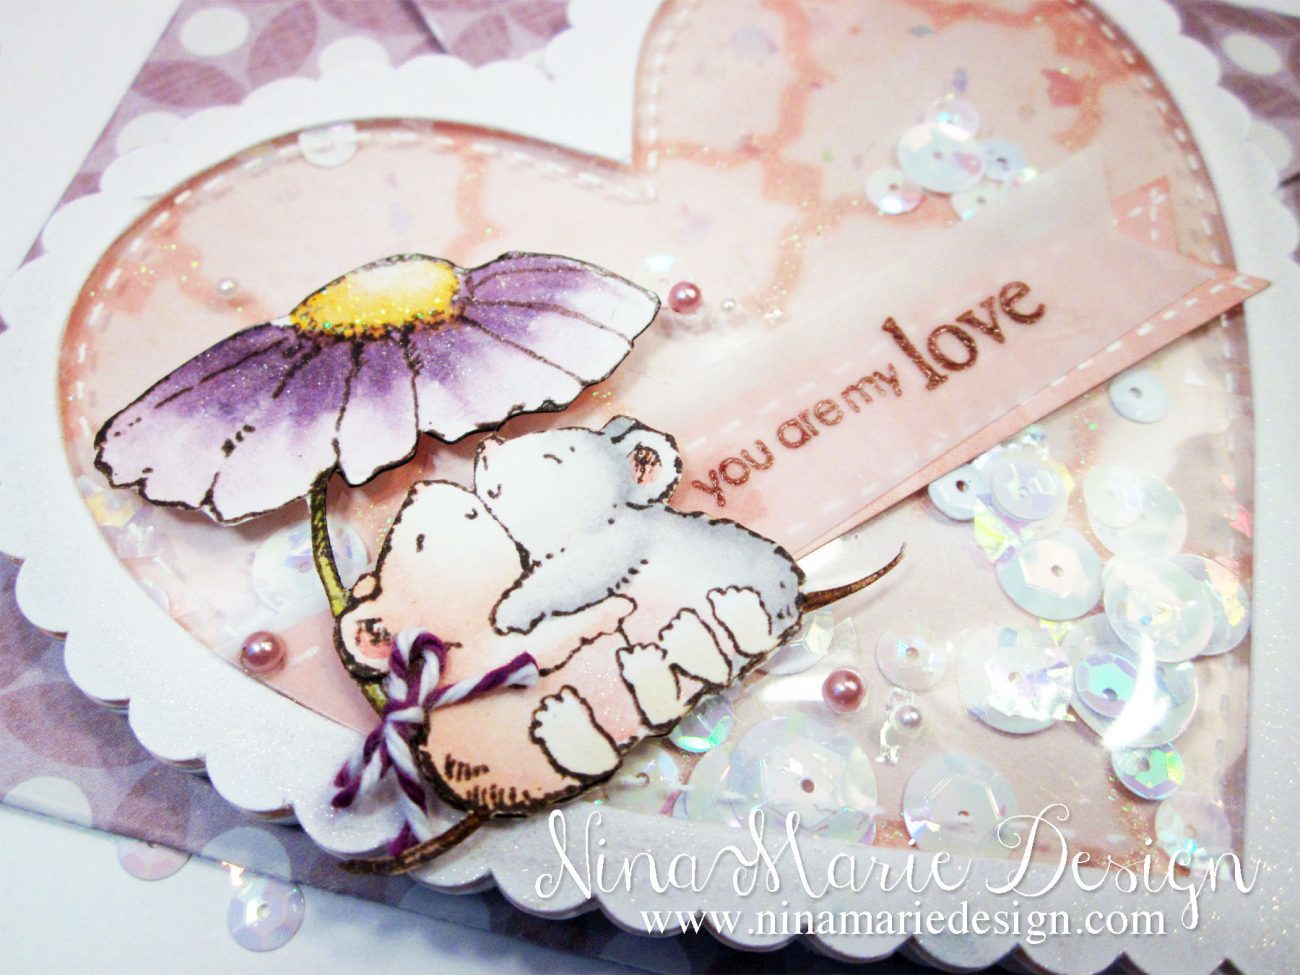
Since Valentine’s Day is this month, it only seems fitting to create a love themed card, and the Penny Black “Hugs” stamp set had the perfect images for the card I had in mind. Using the adorable little mice hugging under a flower, I stamped them onto watercolor paper and colored them in with distress inks and a watercolor brush. I set them aside to dry before fussy cutting them out to later adhere to my card.
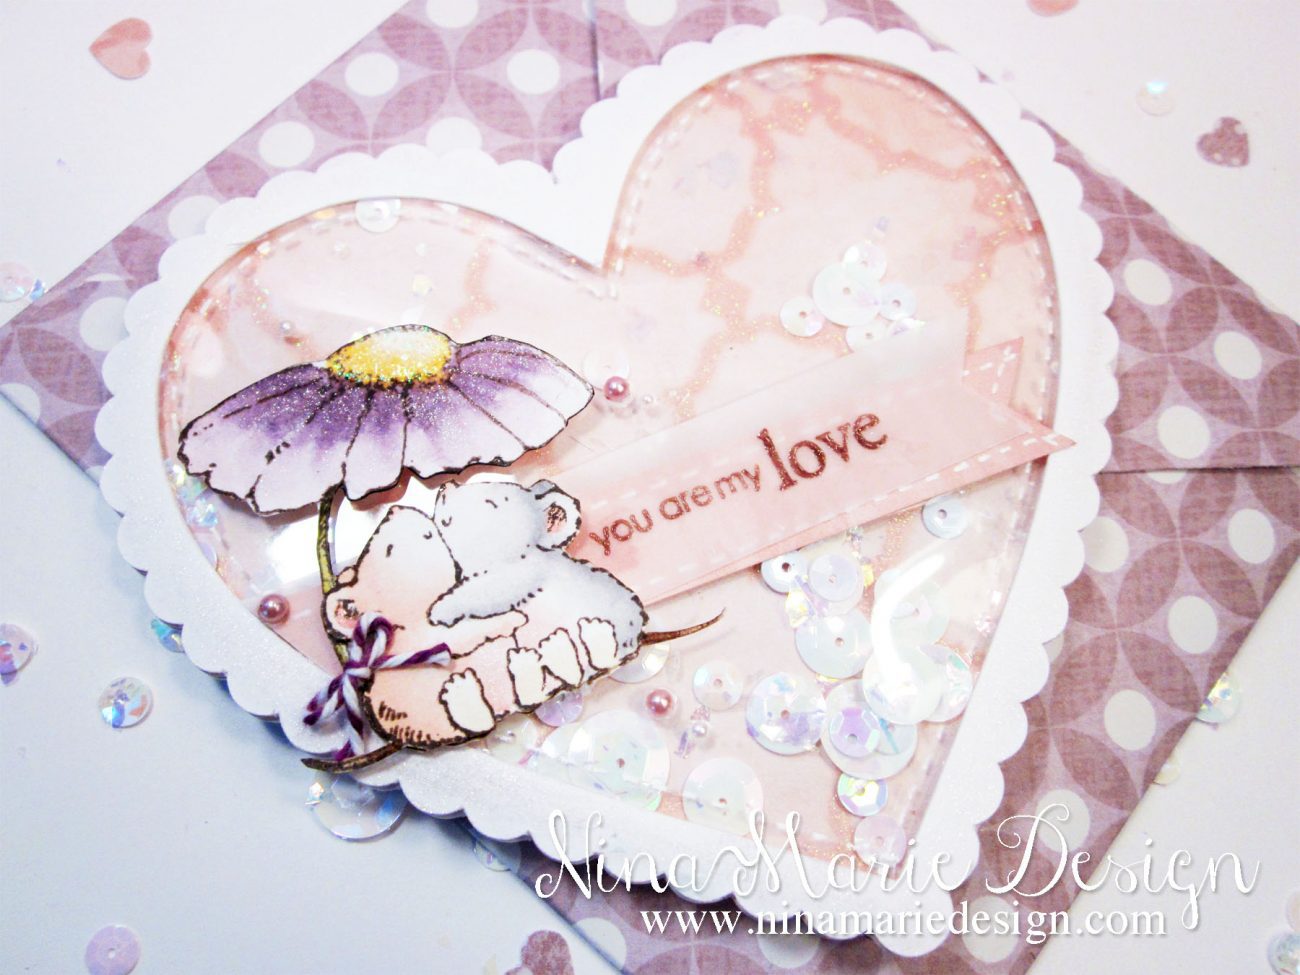
While my mice were drying, I went to work creating my shaker card… I created the hearts inside my Silhouette Studio and cut them out with my Cameo. I used the smallest heart in each of the Nested Hearts and the Nested Scalloped Hearts and resized them so that the finished card would be 4 3/4″ x 4 1/4″. The solid scallops panel was cut out four times (one for the card front, the card back, the patterned paper behind the shaker element and the fourth for the clear acetate panel); the frame is cut out once.

I used cardstock for the frame and the card base pieces, and some patterned paper from the Recollections “Painted Fancy” paper pack to place in the background of my shaker.
To build the shaker card, I first put the card base together by scoring the back panel at 1/2″ down from the top and adhering it to the front panel. Next, I attached the patterned paper to the front of the card base. Finally, I attached the acetate panel to the frame with some liquid matte adhesive and then added a single layer of dimensional foam tape all around the edges of the frame.

With the frame face down on my craft mat, I filled it with some sequins and carefully attached my card base to the frame. I prefer to work from that direction, but you could easily put it together by putting the sequins in the middle of the card base and putting the frame overtop. Either way would work.
I then covered the frame and portions of my mice with some clear Wink of Stella glitter. I layered two banners onto my shaker card; one created from patterned paper and one from some vellum. My sentiment is done with some selective stamping using stamps from the same Penny Black “Hugs” set and Timber Brown StazOn ink. I heat embossed the sentiment with clear embossing powder as well.
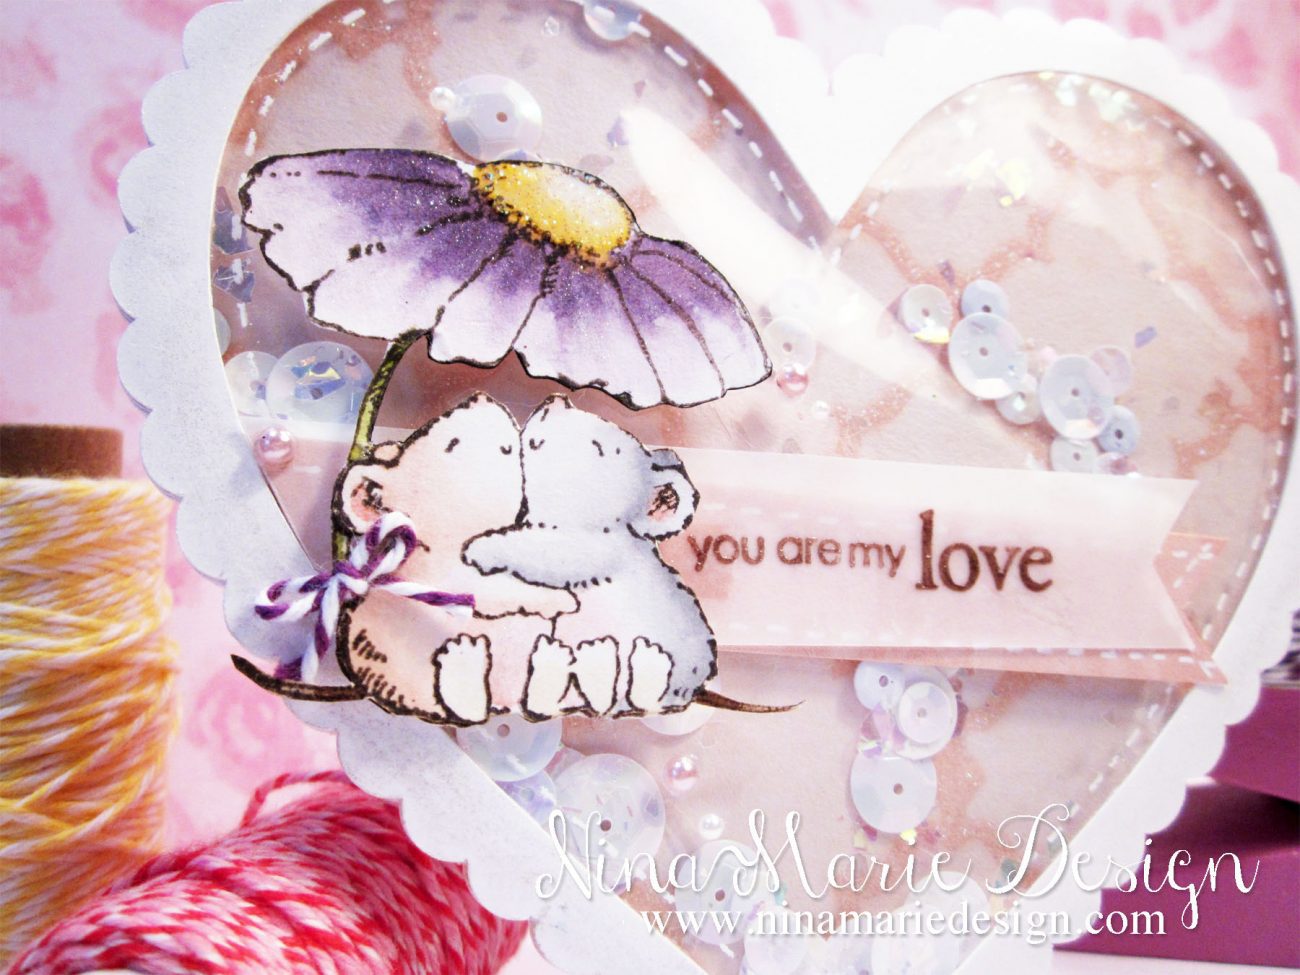
For some finishing touches I added some pink and white pearls in a few places around the mice, some white faux stitching around the edges of the acetate panel, and a twine bow tied to the stem of the flower.
With some patterned paper from the Recollections “Fashionably Chic” collection and my WeRMemory Keepers Envelope Punch Board, I created a 4 1/2″ x 5″ matching envelope for my card as well, just for an added special touch.
I love how cute shaker cards are… very interactive and so much fun to give! I hope you’ve enjoyed… thanks for stopping by!
Shaker card tip
When placing my sequins into my card, I glued a few to the background paper so that when most fell to the bottom, there would still be some around the rest of the card. The glued sequins also catch hold of some of the loose ones as well, allowing for a more balanced look to the card when standing straight up.
Inspiration & Challenges
The inspiration for creating a shaped card is from the circle card created by Vicki Dutcher for the Muse challenge #103 and is submitted into the challenge. Be sure to stop over at Vicki’s blog and the Muse challenge blog to check our her project!
This card is also submitted into the Virginia’s View challenge #12, and the Simon Says Stamp “H is For” Monday challenge, as “h” to me means “heart”!
[one_third] [/one_third][one_third]
 [/one_third][one_third_last]
![]() [/one_third_last]
[/one_third_last]

 LinkDeli Free 15 day trial
Such a sweet card. Thanks for the tip! Wonderful idea!
Such a sweet shaker card! The focal image is adorable and I love the sequins. Thank you so much for sharing with us at Simon Says Stamp Monday Challenge Blog!
Such a adorable shaker card! I love the shape – Thanks so much for joining in at Muse!
Gorgeous design all around, Nina-Marie! I love your added vellum for the sentiment and the sequins are lovely with the darling image! Thanks so much for playing Virginia’s View “Shaker Cards” Challenge! Hope to see your lovely work soon again!
Holy wow… this is spectacular! Oh for a Silhouette!
=] Michele
Adorable shaker card.
I love your pretty, shaped shaker card! so glad you joined us at Muse this week!
This is totally fabulous!! I love that you created the shaker card on your Cameo. I have one but do not use it as much as I should. Any good sites for tutorials would be great. Fabulous take on the challenge!!
This is sooo cute and you make it sound so, easy so must give it a go ….well maybe!x
Wish I had a cemeo!!! I keep dreaming how to make lovely cards like yours :D
Wow – Lovely shaker card — well done! Thanks so much for joining in at Muse!