Sunday Spotlight: Textured Dragonflies
 Happy Sunday! I am so happy you’ve stopped by for this week’s Sunday Spotlight post! Today I am spotlighting using multiple colors of texture paste to color an image. I really enjoy mixing up colors with my texture paste… it’s really fun to see the different hues you can create! I began by cutting a 4 3/4″ x 3 3/4″ panel from watercolor paper and stamping my sentiment, which is from the Paper Smooches “Scripty Sayings” stamp set. I stamped it in Versamark ink and sprinkled with Ranger’s Princess Gold embossing powder… I love the tone of the Princess Gold; it has a beautiful warm tone to it, without being overly bright.
  Moving on to the dragonflies; they are created with a 6×6 stencil from the Crafter’s Workshop (Mariposas), which has a bunch of butterflies and dragonflies all over it. Because I only wanted a dragonfly for this card, I made sure to mask off all the other areas before applying my texture pastes. On a non-stick craft sheet, I laid down four colors of Tim Holtz distress ink; Festive Berries, Dusty Concord, Wild Honey and Worn Lipstick. With my Ranger Texture Paste and a palette knife, I quickly mixed some of the paste in each of the inks. Then, I added the paste to my stencil, working from the center towards the outer areas. For the first butterfly I used Festive Berries, Dusty Concord and Wild Honey. For the second, I used Dusty Concord, Wild Honey and Worn Lipstick.
  After my dragonflies were dry, I then sponged on Wild Honey, Worn Lipstick, Festive Berries and Milled Lavender distress inks, before heavily misting the paper with water. This allowed the colors to blend into a soft watercolor-like background, that lets the dragonflies take center stage. I also flicked on some water drops, and some Heidi Swapp Gold color shine before setting the background aside to dry once more.
 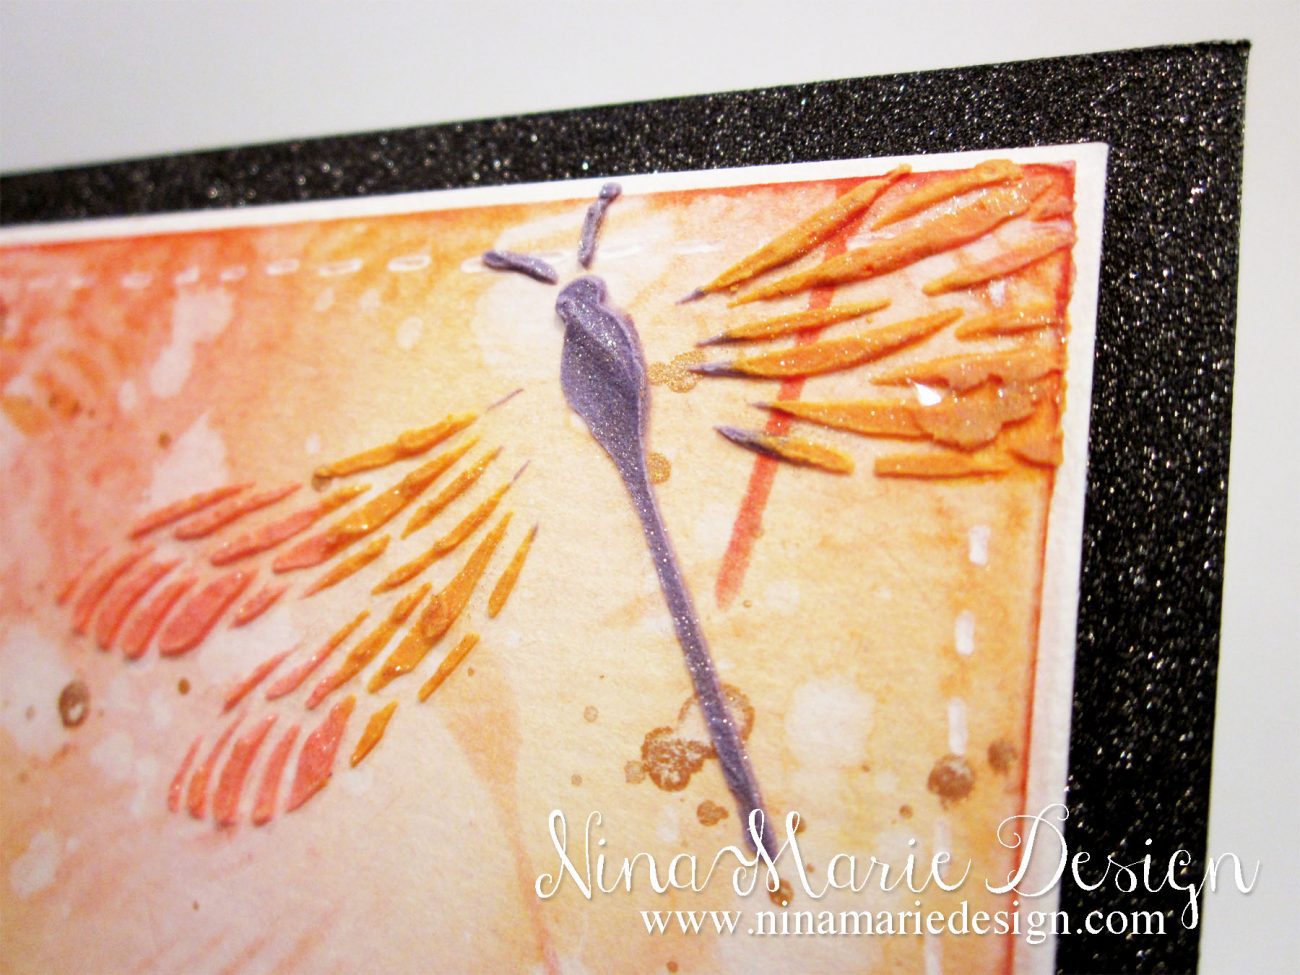 The dragonfly panel is then layered onto a piece of white cardstock, and then adhered to a black glittered card base with dimensional foam tape. I covered the dragonflies with Wink of Stella clear glitter and added some white faux stitching to the edges of the panel. I love how much pop this card has with the bright colors against the black… makes for a great statement!
 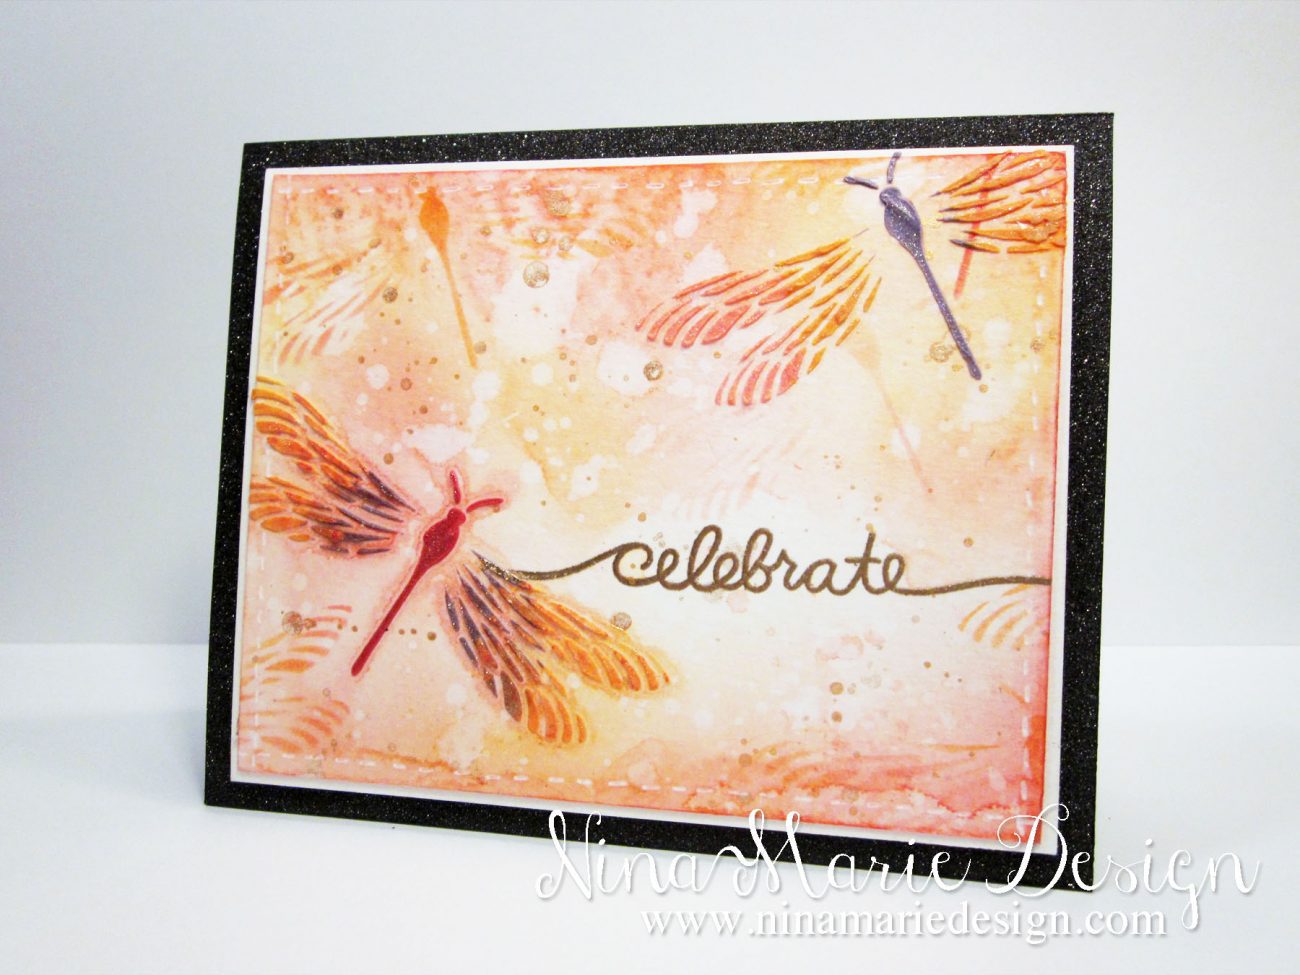 I hope you’ve enjoyed this texture paste Sunday Spotlight… be sure to spot back again soon, as I have a great tutorial planned on how to do generation texture paste stenciling! See you soon!
Inspiration and Challenges
This card is submitted into the Paper Smooches Sparks “Anything Goes” challenge, the “Simon Says Stamp “Anything Goes” Wednesday challenge and the Simon Says Stamp January “Work It Wednesday”. My “something new” is the “Mariposas” stencil by the Crafter Workshop, as I just got this and have never used it before. [one_third]![]() [/one_third][one_third]
[/one_third][one_third] [/one_third][one_third_last]
![]() [/one_third_last]
[/one_third_last]

 LinkDeli Free 15 day trial
What a gorgeous card! I love the dragonflies!
Thanks for joining us this week at Paper Smooches Sparks!
just one lovely card!!! thank you so much for playing along with the Paper Smooches SPARKS challenge.
What a wonderful card!!! Thank you for sharing this beautiful technique with us!!!
Hello!!! Greetings from Spain. I really love your card. Amazing colors and design.
really gorgeous card!!! thank you so much for playing a long with us at simon says stamp wednesday challenge!