Three Styles and a Stamp
Hello again everyone!
I thought I would share with you these three cards I created with the Simon Says Stamp/Mama Elephant “Summer Garden” stamp set and show how you can create completely different styles using the same stamp set.
This first card I created is a one layer, two toned card that is very bright and cheerful. I used only turquoise and white as my color palette. With the use of shading in darker tones, you can create the depth and dimension needed to make your one layer card stand out and not appear “flat”.

I stamped my flowers, leaves and sentiments onto some Simon Says Stamp Audrey Blue cardstock in Versamark ink. I then embossed them with white embossing powder. The sentiments are from the Simon Says Stamp “Sending Happy Thoughts” stamp set. With a few turquoise/blue toned pencils, I began to add some shading to the flowers and leaves.

Once they were shaded, I took some Tim Holtz Peacock Feathers distress ink and an ink blending tool to sponge on some color around the edges of the card. Coming back in with a paintbrush and some Heidi Swapp Mint color shine, I went over all the ink-sponged areas to add some shimmer and deepen the shading. Finally, I flicked on some droplets of the color shine, and also added some white accents with a gel pen.
On this next card, I did some paper piecing to create my focal image in this modern styled card. Stamping the flower and leaves onto pink and green patterned papers, I fussy cut them all out and arranged them in a cluster to form an arrangement that I liked. I love this type of card, because it works great for using up all those little leftover scraps of paper from past projects!

I added some details to my flower using a white gel pen, and some Wink of Stella clear glitter. I also added some Glossy Accents to the center of the flower for a bit of added dimension.

The sentiment for this card uses stamps from the Simon Says Stamp “Celebrate” set, and are stamped with some black pigment ink. I did some second generation stamping for the word “wishes”, to create a bit of separation and interest for the sentiment.
The panel is layered upon some patterned papers from the Craft Smith “Natural Luxury” paper collection, and I covered the black portions of my papers with some Wink of Stella glitter, to tie in the glitter on the flower.

And finally, I have another one layer card in a rich, warm palette of feminine colors. This is done in a loose watercoloring technique. I allowed the colors to blend into each other more heavily then I normally do, letting them mix and run outside the lines of the images to create a more “unrefined” effect.

I stamped and fussy cut my flowers and leaves with some sticky notes before stamping them onto my card base, as I wanted to do some masking on this card. My flowers are all stamped in StazOn Timber Brown ink, as I wanted to keep a warm tone to this card.
The inks I chose for my watercoloring are Wild Honey, Tattered Rose, Dusty Concord, Fired Brick, Worn Lipstick, and Peeled Paint distress inks. Using only these colors, I mixed them together to create some pretty hues of gold, pink and purple.
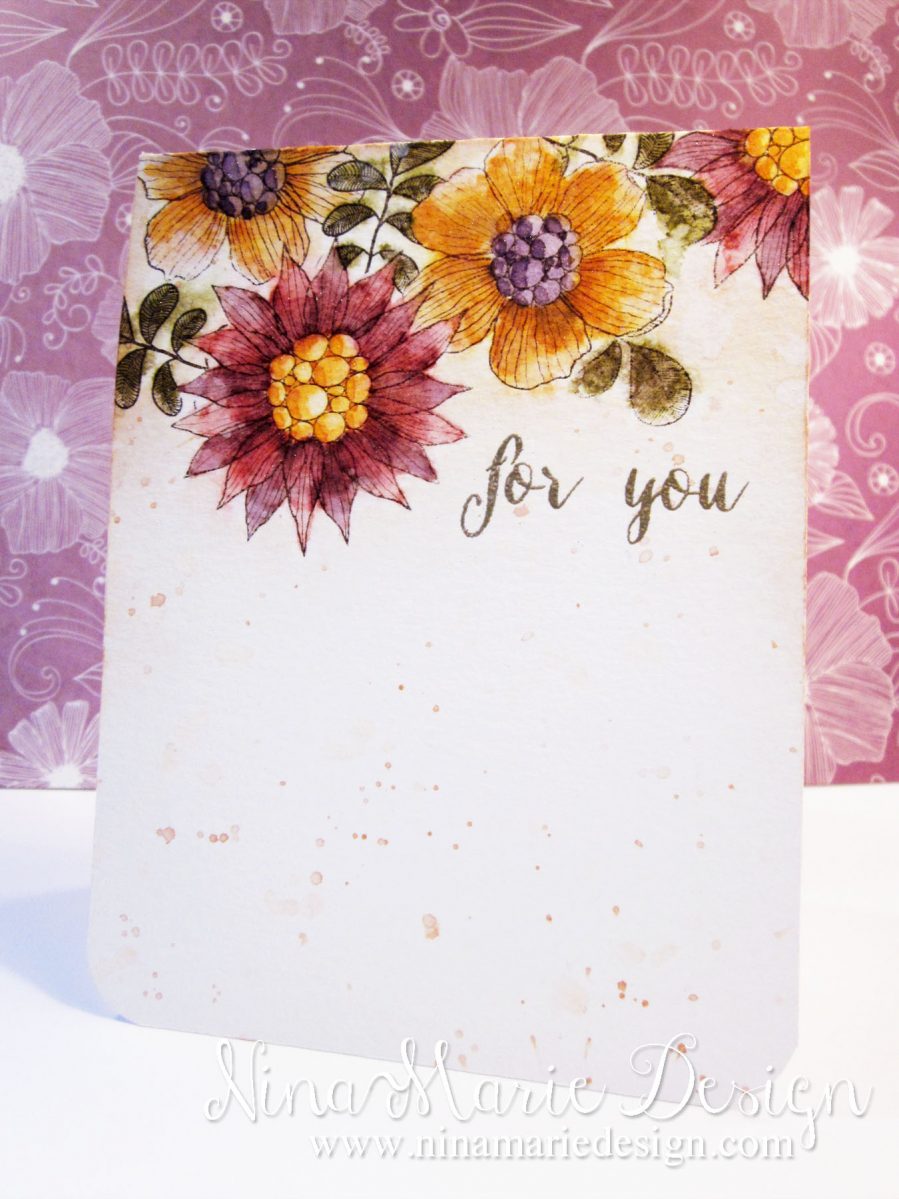
My sentiment is from the same “Summer Garden” stamp set, and is heat embossed with some Ranger Princess Gold embossing powder; this powder is such a warm gold, I thought it fit in perfectly with the rest of the colors in this card.
The area around my flowers is sponged in some Tea Dye distress ink and I also flicked on some droplets of the Tea Dye ink, as well as some droplets of some Plain Jane Baseboard spray ink. Finally, for a bit of shimmer, I sporadically covered the flowers and leaves with some Wink of Stella clear glitter, and also rubbed some of the glitter onto the rest of the card with my finger.

I absolutely love how much use you can get out of a stamp set… so many styles and themes can be created with just a bit of creativity!
I hope today’s post has inspired you to create some fun cards of your own with one of your favorite stamp sets… Be sure to check out today’s Sunday Spotlight post, featuring a fun colored embossing paste techniques… and a video!
Thanks for stopping by! :)
Challenges
The “Birthday Wishes” card is inspired by the My Favorite Things Wednesday Sketch Challenge #212 and is also submitted into the challenge.
The “For You” card color palette is inspired by the Stamping’ Royalty Color Challenge #263 and the layout is inspired by the CAS(E) this Sketch Challenge #107. This card is submitted into both challenges.
[one_third]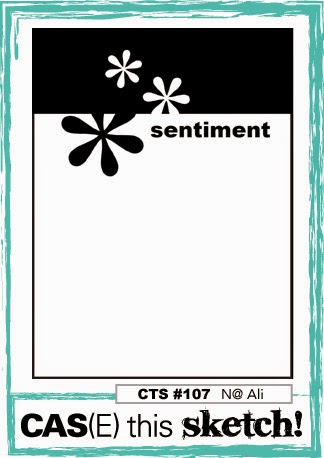 [/one_third][one_third]
![]() [/one_third][one_third_last]
[/one_third][one_third_last]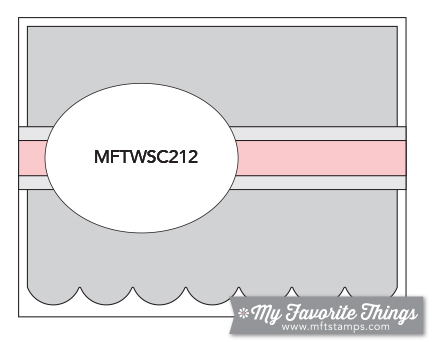 [/one_third_last]

 LinkDeli Free 15 day trial
What a delightful trio of cards. I saw the winner at CTS and had to come check it out and was amazed at the 3 with 1 creativity.
This is absolutely stunning!! Congrats on your CTS-win, well-deserved!
Beautiful cards, love all 3 styles, your masked watercoloured card is awesome. Congrats on your well deserved win at CTS, Cathy x
Absolutely beautiful!!!! Congrats for the CTS win!!! You deserve it!!!
Oh, what a trio of beauties! Your art is stunning! I have and love this stamp set and your cards are such inspiration! Love the styles you created and shared :))
Wow! All three of your cards are stunners! I LOVE your style!
Three STUNNING cards, Nina-Marie!
beautiful cards!
Thanks for joining us at CAS(E) this sketch!
Oh, wow, these are gorgeous!
Amazing card you posted for SR#263! I love it! Congrats on being one of our TOP PICKS!!!
wowy wow!!! These are all so stunning!!! Love all of the different techniques you have used, and I’m just amazed by your work!
Absolutely amazingly gorgeous water coloured card. It is a superb work of art! A real winner in my eyes. Kx