Froggie Birthday Wishes
 Hello Everyone!
I have a great little card to share with you today using the Tiddlyinks “Froggie Thoughts” digi stamp. With the color scheme used for this card, it would be perfect for a little boy’s birthday and I really like the way the background behind the frog came together… let me share with you how I did it!
On an A2 sized-card made from watercolor paper, I applied a wash of water around most of the top two-thirds of my card. Using three Tim Holtz distress ink colors (Broken China, Peeled Paint and Wild Honey), and a very wet paintbrush, I dropped color into the wet paper, and then dried it only partially, leaving the paper and color still a bit wet. With a water mister, I spritzed on a lot more water, letting the colors run. I then took a rag and blotted up portions of the wet color, but not all; this was done to “fade out” select portions of the color. Afterwards, I dried the card base completely.
 With my ink blending tool and the same three ink colors, I brushed on some deeper hues. Taking my water mister again, I spritzed some into my hand and flicked the water onto the color, quickly blotting it all up after letting the droplets sit on my colors for a few seconds… this created some great water spots! With my the background stencil from the Heidi Swapp “Heart” set, an ink blending tool and some yellow ink, I brushed on ink in random places throughout my watercolored background. Finally, I flicked on some droplets of gold shimmer spray for some added interest.
Setting the card base aside to thoroughly dry, I began to assemble the rest of the card. Printing the frog onto some green polka dot paper and the crown onto a piece of yellow paper, I fussy cut the two pieces out and adhered the crown to the frog. With colored pencils, I added some shading to the frog and his crown; I also added some white to his eyes with a gel pen and then covered his eyes with Glossy Accents.
 The sentiment is created inside my Silhouette Studio using the font “Times”, set to 46pt and bold. I then ungrouped the letters and rearranged them, bringing them closer together so that they overlapped each other. Once the letters were arranged in a way that I was happy with, I welded them all together, creating one continuous cut line. I then cut out the “birthday” word from some yellow striped paper and covered it with Glossy Accents.
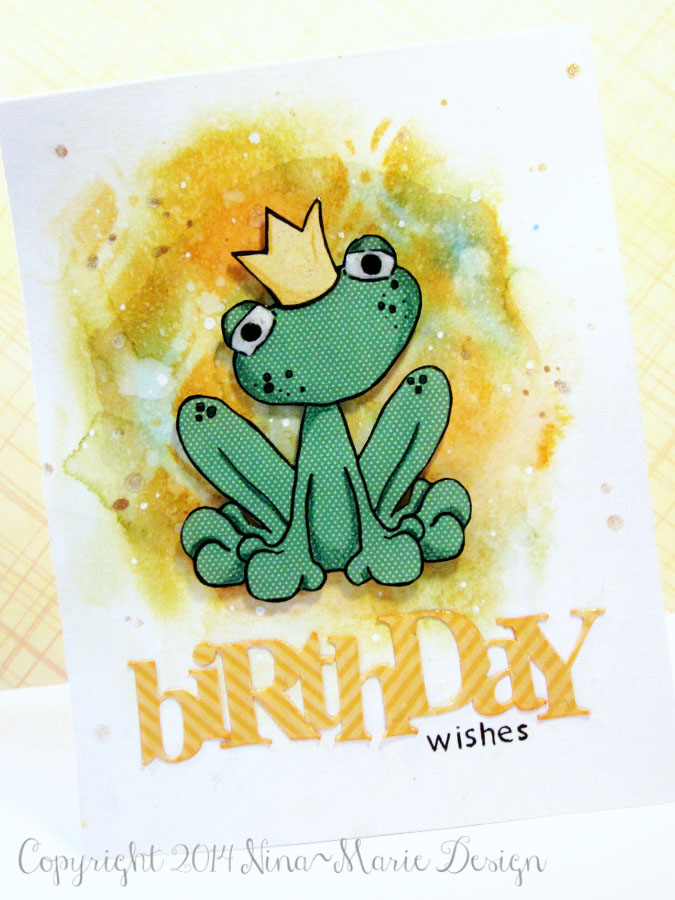 To assemble the card, I attached the frog to my card base with dimensional foam tape. The “birthday” die cut was adhered directly to the card with regular adhesive. To finish the sentiment off, I stamped the word “wishes” in black ink using the Stampendous “Tiny Alphabet” stamp set.
I hope you’ll stop by again soon, as I will have another fun boy-themed card to share with you as well!
Happy Creating! :)

 LinkDeli Free 15 day trial