Peace, Love & Joy
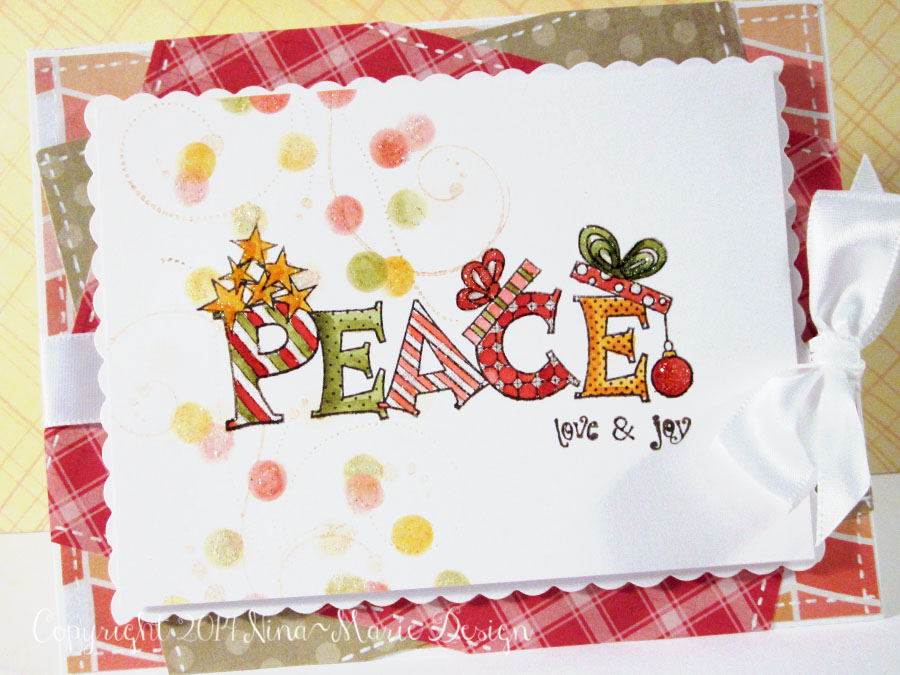
Today I’m combining two challenges over at Freshly Made Sketches and ColourQ, as the inspiration to create this bright and festive card full of Christmas cheer!
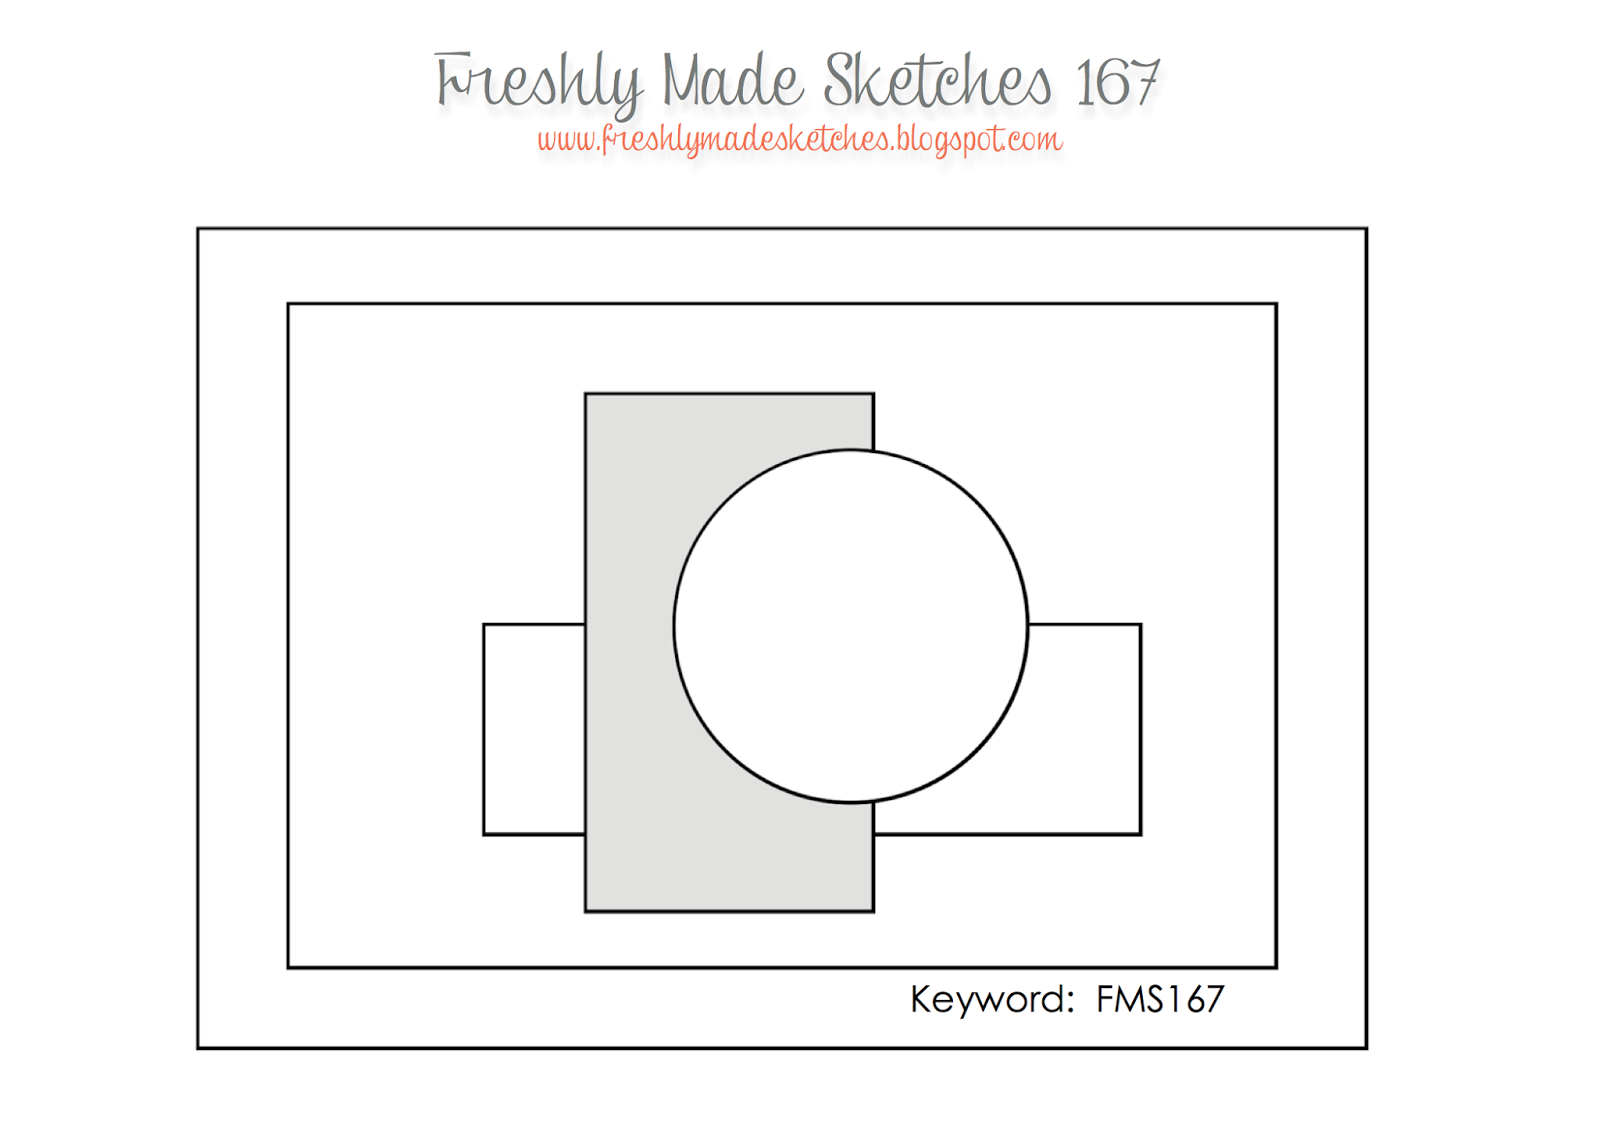 The sketch of the week over at Freshly Made Sketches was the inspiration for the layout of my card. Using the circle as the placeholder for my “peace” stamp, the “love & joy” as the horizontal space and the dots and swirls as the vertical element, I then layered it behind patterned papers, with just a bit of my card base peeking through from behind.
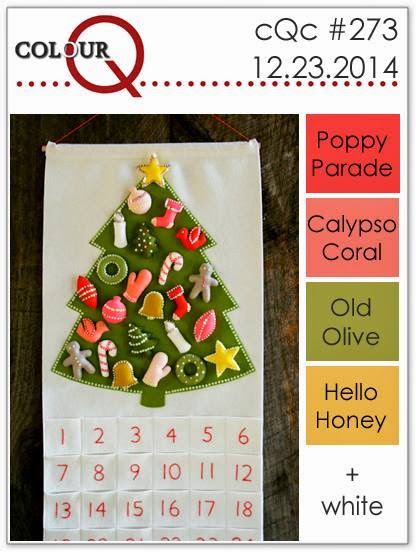 The colors for this card were inspired by the color palette over at ColourQ’s color challenge for this week. With bright red, salmon pink, olive green, golden yellow and white, this color scheme has Christmas written all over it! :)
I wanted the sentiment of this card to be the focal point and for that, I chose the adorable “peace” stamp from one of Hampton Art’s Outlines stamp collection series. I love that it has so much detail and you can really customize it for any color scheme. For the rest of the sentiment I combined a Studio G and Stampendous set, and all three of these sentiments were stamped in StazOn Timber Brown ink.
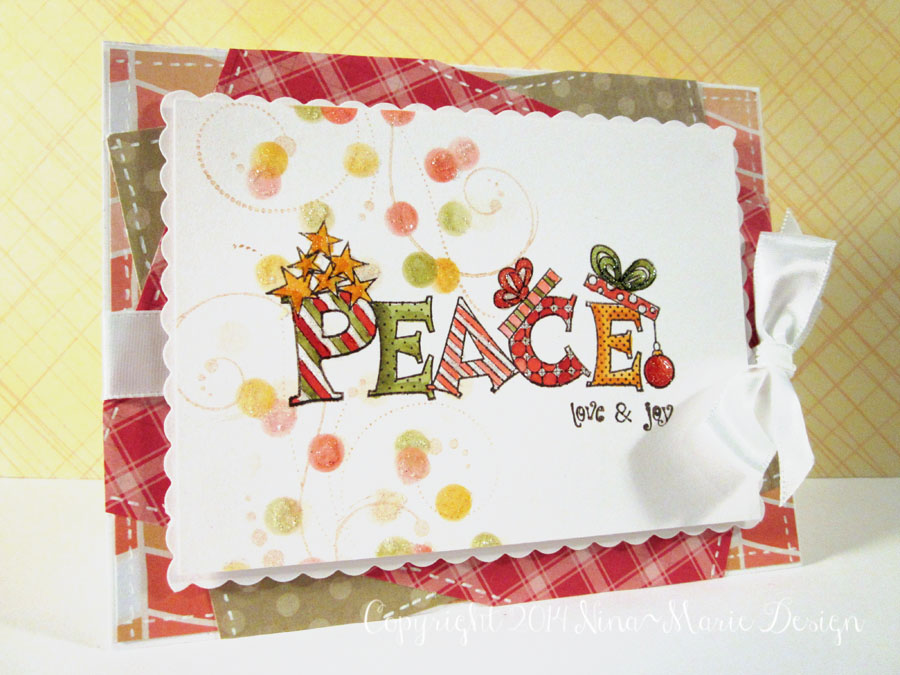 I really love the “bokeh” photographic effect and wanted to incorporate that feel as an accent to the sentiment. Very easy to do, all you need is:
- a polka dot stencil (I used the Heidi Swapp 6×6 Polka Dot stencil)
- at least four different ink colors ( I used Tim Holtz distress inks in Wild Honey, Peeled Paint, Fired Brick, Tea Dye and Worn Lipstick)
- an ink blending foam or piece of felt (I recommend using only the blending foam from your ink blending tool, rather than the entire tool, as you have more control over where the color goes.
When you apply the color to the polka dots, shift your stencil every so often; this allows the dots to be more scattered in their placement, and not as “perfect”. I allowed some of my dots to overlap each other, giving more depth to the background. To give a sense of movement, I also stamped a flourish stamp along where the dots are. Finally, I added some glitter to the dots as well, to add just a bit of sparkle and shine. The glitter is also applied to certain areas of the “peace” sentiment.
I really like how the whole card has such a fun and festive feel to it! Change up the focal point and this could easily turn into a very neat birthday card, or even a simple “hello” card… which would be sure to brighten someone’s day! :)
![]() The Wednesday Challenge blog over at Simon Says Stamp is hosting a very fun two week “Anything Goes” challenge… head on over to their blog and play along with everybody!
The Wednesday Challenge blog over at Simon Says Stamp is hosting a very fun two week “Anything Goes” challenge… head on over to their blog and play along with everybody!

 LinkDeli Free 15 day trial
This is such a PRETTY card!! Love your layers. Thanks so much for joining us at the COlourQ!
beautiful card! i love the colors!! thanks for joining us on the Simon Says Stamp Wednesday Challenge
What a fun take on the sketch! I just love that beautiful, big sentiment – it really makes the card pop. Thanks so much for joining us at Freshly Made Sketches.
Very cute Christmas card with these colors.
Beautiful card, Nina Marie, love your scrappy background! Thanks for playing with us at the colourQ and Merry Christmas!
This is absolutely adorable and SO well made.
Dottie
Gorgeous card! I love the whimsical feel you created with your beautiful lettering and layering. Thank you so much for playing along with us at ColourQ, hope to see you again after the holidays.