Merry Christmas Wreath
Hello!
Welcome to the beginning of a creative journey through the world of card making! I am so happy you will be joining me today. With Christmas fast approaching, it only seems fitting to have the first post be… you guessed it, a Christmas card! Today’s card incorporates a variety of techniques to create a simple, yet stunning effect. So lets get started!

Our first step will be to create the focal point of our card; the watercolored wreath panel. To begin, you will need to open your Silhouette Studio program (I use the Designer Edition, but the Basic Edition can replicate this card as well). You will need to be sure to purchase the “Sketch Wreath” design by Loni Harris from the Silhouette Design store before we create the wreath panel.
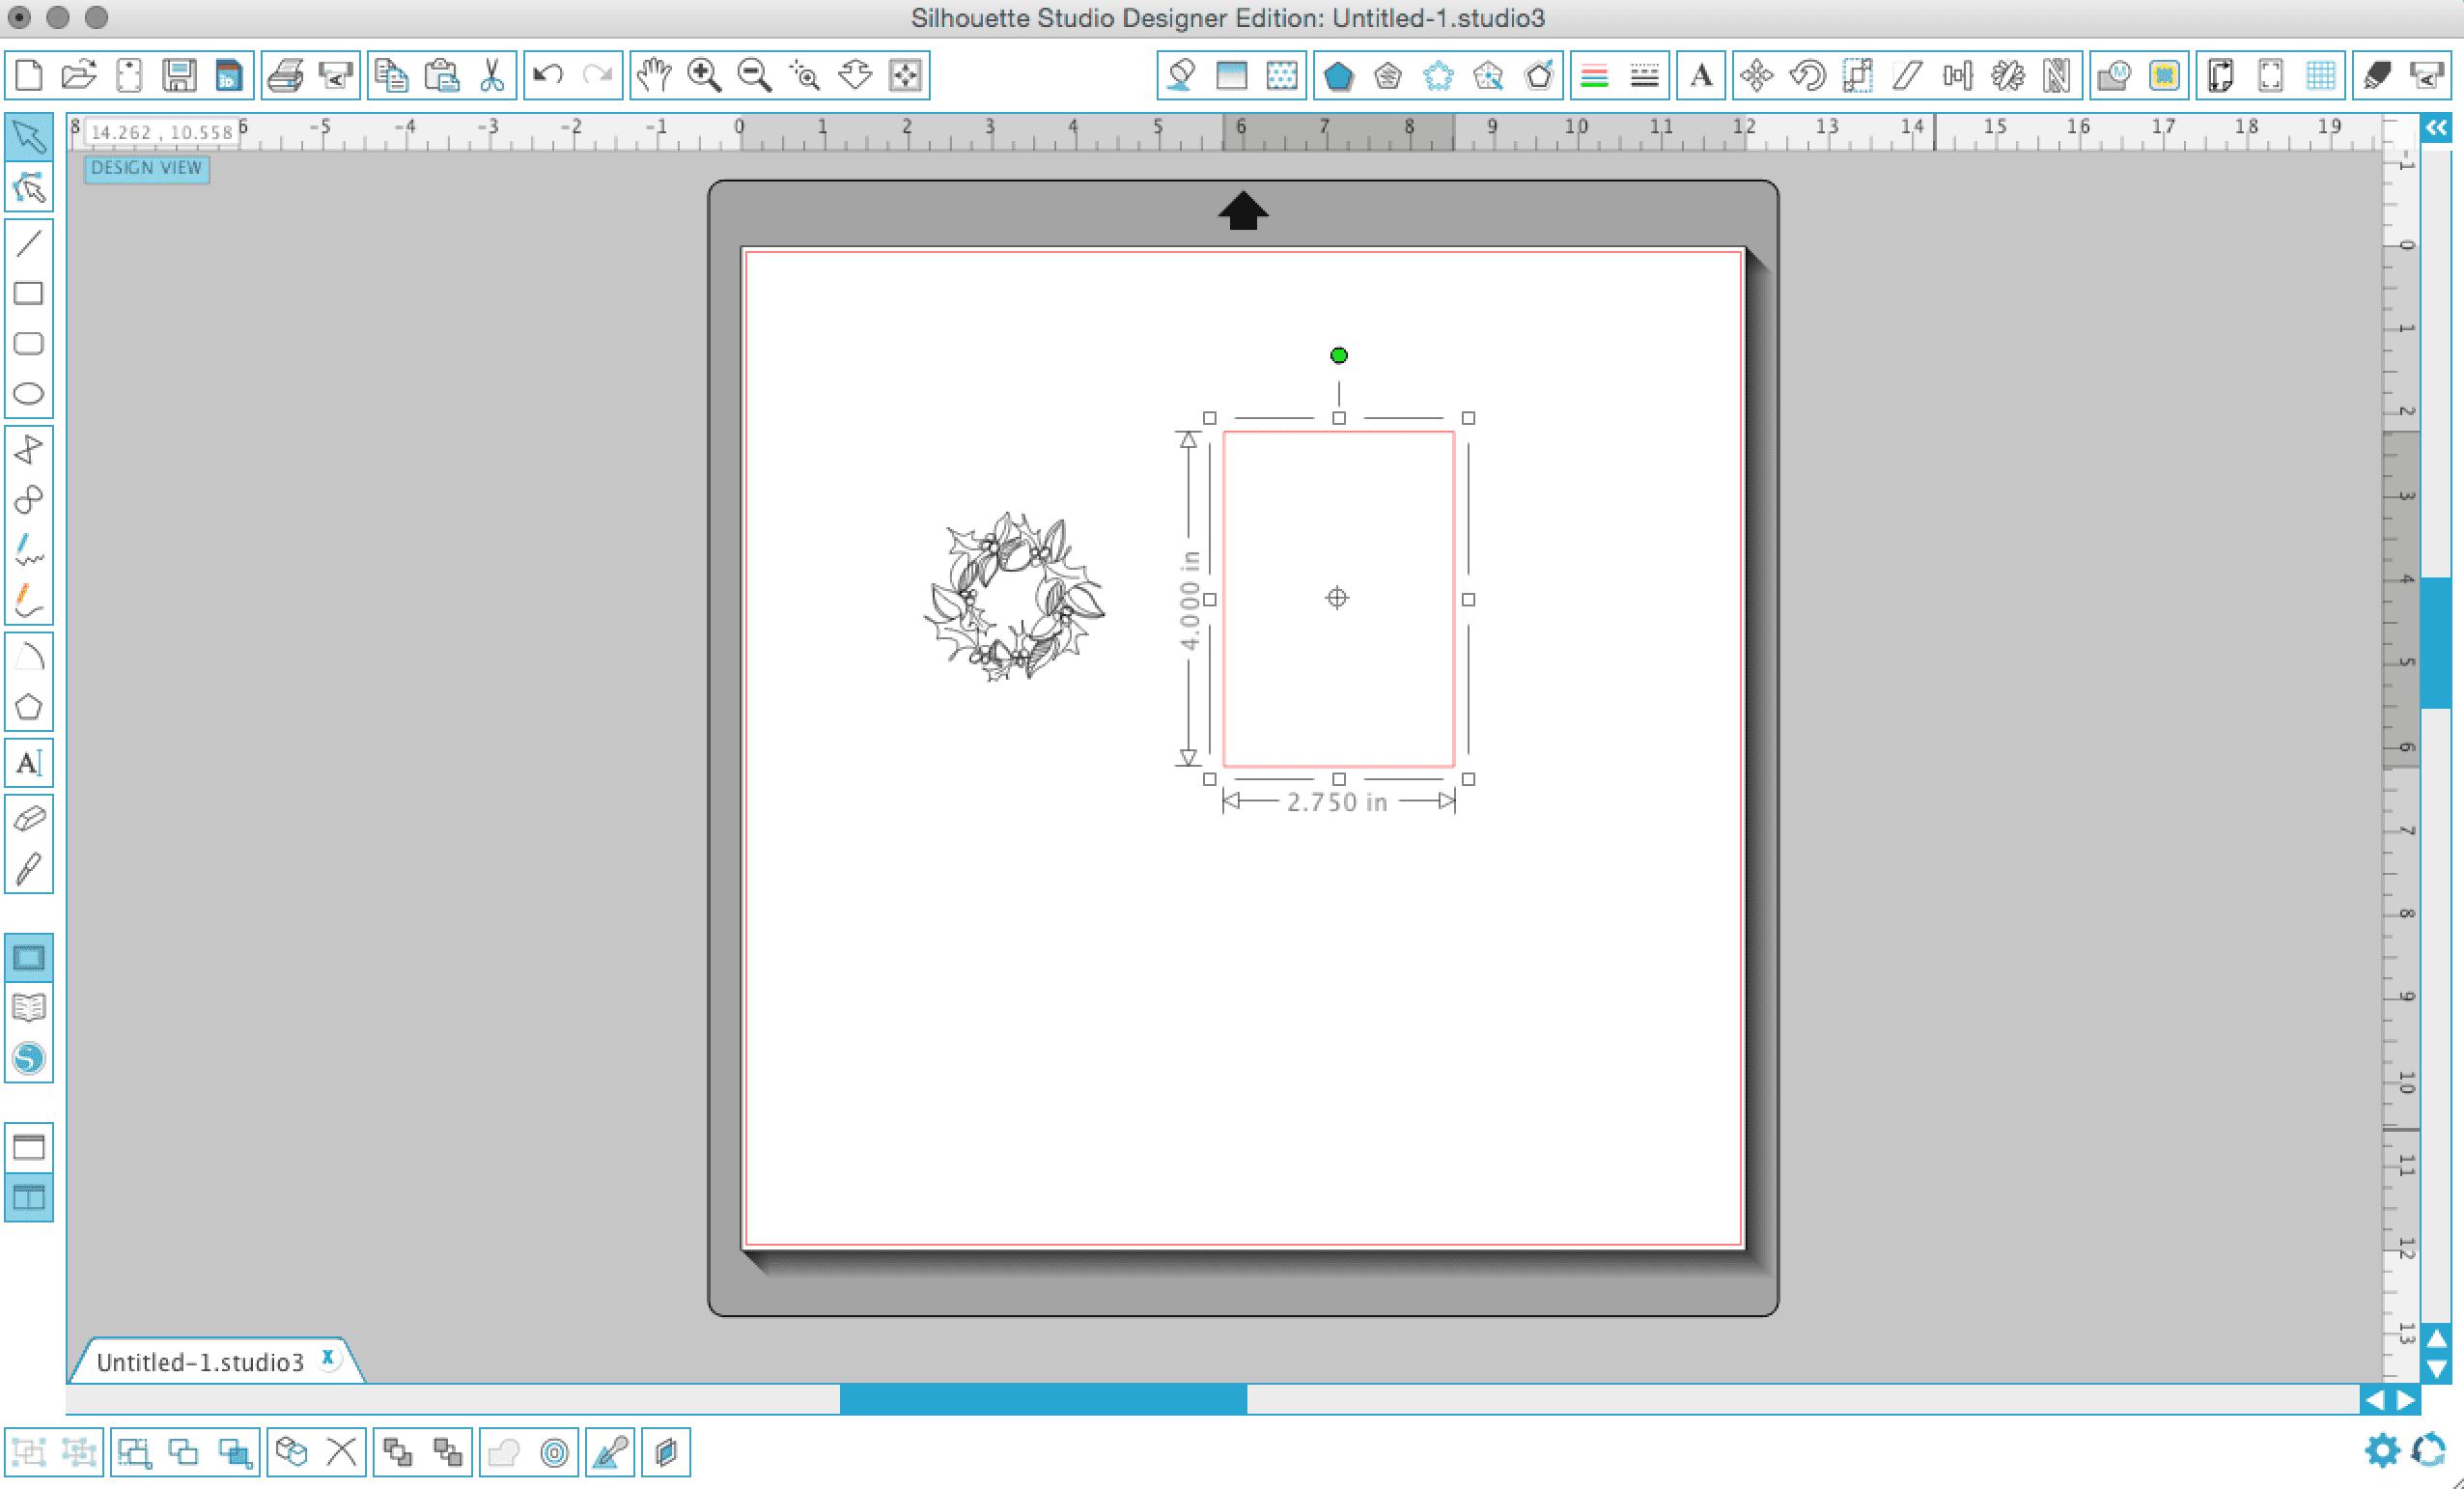
After you have downloaded and opened the file into your Drawing Area, you will need to create a rectangle measuring 2.75 inches by 4.0 inches.
Now that you have your panel made, we now need to create the sentiment. For this card I used the font “DK Lampion”, which is available at DaFont.com. After making sure that both the wreath and the sentiment are center aligned onto the panel, you will need to sketch both the wreath and the sentiment out on your Silhouette using a black, waterproof multi-linter pen and some watercolor paper. Note: this requires having the Silhouette Pen Holder, which I have provided the link to in the supplies list at the bottom of the post.
 Once you have sketched the wreath and the sentiment onto your paper, carefully reload the mat into your Silhouette and cut out the sketched design with the rectangle shape we created. We are now ready to put our card together!

To color the wreath I used three of the Tim Holtz distress ink pads and the Tim Holtz detailer water brush. With Peeled Paint and Forest Moss for the leaves and Fired Brick for the berries, color and shade the wreath until you achieve a desired look. Set aside to dry.
Next, cut both a small panel measuring 3.25 inches by 4.5 inches, and an A2 card base measuring 4.25 inches by 5.5 inches, from white cardstock. Score the card base and fold. With some scalloped-edged scissors, cut a border around the entire area of the small panel. Adhere this panel behind your wreath panel with dimensional foam tape.
From the Teresa Collins “Santa’s List” 6×6 designer paper pack, select both the red snowflakes and the kraft chevron papers. Cut the snowflake paper to 4.25 inches by 5.5 inches and adhere to the card base. Next, cut the kraft paper to 1.25 inches by 4.25 inches and adhere horizontally to the center of the card. Take a white ink pad and run the pad along all four edges of the card. Don’t worry if the ink is uneven in spots! This creates a more distressed look and adds to the overall look of the design. With a white gel pen, create some faux stitching along all the edges of the card, as well as along the top and bottom edges of the chevron paper strip.

With some more dimensional foam tape, adhere the wreath panel to the center of the card. To add the finishing touches to this beautiful card, we are going to be using some grosgrain ribbon to tie a bow around the middle of the chevron paper strip. Finally, cover the berries on the wreath with some red glitter glue.
And there you have it! A simple, yet stunning Christmas card that is sure to fill the recipient(s) with some holiday cheer. This card is very simple to replicate and would be a great design to use for sending cards to a large list of friends and family.
I hope you all enjoyed today’s tutorial! Please check back often, as more inspiration, tutorials, videos and more will be posted frequently.
Supplies:
- Silhouette Cameo cutting mat, pen holder and ratchet blade
- Recollections® Cardstock Paper Value Pack (8.5″ X 11″)
- Canson XL watercolor paper
- Tim Holtz Distress Inks: Peeled Paint, Forest Moss and Fired Brick
- Tim Holtz Detailer Waterbrush
- Sketch Wreath design by Loni Harris (available on the Silhouette Design Store)
- Uni-Ball Signo Gel Pen -White
- Clearsnap Colorbox Frost White Pigment Ink Pad
- scoring board
- red glitter glue

 LinkDeli Free 15 day trial
Your card is absolutely gorgeous! I love the wreath on front, and Im always a sucker for faux stitching. Love the look it brings! You card looks so clean and seamless. Thanks for sharing! Merry Christmas!
Thank you so much, Marie… I am so glad you enjoyed the card! A very Merry Christmas to you as well!